What's new
VORON Design

Register a free account today to become a member! Once signed in, you'll be able to participate on this site by adding your own topics and posts, as well as connect with other members!

CANBUS for < $80 USD including SBC and toolhead board, actually in stock!

mallcop

Active member
Staff member
Voron Owner
Here's your shopping list:
* AML-S905X-CC: https://smile.amazon.com/Libre-Computer-AML-S905X-CC-Potato-64-bit/dp/B074P6BNGZ
* Waveshare RS485 CAN hat: https://smile.amazon.com/RS485-CAN-HAT-Long-Distance-Communication/dp/B07VMB1ZKH/
* EBB36: https://smile.amazon.com/BIQU-MAX31865-Filament-Blockage-Detection/dp/B0B1MHHNDX/

I am using God's Own MCU -- the SKR 1.3, with TMC2209's. I can't provide a link to buy these new, because they aren't sold new. You're on your own for MCU, but expect around $50. Only the 2.4 needs more than an SKR1.3 / SKR1.4 and its 5 drivers. This setup will work perfect for a Trident or smaller.

Please be aware an EBB36 V1.1 will burn your house down if you hook the heaters up before it's flashed. Use a different toolhead board if you need to. Or, do what I did, and build the setup on your bench before you bring anything NEAR the parts that get hot on your printer.

These instructions use UART to talk to the main MCU, to keep the most USB ports available for accessories. The Le Potato is powered via this UART cable as well, which is an optional step that greatly simplifies the electronics if desired. There are several steps here -- flashing and modifying the Le Potato, hardware modification of the Waveshare Hat, flashing the EBB36, flashing the MCU, and connecting everything together.
 

Preparing the Waveshare hat​

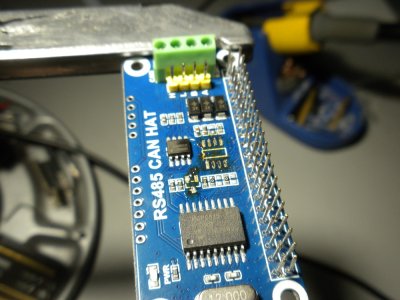
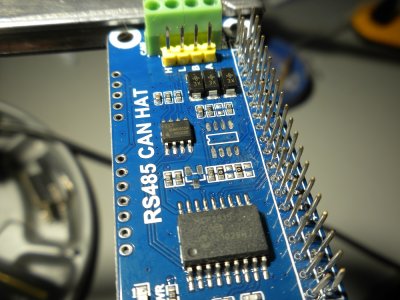
I vastly prefer using UART for my MCUs for a variety of mostly superstitious reasons, but there's no USB disconnects to have or looking up serial IDs. The Waveshare hat combines both RS485 and CANBUS hardware, using the SPI bus for CANBUS and one of the UARTs for RS485. That's my UART, you cannot have it! To make this work, we need to remove the RS485 hardware (or skip this whole section and use USB like a sane person).

Tools needed:​

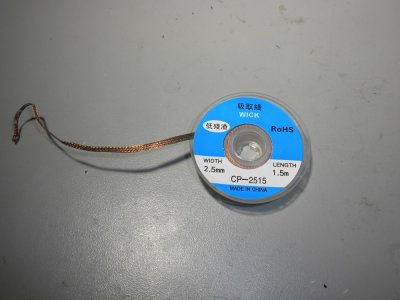
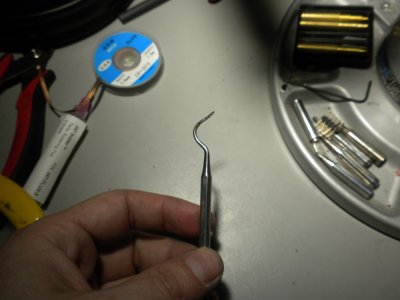
Solder wick, 60/40 leaded solder, good soldering iron, dental pick, helping hands. Most of you know what solder and a soldering iron look like, but here's the wick and pick I used:
DSCN6279.JPGDSCN6286.JPG

The pieces we're having a discussion with:​

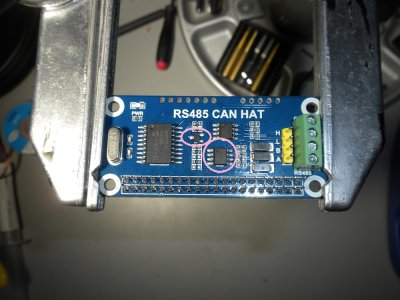
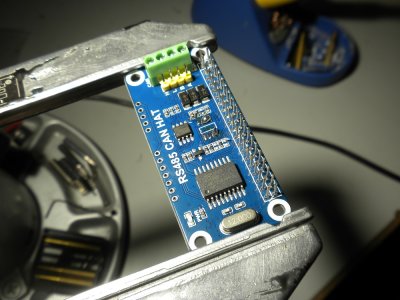
These parts circled in salmon below are the offenders who need to leave my gat-danged PCB so I can use UART.
DSCN6282.JPG

Operation:​

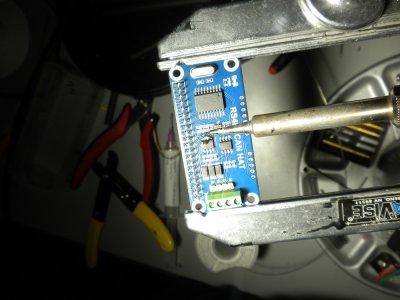
First, flood a bunch of solder onto one side of the leads of the chip. The idea is that with a large blob of solder, we can retain heat and keep the whole ball molten at the same time. This will allow us to lift the pins off with the pick.
DSCN6285.JPG

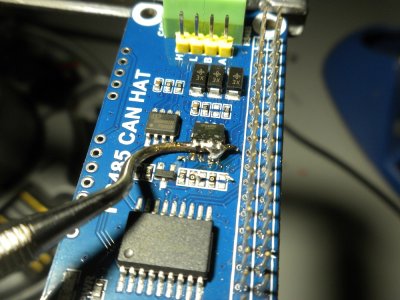
As the solder melts, gently wiggle the pick directly under the leads of the chip. We are not scraping or prying, this may damage the PCB. The solder needs to be molten (~ 350C), and plenty more added. Once the pick can fit under one side of the chip, we can repeat on the other side.
DSCN6287.JPG

When the other legs have the same ball of solder, the chip pops off and sticks to the iron instead. You are left with a few giant blobs of solder on the PCB:
DSCN6289.JPG

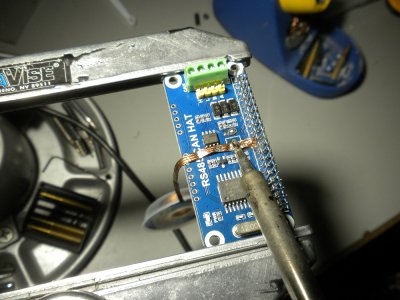
These are removed by pressing a solder wick onto them. Solder wick is braided copper with flux, and requires a bit of a blob of solder to start the process. Capilary action will pull the solder into the wick and leave clean pads at the cost of a bunch of new burnt flux on the board:
DSCN6290.JPG
DSCN6291.JPG

Repeat the process for the little transistor as well. I didn't have to pry mine, I just kept blobbing solder over it until the whole thing melted at once and stuck to the iron. Repeat the solder wick process for those pads as well.
DSCN6294.JPG

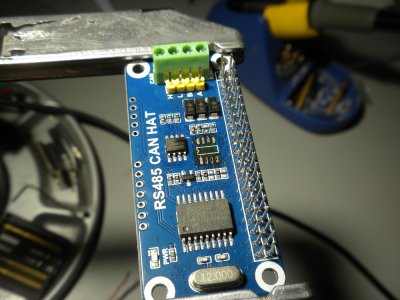
Afterwards, spritz it with some isopropyl alcohol and clean with a Q-tip. Q-tips, useful for more than just giving yourself permanent tinnitus!
DSCN6295.JPG

Install the Waveshare hat back onto the Le Potato.
 
Last edited:
Installing the software is a mostly copy+paste affair, and using KIAUH after that. Use the following ISO, burned with balenaEtcher onto a MicroSD card.

Distro file:
* https://distro.libre.computer/ci/ub...preinstalled-server-arm64+aml-s905x-cc.img.xz

You aren't limited to this ISO, I've just personally used it and seen it working. The rest of the instructions are predicated on this ISO. Deviate if you know what you're doing!

The default username / password for this ISO is ubuntu:ubuntu. After the machine is up, and you can log in with SSH (outside the scope of this guide), copy-paste the following into the terminal:
Code:
sudo tee -a /etc/network/interfaces << EOF
source /etc/network/interfaces.d/*

# The loopback network interface
auto lo
iface lo inet loopback

allow-hotplug eth0
auto eth0
iface eth0 inet dhcp

allow-hotplug can0
iface can0 can static
    bitrate 500000
    up ifconfig \$IFACE txqueuelen 128
EOF
The terminal will prompt you for a password, so type the password you logged in with (usually ubuntu). This code will create a new file to define some networking (the Le Potato does not have WiFi by default, and netplan is a pain in the ass, so these steps are removing it). Now, we are kicking off a bunch of steps in the background to try and disable netplan and enable classic networking.

Code:
sudo apt update \
&& sudo apt upgrade -y \
&& sudo apt install -y ifupdown \
&& sudo apt purge -y nplan netplan.io \
&& sudo apt autoremove -y \
&& sudo systemctl unmask networking \
&& sudo systemctl enable networking \
&& sudo systemctl restart networking \
&& sudo systemctl stop systemd-networkd.socket systemd-networkd networkd-dispatcher systemd-networkd-wait-online \
&& sudo systemctl disable systemd-networkd.socket systemd-networkd networkd-dispatcher systemd-networkd-wait-online \
&& sudo systemctl mask systemd-networkd.socket systemd-networkd networkd-dispatcher systemd-networkd-wait-online \
&& reboot &

Hopefully the machine updates and reboots itself. The pings should stop briefly and resume, at which point you can log back in via SSH. If it doesn't, give it 15 minutes or so, and pull power to the Potato. It should come back up, but if it doesn't post in here and I'll update the instructions accordingly.

At this point, we're down to enabling a few pieces of hardware, and then installing KIAUH:
Code:
git clone https://github.com/libre-computer-project/libretech-wiring-tool.git lwt \
&& cd lwt \
&& make \
&& sudo ./ldto enable spicc spicc-mcp2515-can0 uart-a w1-gpio \
&& sudo ./ldto merge spicc spicc-mcp2515-can0 uart-a w1-gpio \
&& cd ~ \
&& git clone https://github.com/th33xitus/kiauh.git \
&& ./kiauh/kiauh.sh

From here, the rest of the installation is pretty straightforward for KIAUH. Use what you're familiar with!
 
Last edited:
Top