- Printer Model
- LDO Trident 300
- Extruder Type
- Galileo
- Cooling Type
- Stealthburner
Hi all.
A year ago I completed my Voron Trident300 (LDO kit). But I never did solve an issue I had with it, see here for details https://forum.vorondesign.com/threads/extrusion-or-bed-level-trident-300-build.715/
Because of the above issue it has sat unused for 6 months or more, can't remember exactly. I had reached a point where I had to 'take a break'. The kind where you don't intend on picking up where you left off
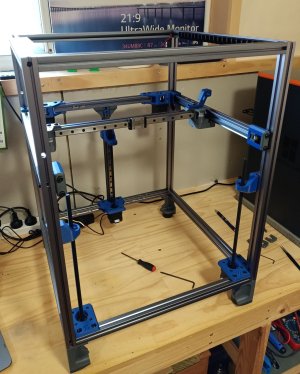
Fast forward to now and feeling a little more positive about it all I have totally disassembled the printer, re-printed all the parts in ASA and reassembled up to the x gantry assembly stage. In the process I have installed the trident pins mod and the BFI idlers.
Which brings me to a question I have concerning the bearings running roughly on the y rails. Would anyone have a proven process for de-racking the trident gantry? I have watched the usual de-racking videos from Nero etc.
The gantry runs smoothly from front to back when the x joint fasteners are left slightly loose. if I tighten (lightly - moderate) the movement feels as though bearings are catching / not rolling along the rails.
Just hoping someone may have a process or order to how they assemble and tighten the x gantry that works well?
Thanks all for listening!


