What's new
VORON Design

Register a free account today to become a member! Once signed in, you'll be able to participate on this site by adding your own topics and posts, as well as connect with other members!

My first ever Voron ( 0.2 r1 from formbot kit)

Hello there good People,
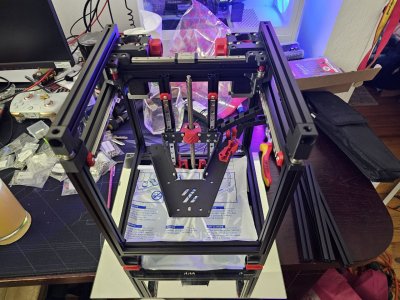
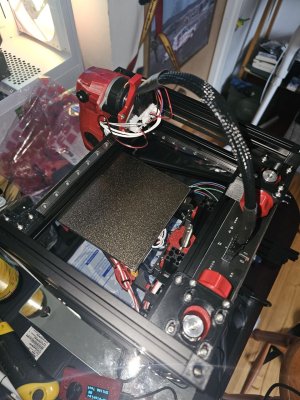
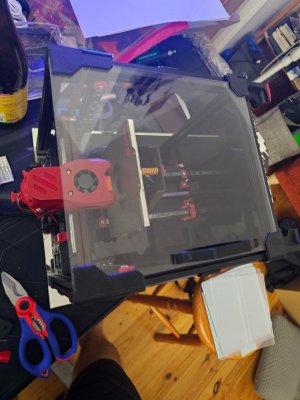
I've finally started working on voron 0.2 r1 kit from formbot.
everything is from formbot even 3d printed parts.
voronono.jpg
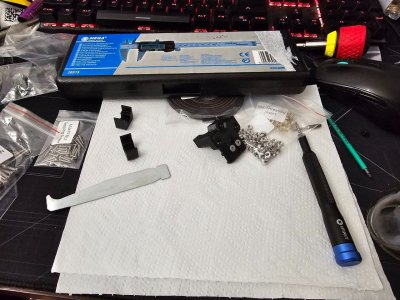
Funny thing m2 bolts are not 1.5 hex but something between 1.5 and 2. (I've tested with different stuff and finally some torx was great for it, and for now I'm using torx to fasten anything on printer).
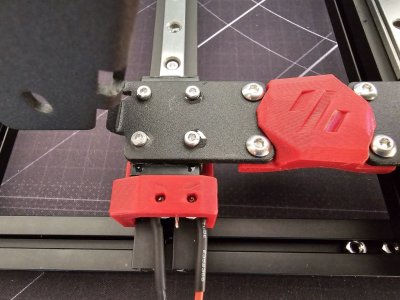
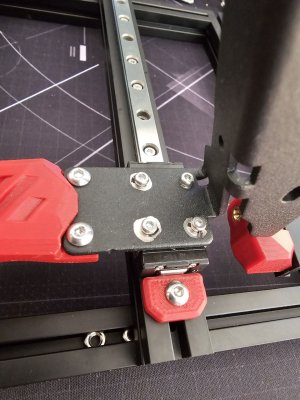
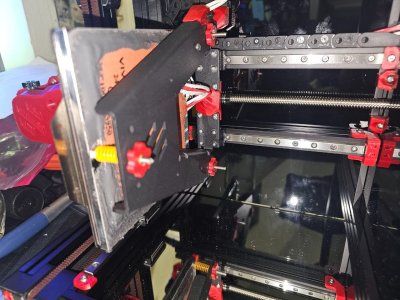
Formbot don't have 3d printed guards for nuts, but I've got from them metal bars with threads for linear rails.
I've used ptfe lubricant, but after few days it is a little bit to tacky, but if It won't work I will see on the end of building.
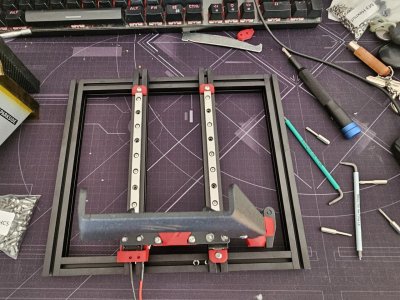
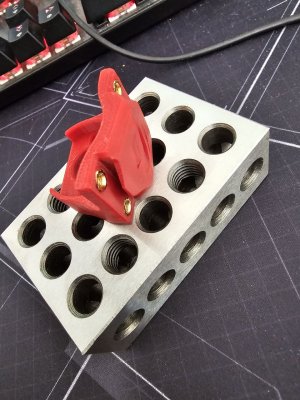
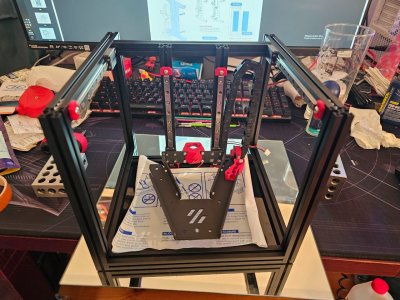
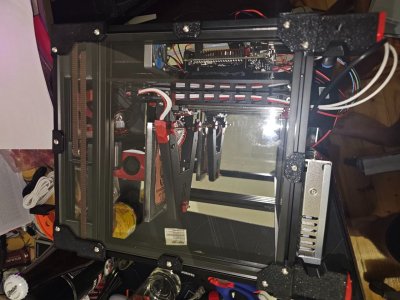
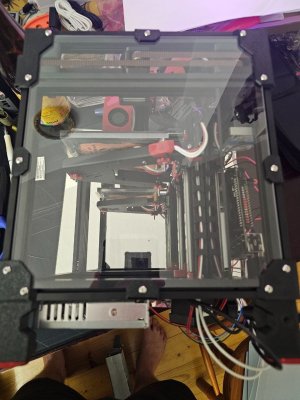
I've bought those blocks that helped Me with squared set of extrusion I've used wirehead idea of clamps and blocks (thanks :) )
One of the linear rails was damaged by Me when I was testing lubricants, and now it is a little bit worse than the others, so it goes for the z axis.
(I've tested a few lubricants and with brake cleaner I was testing what is best for me, and unfortunately nothing that I have is great -.- )
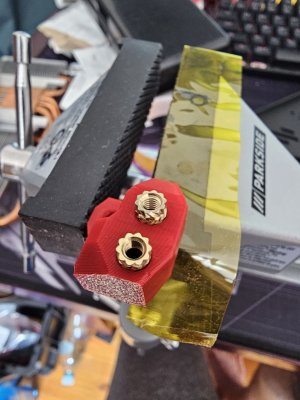
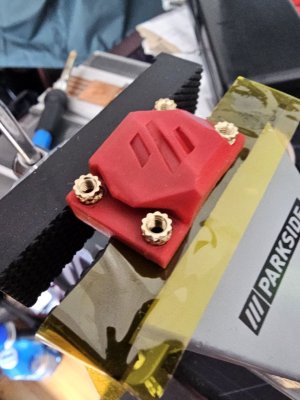
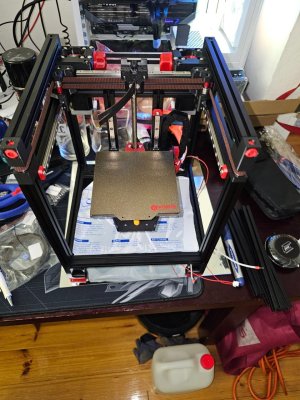
Now I'm waiting for work to end, and I will be trying My first heat inserts in life :D.
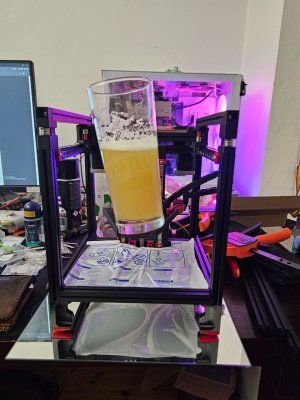
Ps the mirror is from ender 3 I think, it is only flat surface that I have and is not that big :).
 
You have to remember that your lubricant for your linear rails needs to be able to withstand the heat of a heated chamber. EP2 grease is recommended.
 
You have to remember that your lubricant for your linear rails needs to be able to withstand the heat of a heated chamber. EP2 grease is recommended.
That lubricant says on package that is good up to 100C :)

And officially I hate formbot kirigami bed support -.-
It is a little crooked and when fully screwed in it is making the rails to work with resistance -.-
And I don't know if it was my fault or from the supplier, but it is really easy to bend, but it is springing and can't get good shape.

Uff I've made it work :) and the z stop is doing click click :).
 

Attachments

  • photo_2025-07-16_19-10-17 (6).jpg
    photo_2025-07-16_19-10-17 (6).jpg
    213.7 KB · Views: 14
  • photo_2025-07-16_19-10-17 (5).jpg
    photo_2025-07-16_19-10-17 (5).jpg
    278.3 KB · Views: 11
  • photo_2025-07-16_19-10-17 (4).jpg
    photo_2025-07-16_19-10-17 (4).jpg
    211.2 KB · Views: 6
  • photo_2025-07-16_19-10-17 (3).jpg
    photo_2025-07-16_19-10-17 (3).jpg
    183.6 KB · Views: 7
  • photo_2025-07-16_19-10-17 (2).jpg
    photo_2025-07-16_19-10-17 (2).jpg
    249.9 KB · Views: 7
  • photo_2025-07-16_19-10-17.jpg
    photo_2025-07-16_19-10-17.jpg
    177.6 KB · Views: 8
Last edited:
Update I've made it to belts :D.
But some dimensions where smaller than voron guide has said, like height of bearing stack that should have 19mm had 18.53mm, I don't know if it will be a problem later, but for now the build is working quite well, linear rails works without problems after installing x axis.
I've added glass for comparison for friends :), Cause everyone think that 3d printer is huge.
And I'm going today to My favorite shop with grease and all around it stuff to get rtv silicone :).
 

Attachments

  • 4.jpg
    4.jpg
    183.8 KB · Views: 11
  • 3.jpg
    3.jpg
    251.1 KB · Views: 10
  • 2.jpg
    2.jpg
    230.1 KB · Views: 8
  • 1.jpg
    1.jpg
    242.5 KB · Views: 8
I've tensioned the belts to 115 Hz cause it was 110 on both belts, and after securing nuts on tensioners it has made 115 Hz.
And I've made it to the wire mess :D, Today I'm installing klipper and I hope I will test if it works.
I've made mistake, and added to bed 40mm screws cause of the manual, but for kirigami it should be 35mm screws, so now I'm looking for bolt cutter in home :).
(edit) And I'm not fond the normal pcb mount that is in 2 pieces for each one pcb, rather than one that has some wire channels to connect it, I can't wait to make My own pcb mount :D (edit ) but after looking at it it is brilliant in it's simplicity, after needing to undo pcbs few times it is great :D. (I will change it later to make cabling easier for me, but I will base My idea around this one :) ).
And I don't really understand why Formbot is selling umbilical cord that is hard as ..., but wiring that won't move is from silicone cables -.-
 

Attachments

  • beltyry.jpg
    beltyry.jpg
    268.8 KB · Views: 5
  • Belty.jpg
    Belty.jpg
    248 KB · Views: 7
Last edited:
After testing the kinematics if everything works fine I've managed to close front.
I've added some two thingy glue to heatbed just to be sure.
The bed is a little to low, so I need to add washers to make that spring is properly squeezed.
Edit: I think that only front is screwed properly, rest of panels are with wrong plastic parts, I thought that there are only few types of plastic parts to hold the acrylic panels, I was wrong.
 

Attachments

  • vorono 1.jpg
    vorono 1.jpg
    252.5 KB · Views: 6
  • Vorono 2.jpg
    Vorono 2.jpg
    223.1 KB · Views: 5
  • Vorono 3.jpg
    Vorono 3.jpg
    186.8 KB · Views: 4
  • Vorono 4.jpg
    Vorono 4.jpg
    172.6 KB · Views: 4
  • Vorono 5.jpg
    Vorono 5.jpg
    141.4 KB · Views: 4
Last edited:
I've managed to make it print, but it is not finished, cause I've forgot that I need to flash display to make it work.
Voron9.jpg
and fans for part cooling had wires messed up, needed to change the polarity of connector.
After testing kinematics I've needed to change bolt on front of the heating plate, cause of that I've drilled hole in magnetic sheet.
I've destroyed bit while screwing new screw for front.
voron6.jpgvoron8.jpgvoron7.jpg
First filament that I was printing was outside for I think 2 years, (PLA)
Voron10.jpgVoron11.1.jpg
Last print was done with TPU 95A, (First time printing tpu, and first cube was disaster cause of to low gripping of extruder, but after some adjustments with screw inside extruder it works ok. )
voron3.jpg
Voron12.jpg
 
Top