VORON Design
You are using an out of date browser. It may not display this or other websites correctly.
You should upgrade or use an alternative browser.
You should upgrade or use an alternative browser.
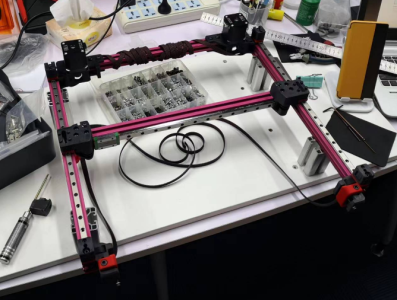
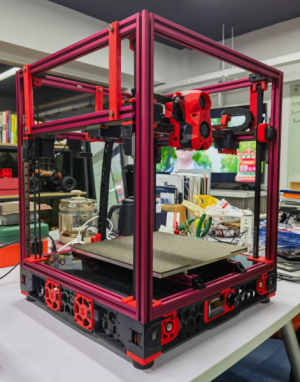
my first Voron 2.4 300mm build logs
- Thread starter PXD
- Start date
PXD
Member
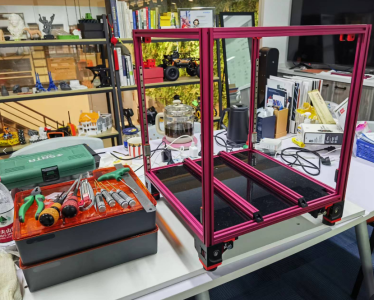
My kit is 300mm, and the assembly manual should be for 250mm.
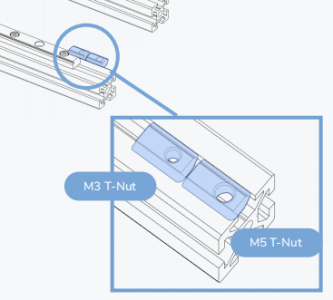
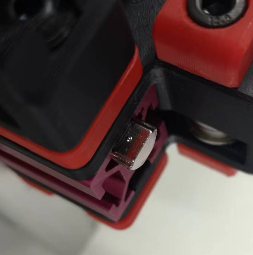
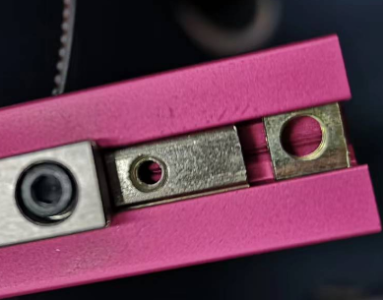
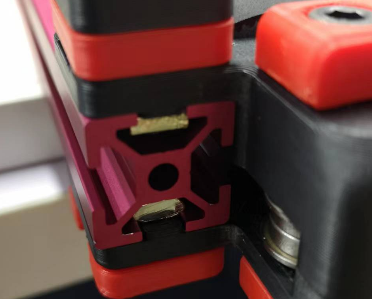
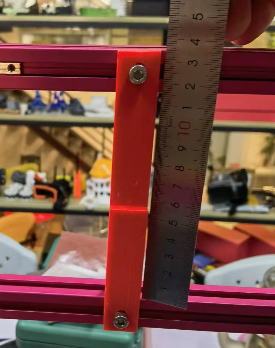
So there are 11 holes at X rail which is odd number and you can depoly the T-Nuts every other one according to the manual .
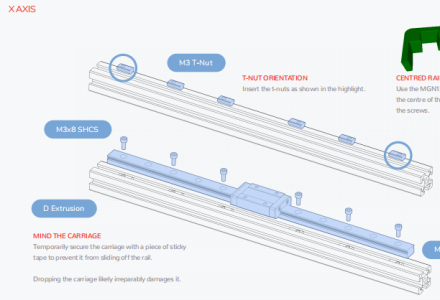
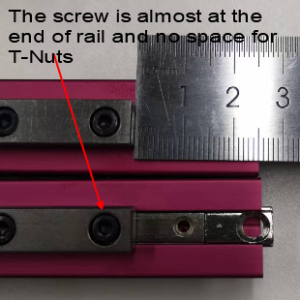
But my rail is for 300mm and there are 14 holes which is even number.
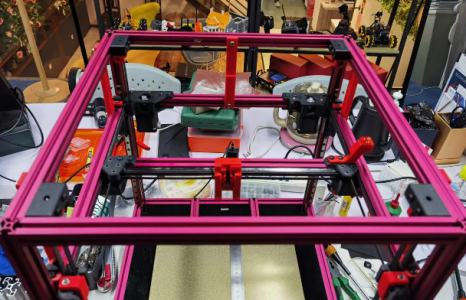
So I decide to deploy T-Nuts from middle to both ends like below and for Y and Z rails.

So there are 11 holes at X rail which is odd number and you can depoly the T-Nuts every other one according to the manual .

But my rail is for 300mm and there are 14 holes which is even number.
So I decide to deploy T-Nuts from middle to both ends like below and for Y and Z rails.

PXD
Member
Dec. 9, 2022 - Print Bed Assembly
1. Megnet Tape Preparation
make sign first using M3 screw
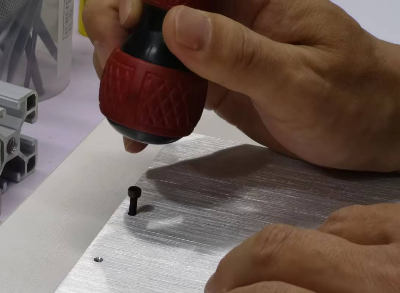
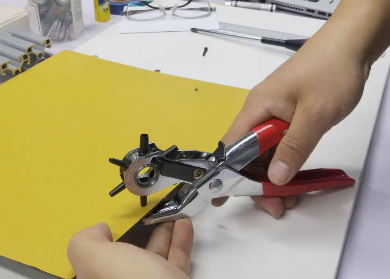
I use one Belt Hole Puncher to get four holes for screw driver to tighten screws later.
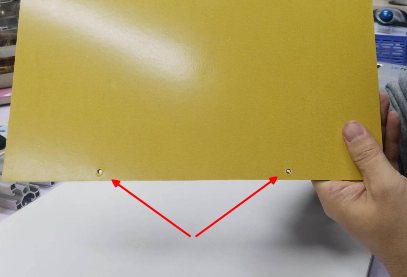
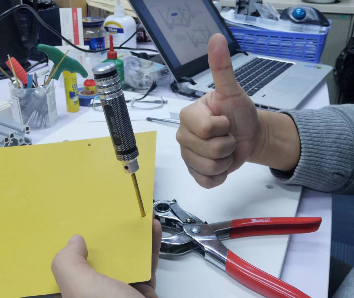
2. Megnet Tape Apply
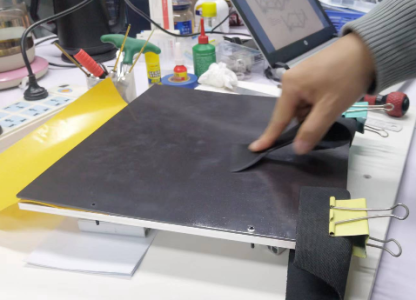
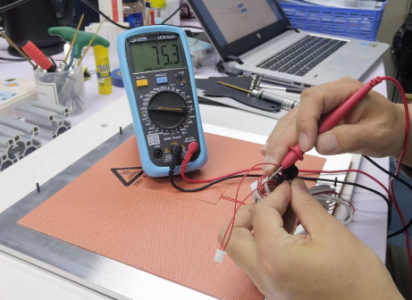
3. Heater Tape Apply and Test the Resistor Value around 75 Ohm to avoid circut short.
4. Install the Print Bed, Well Done!
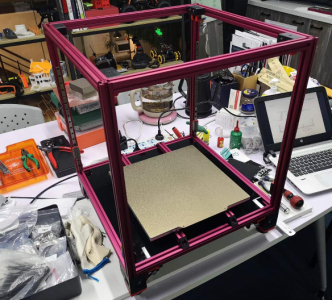
1. Megnet Tape Preparation
make sign first using M3 screw

I use one Belt Hole Puncher to get four holes for screw driver to tighten screws later.


2. Megnet Tape Apply

3. Heater Tape Apply and Test the Resistor Value around 75 Ohm to avoid circut short.

4. Install the Print Bed, Well Done!

PXD
Member
Jan. 5, 2023 - Tuning and Learning
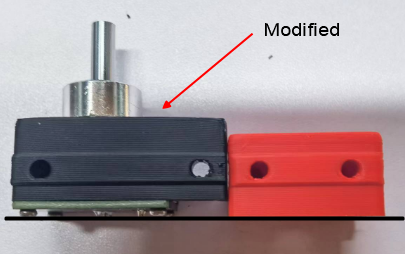
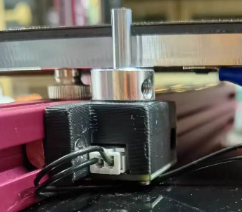
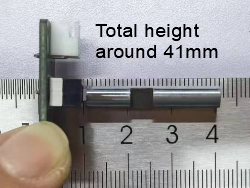
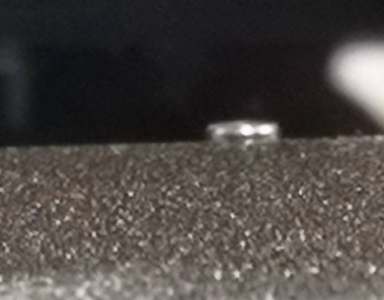
1. The Z-Endstop Shaft is some higher and thers is risk, I ordered one new shaft which is shorter (28mm comparing standard 30mm). Now it's safe enough.
Impact when printing first layer.
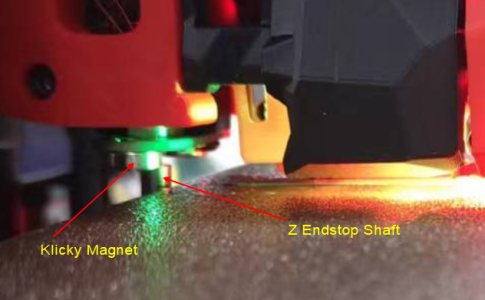
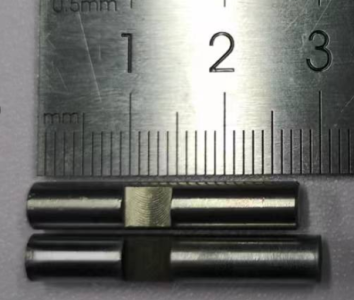
Standard shaft 30mm
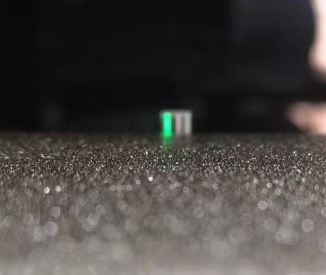
Shorter one 28mm
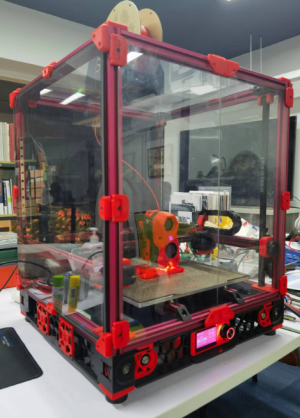
2. Panels Installed and Print Testing
3. I got my Serial #

1. The Z-Endstop Shaft is some higher and thers is risk, I ordered one new shaft which is shorter (28mm comparing standard 30mm). Now it's safe enough.
Impact when printing first layer.


Standard shaft 30mm

Shorter one 28mm

2. Panels Installed and Print Testing

3. I got my Serial #

PXD
Member
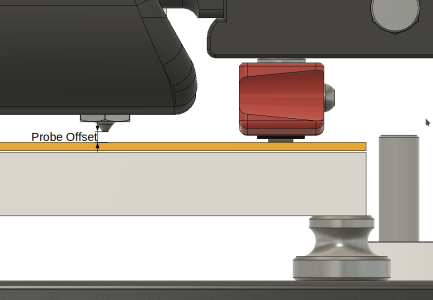
Hi Christian, I have not tried klicky probe for Z homing since I seldom use manual homing operation.Have you thought about using the klicky probe also for Z homing? At least for me it provides me with a cleaner offset.
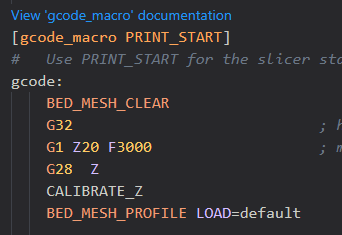
But I do use macro of "CALIBRATE_Z" in my PRINT_START gcode_macro, it will automaticaly calculate the offset between probe and nozzle and get accuracy first layer height before printing every time. I think this is much helpful to me.
PXD
Member
An important reminder!
I have discovered a danger that needs to be brought to attention. I am using the Klicky automatic height measurement system, and when I was cleaning the print head with a steel brush, like I would with other printers, the steel brush is conductive and short-circuited the two magnets (which are charged) under the Klicky. Therefore, I would like to remind everyone to be careful when using a steel brush and avoid touching the Klicky or simply use a non-conductive material brush.
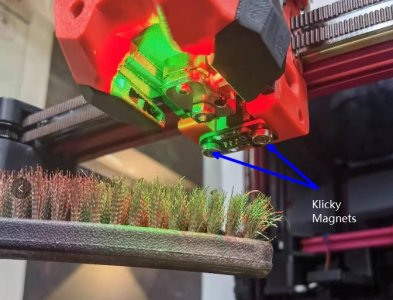
I have discovered a danger that needs to be brought to attention. I am using the Klicky automatic height measurement system, and when I was cleaning the print head with a steel brush, like I would with other printers, the steel brush is conductive and short-circuited the two magnets (which are charged) under the Klicky. Therefore, I would like to remind everyone to be careful when using a steel brush and avoid touching the Klicky or simply use a non-conductive material brush.


