I thought I would log this one here as this printer has a bit of history and it is time to rebuild it properly. I'd say there are a few Switchwires out there that have some dodgy first ABS prints on them ")
I purchased early 2024 to dip my toe in the Voron waters, so to speak. I purchased second hand in bits and it had the initial prints with it what were out-of-this-world terrible.
All in all, it had a very good base but I did the absolute minimum necessary to get it running. Now I have a second functional printer (V2.4) it is time to bring it up to spec and replace some of those rather crunchy prints.
What is it now?:
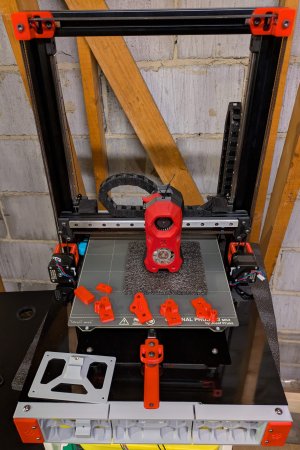
LDO SW frame
LDO rails (one has a lovely crunchy breakfast cereal feel to it)
LDO steppers 4240's from memory
Stealthburner, running Revo Voron 40w & CW2 (I updated the toolhead on its initial re-assembly as it was a mess)
BTT E3 V3 main board
Genuine PRUSA MK52 heatbed
Pi Zero
Meanwell 350w 24v & 5v
Keyback - the incorrect one unfortunately.
What am I changing - updating?
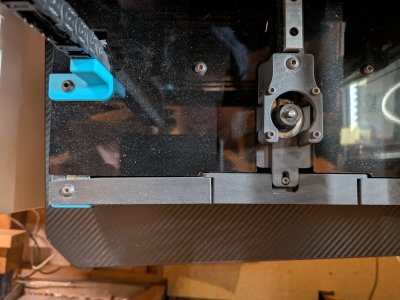
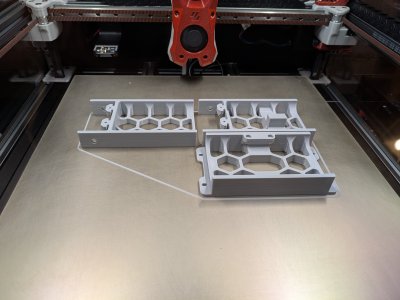
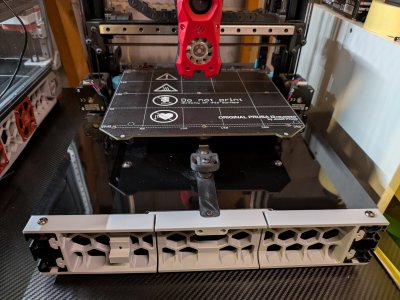
All of the prints not yet changed (i.e most of them)
The one shagged LDO rail unless you can reball it? I already cleaned and re-greased but this one feels like the balls are shagged.
Steppers - I have some LDO 4248's I got second hand a while back I will drop in - I mean, why not
Toolhead board - I have a Nighthawk in my 2.4 so thinking to go that direction for this.
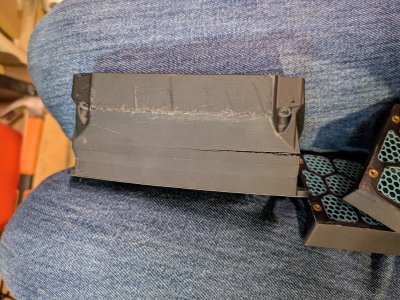
Enclosure - It came with one but it is god-dam-awful - will see how I can change it to be a bit more user friendly for easy removal.
BTT touch screen - hopefully it fits the LDO RevC print for the front.
Pi 4 to run the screen
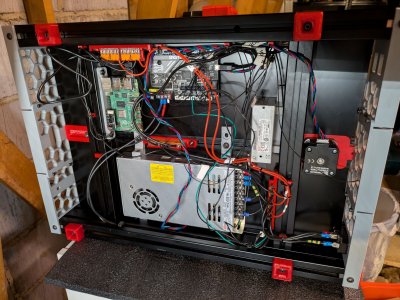
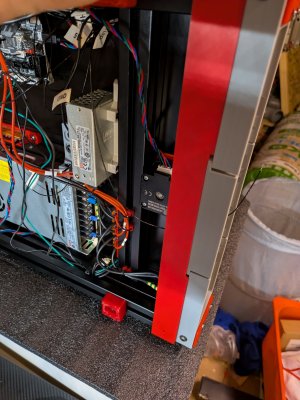
Underdeck wiring / general tidy up
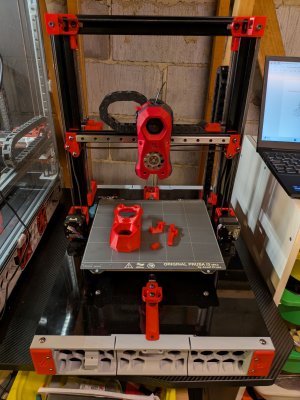
I am playing with colours but I am heading toward gray / red / black with some tasteful lighting in behind the front grills.

I purchased early 2024 to dip my toe in the Voron waters, so to speak. I purchased second hand in bits and it had the initial prints with it what were out-of-this-world terrible.
All in all, it had a very good base but I did the absolute minimum necessary to get it running. Now I have a second functional printer (V2.4) it is time to bring it up to spec and replace some of those rather crunchy prints.
What is it now?:
LDO SW frame
LDO rails (one has a lovely crunchy breakfast cereal feel to it)
LDO steppers 4240's from memory
Stealthburner, running Revo Voron 40w & CW2 (I updated the toolhead on its initial re-assembly as it was a mess)
BTT E3 V3 main board
Genuine PRUSA MK52 heatbed
Pi Zero
Meanwell 350w 24v & 5v
Keyback - the incorrect one unfortunately.
What am I changing - updating?
All of the prints not yet changed (i.e most of them)
The one shagged LDO rail unless you can reball it? I already cleaned and re-greased but this one feels like the balls are shagged.
Steppers - I have some LDO 4248's I got second hand a while back I will drop in - I mean, why not
Toolhead board - I have a Nighthawk in my 2.4 so thinking to go that direction for this.
Enclosure - It came with one but it is god-dam-awful - will see how I can change it to be a bit more user friendly for easy removal.
BTT touch screen - hopefully it fits the LDO RevC print for the front.
Pi 4 to run the screen
Underdeck wiring / general tidy up
I am playing with colours but I am heading toward gray / red / black with some tasteful lighting in behind the front grills.