
3dCase
Well-known member
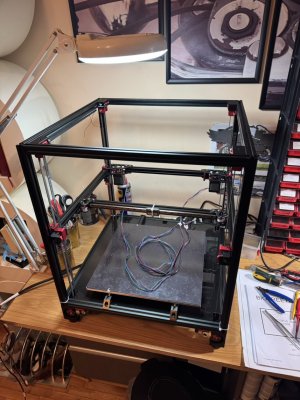
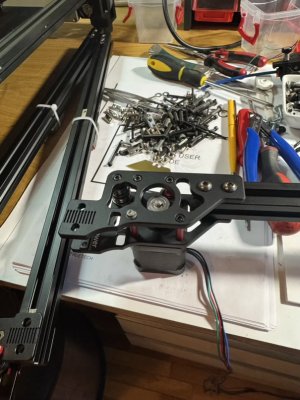
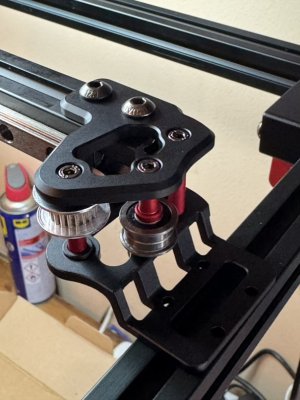
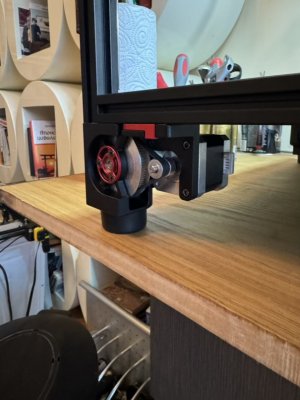
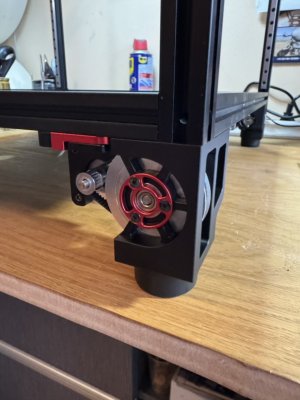
Finally the time came to totally rebuild my V2.4 350 with chaoticlabs cnc kit to replace all the plastic parts.
At the same time I will address the crooked bed, get rid of clicky and z limit, already got rid of x and y limits. Will install canbus and cartographer.
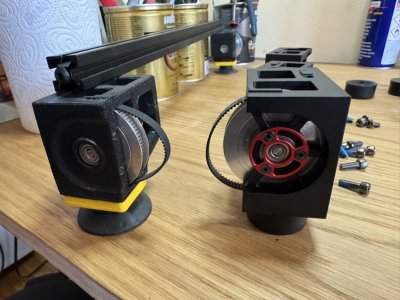
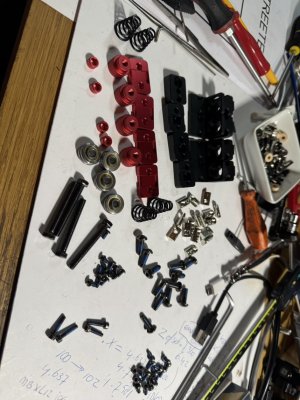
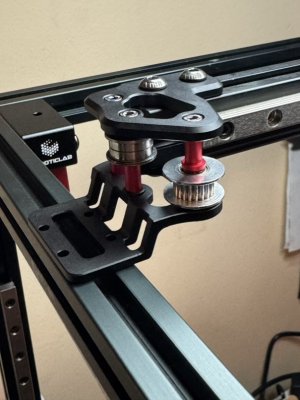
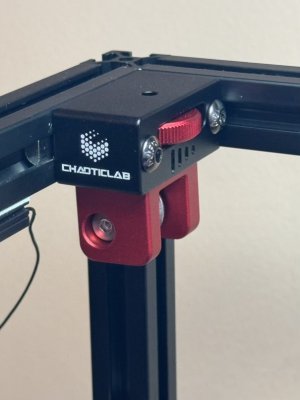
First impressions of the chaoticlabs kit are unbelievably good, no missing parts, everything fits like a glove, finish is perfect and packaging is almost too good (very hard to unpack the tightly wrapped fasteners). The whole mechanical dissasembly and rebuild took about 8 hours sofar. Will do little things after work during the week and next weekend hopefully get started on the canbus and wiring. Got to figure out my mounting of the toolhead because its my own design and my voron has 2 linear rails for the x axis so it is not exactly like what the cartographer parts are in need of, but it will be ok.
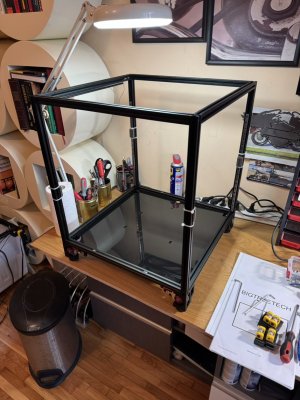
Pleased with todays progress
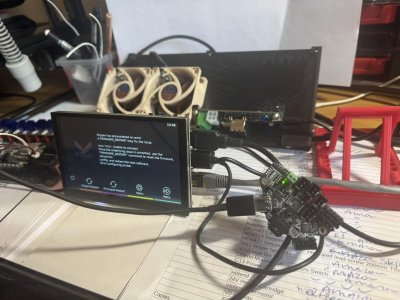
Forgot to mention also that I already relocated the electronics and removed those daft cable chains. Months of grief with those and having to lay your printer on its back everytime you need to get to those electronics gets boring very fast, so seperate controlbox on an umbilical and the base will stay open.
At the same time I will address the crooked bed, get rid of clicky and z limit, already got rid of x and y limits. Will install canbus and cartographer.
First impressions of the chaoticlabs kit are unbelievably good, no missing parts, everything fits like a glove, finish is perfect and packaging is almost too good (very hard to unpack the tightly wrapped fasteners). The whole mechanical dissasembly and rebuild took about 8 hours sofar. Will do little things after work during the week and next weekend hopefully get started on the canbus and wiring. Got to figure out my mounting of the toolhead because its my own design and my voron has 2 linear rails for the x axis so it is not exactly like what the cartographer parts are in need of, but it will be ok.
Pleased with todays progress
Forgot to mention also that I already relocated the electronics and removed those daft cable chains. Months of grief with those and having to lay your printer on its back everytime you need to get to those electronics gets boring very fast, so seperate controlbox on an umbilical and the base will stay open.
Attachments
-
 Clipboard 23 Mar 2025 at 21.00.jpeg157.4 KB · Views: 57
 -
 Clipboard 23 Mar 2025 at 21.01.jpeg267.3 KB · Views: 52
 -
 Clipboard 23 Mar 2025 at 21.05.jpeg284.9 KB · Views: 48
 -
 Clipboard 23 Mar 2025 at 21.04.jpeg261.4 KB · Views: 47
 -
 Clipboard 23 Mar 2025 at 21.04.jpeg155 KB · Views: 43
 -
 Clipboard 23 Mar 2025 at 21.04.jpeg132.7 KB · Views: 46
 -
 Clipboard 23 Mar 2025 at 21.03.jpeg127.2 KB · Views: 50
 -
 Clipboard 23 Mar 2025 at 21.03.jpeg77.3 KB · Views: 47
 -
 Clipboard 23 Mar 2025 at 21.02.jpeg115.3 KB · Views: 47
 -
 Clipboard 23 Mar 2025 at 21.02.jpeg112.3 KB · Views: 46

 but he deserves a KoFi for sure so will look at this when I am done.
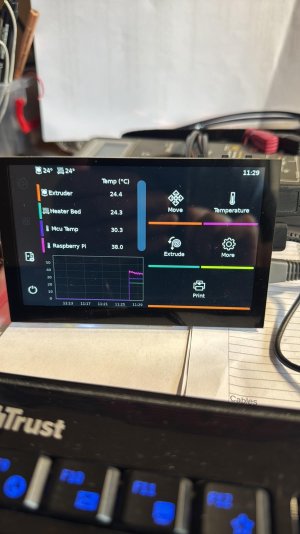


")