What's new
VORON Design

Register a free account today to become a member! Once signed in, you'll be able to participate on this site by adding your own topics and posts, as well as connect with other members!

Temperature chamber question

George Velkov

Active member
Hello,
Can anyone share what hardware and software changes are required
to maintain a certain temperature in the Voron Trident box.
Thanks in advance
Sincerely, George
 
What kind of temperature?

Isolation works best. Start with that.
If you need more heat add some bed fans.

The combination of both should get you to or close to the limit what a voron can handle.
 
Thanks for the reply, but I would like to know what temperature sensors are used,
where is the best mounting location and how does the Klipper control and maintain the set temperature.
 
For temperature sensor you can use the same kind of probe that is also in your hotend. Just two wires going to your motherboard.

Mounting location is debatable. Though I would say somewhere close to the print area is optimal.

Bedfans are not the easiest to install on a trident, but I think there are mods. Some people use these to increase heat. I think the trick is to let klipper think the bed fans are heaters and the chamber sensor is the temperature sensor. Klipper will then spin the fans down when a certain temperature is reached.
Or you could do the reverse. If a certain top temp is reached an exhaust fan activates.

If you are ever on voron discord, there is a "toasted marshmallow" thread with some pins that have great information. For example the PID controlled bed fans.
 
Thanks again for the quick reply but things are going to get a bit complicated as I have to manage and
more lights, Nevermore filters and MMU for color printing - ERCF v2
I will probably need additional MCU ports. I have the idea to use a Raspberry Pi Pico to the main
raspi that I use - Raspberry Pi 3 Model B.
If anyone has experience or uses such extras, please share.
I'm sorry if something is not very clear, but I use Google as a translator
Sincerely, George
 

This is about $20 or so. More fan, thermistor and rgb outputs.

A CAN toolhead will also free up ports on the mainboard for other uses. They heater output, for example, can now be used for 24 VDC fans if you have a CAN toolhead.


I run this mod:


Without them, chamber pre-heat time is substantial.
 
Thank you very much for the information Sandman50
And what temperature should be maintained in a camera when printing with ABS
Regards, George
 
More chamber heat = stronger ABS parts
Unless you know what you are doing, you want to stay BELOW 80C

To quote pnewb from discord:
The goal for these printers is very successful printing of ABS. As such the specified components recommended in the bill of materials hold up well until you hit chamber temperatures around 80C. Past that your ABS parts warp, your belts melt, the grease in your bearings behaves a lot more like oil, and folks are bound to have a bad time. This 80C chamber temp can easily be achieved via more air movement and some insulation. It may not look as pretty but it is perfectly effective, and much safer than some things which have been proposed in the past including various methods of active heating

I print around ~60 - 65C, but I also did not isolate it well and don't have dedicated bed fans, just a filter below my 2.4 bed.

If your printer is made from ~easy~ ABS you might want to stay below 65 - 70C.
 
I can't figure out what kind of isulation you're talking about. How should it be isolated and with what.
I have spent many hours on the web looking for information and the printers I have seen with panels of transparent material,
and I couldn't see a printer with isolation
I want to make this mod that also uses laser etched cast acrylic door panels for LED edge lighting. But it's not about isolation
I have made the parts of the printer from ABS, but recently I came across information that PETG behaves excellently at
80 degrees.
George
 

Attachments

  • Voron Trident Mod.jpg
    Voron Trident Mod.jpg
    108.8 KB · Views: 10
If possible for your, I would advice to take a look at the pins in discord, in the Toasted Marshmallow thread. Lots of advice on how to get temps up there: https://discord.com/channels/460117602945990666/1021908552702505051

The "cheapest" isolation is the "blanket mod" which is just throwing a blanket over your printer :D

Here is one of the pins from MallCop:
    • This is what I use for the chamber temperature management on my 2.4's. I average about 71C chambers when printing ABS with a 110C bed, and no chamber heaters. Pictures soon.I use the Fan Splitters I made (https://www.fabreeko.com/collections/v0/products/fan-port-multiplier-pcb / https://kb-3d.com/store/electronics/631-fan-splitter-expansion-pcb-1658867098563.html), and the Polysulfone bed spacers I made (https://www.fabreeko.com/collections/voron/products/voron-v2-4-bed-standoffs-polysulfone). The bed spacers reduce heat coupling to the frame and keep it in the bed, and all 4 fans do a good job of extracting heat from the bed into the chamber.The walls are all sealed with 3mm foam tape and the 6mm panel clips. The doors are sealed with 1mm tape. I run ACM bottom and rear panel, and 3mm acrylic side, top, and doors. By far the best impact though was this adhesive foam. It's 10mm neoprene, acrylic adhesive, foil backer: https://smile.amazon.com/uxcell-16-36sqft-Insulation-Waterproof-Moistureproof/dp/B01I4F0J76/ This alone gave me 15C chamber boost, on top of the 10C I got from the fans. All the panels are covered in it, including the deck panel.With the foam, my room itself runs considerably cooler, and my power bill has dropped about $25/week from the AC not having to fight the printers.If you want a bulleted list of mods to do to a printer to turn it into a toasty marshmallow:
      • replace your acrylic side & top panels with panels cut from 6mm PC twinwall. you can get 4x8 sheets of 6mm at Lowes for $55. it cuts with a regular finishing wood blade easily. seal the ends of the "tunnels" with RTV or Kapton tape to trap the air inside.
      • using something other than 3M Super90 spray, attach mylar space blankets to the inside of your twinwall panels. they need to be taut, with the foil side facing inwards.
      • use this for the foam tape for the extrusion-to-panel seals: https://www.mcmaster.com/1488N502/. apply it to the frame after a wipe down with brakleen
      • get a small rod of Ultem, and turn 4x 10mm long spacers with a ~ 3.3mm ID hole: https://www.mcmaster.com/8686K72/. This replaces the 4x DIN nuts. If you cannot machine Ultem (few can), KB3D sells "polysulfone spacers" which do the same thing.
      • use these titanium screws https://www.mcmaster.com/95435A972/ with these washers https://www.mcmaster.com/93785A420 to hold the bed to the extrusion. you are trying to thermally isolate the bed from the metal frame, while still rigidly coupling it.
      • get a K3 door instead of the split doors, Mandala Roseworks sells kits
      • use a blanking plate on the rear ACM instead of the exhaust port
      • cover the entire exterior of all panels of the printer (sides, top, rear) in the neoprene foam
      • cover the deck between the extrusions in strips of the neoprene foam
      • after attaching the panels with printed panel clips (you will need thicker clips printed), cover the exposed extrusions with an easilyish-removed insulation
      • install 4x bedfans all blowing front-to-back under the bed, using either 4020 fans or 5015 fans, with printed holders. KB3D and Fabreeko sell a 'fan splitter' board that simplifies some wiring, but it is not required at all
      after these mods, ignore all advice you've ever heard about "dont use too much cooling fan with ABS"

      If you are going to get insulation from a big-box hardware store, please consider rockwool > PIR > PUR > EPS (pink stuff). PIR and PUR are reasonably fire-"tolerant", and EPS is one of the ingredients for Anarchists-Cookbook napalm.​

      (edited)


And here is a recent and random image I found:
1711355867142.png\
* Form user "CountingSheep

Or here MallCop uses greenhouse panels:
1711355946415.png

And here is another example of an well isolated printer: https://vorondb.com/printer/Whiplash
 
I can't figure out what kind of isulation you're talking about.

Almost ANYTHING willwork. Toss a bllanket over the printer and tie it one with rope. Of course that isugly and not pratical but people have used carboard boxes and packing tape.

I think the best looking solution is to double glase the pannels. The stock printer uses 3mm PC sheets but you can install two sheets with a 20mm air gap but this requires a lot of work and thinking and designing brakets to hold the second sheet in place.


But more common is just to use insulation foam. It is used for building, residential and comerial. Usually it is a white or pink rigid foam with alumium foil llaminated to one side. Cut this so that it friction tifs inside the frame or make a 4-sided box that slips over the entire printer.

Friction fitting inside means the foam can be not thicker then the 2020 extrusion but and exterioir shell can be as thick as you like.

Seriously, prople have used cardboard and tape

I have found that a lot of heat passes through the top pannel. Siply folding up a bath towel and setting on top of the printer prevents some heat loss.

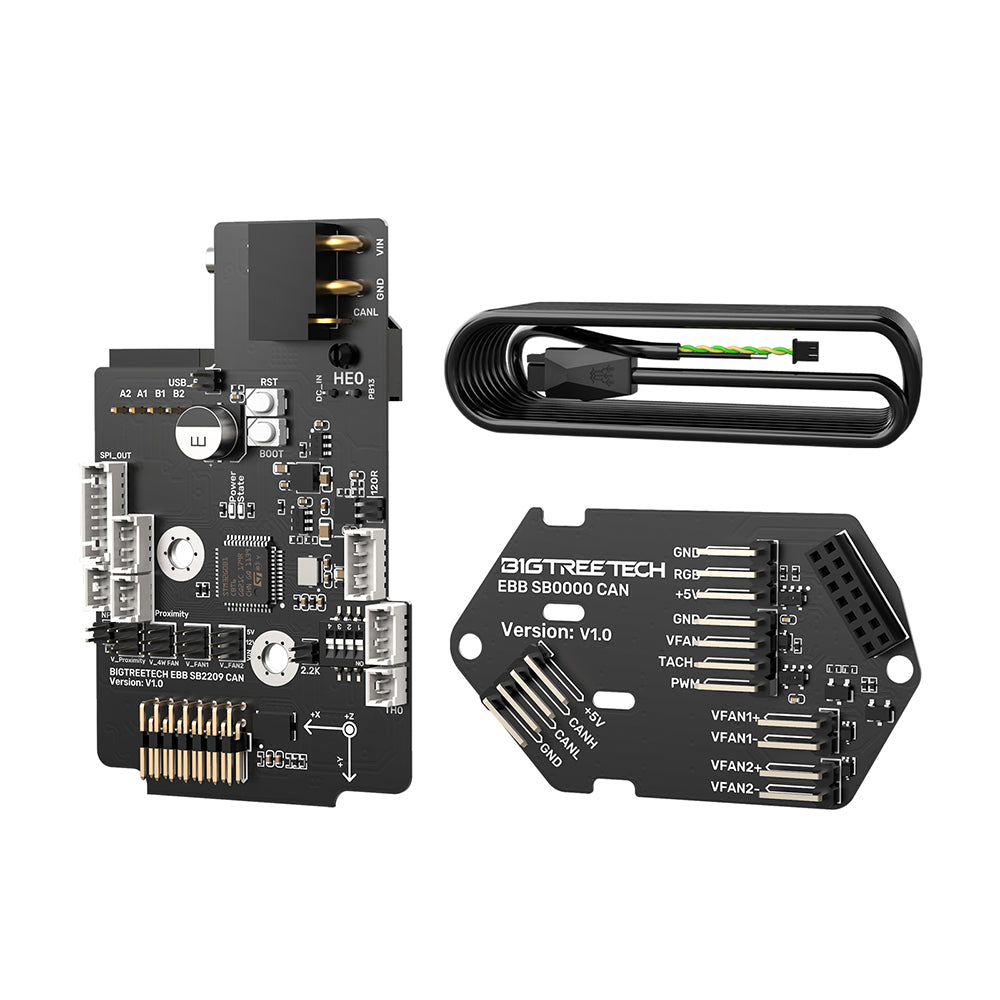
About the idea of usoing a "standard" Raspberry Pi "Pico" as an MCU. That works and they cost only $4 and give you ab out a dozen or so more pins (although only four analog pins). But they are just bare pins with no connectors on them, you have to add level shifters, mosfet switches and JST connectos and whatever else you need. So you might as well just buy a purpose-build Klipper MCU for BTT or one of the others. I used the custon, hand-built method for experiments on the bench because I happen to have a big stock of these parts

You could even use an old Arduino Uno as a Klipper MCU.

The easy why to know what will work is when you compile Klipper there is a menu, any processor on that menu will work

Finally, notice there is a "linux" MCU. Klipper can run a process in the host Pi3/Pi4 that accesses the GPIO pins. You can not connect a thermister directly to a Pi3 GPIO but you can connect a serial interface temperture sensor. I have five of these on my Pi3 right now, all sharing one GPIO pin. The sample rate is dead slow but I'll use these for chanmber temperature and things like the power supply heat sink and motor temperature. I'm testing reliablity on the bench now. I keep finding and fixing pron=blems and now it is running 24x7 for a couple weeks. This si the problem wwith self-build interfaces, youare going to make mistakes and are going to have to be able to find and fix them. Most people will just spend the money one a second (or thoird) camerical MCU.
 
Top