martinklaus
Member
- Extruder Type
- Clockwork 2
- Cooling Type
- Stealthburner
Hello voron users,
I'm struggling to get my voron 2.4 really working. The problems addressing different arrays of my prints.
I have an voron 2.4 with 300mm with following problems:
I'm using the following parts:
What I can check step by step to get my printer working?
I opened the thread with basic information and will provide more example.
If someone need more information, please tell me and I will provide it.
I'm struggling to get my voron 2.4 really working. The problems addressing different arrays of my prints.
I have an voron 2.4 with 300mm with following problems:
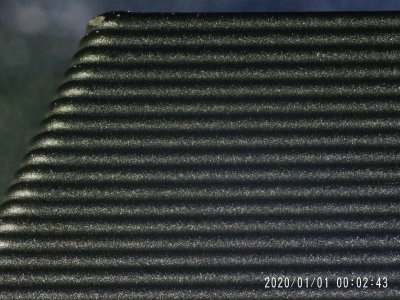
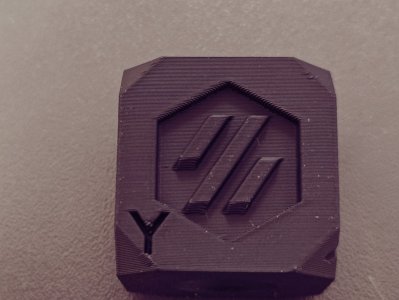
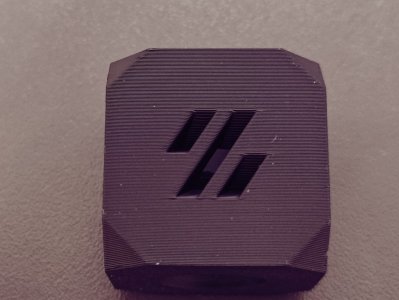
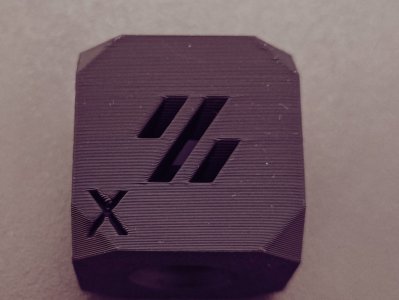
- Bad first layer bed adhesion on complex parts with holes, like the stealthburner body part.
- Bad overhangs that I'm not able to print the nevermore body.
- Parts are general too big that I'm not able to put parts like the latch together (parts from the same print)
- Tool head often has timeout
I'm using the following parts:
- Funssor Misumi HFSB5-2020 Extrusion Frame Kit For Voron 2.4 Trident 3d Printer Black Anodized Blind Joints V 2.4 EXTRUSIONS
- E3D Revo 24v 104NT hotend
- EBB SB2209 CAN V1.0(RP2040)toolhead
- ID5 0.5M 17T dual drive extruder gear kit Hardening steel DDB DDE can be use for VORON ender 3 CR10 Tevo Tornado (Smooth side)
- Mellow D2F-01Klicky PCB Kit Voron
- BIGTREETECH Manta M8PControl Board running Klipper with CB1
- FYSETC JanusBPS Double Sided PEI Spring Steel Sheet (Textured And Smooth) 305*305mm Pre-Applied PEI steel for Voron 300
- Filament eSUN abs+ black
What I can check step by step to get my printer working?
I opened the thread with basic information and will provide more example.
If someone need more information, please tell me and I will provide it.
Attachments

Last edited: