What's new
VORON Design

Register a free account today to become a member! Once signed in, you'll be able to participate on this site by adding your own topics and posts, as well as connect with other members!

2.4 300x300 build

msaeger

Well-known member
Building a 2.4R2 kit from formbot. So far everything is going good. The parts in the kit look good to me. I got a Revo Voron and a pi 4B 2gb to go with it. I am using black with white accent for the colors. I have been printing the parts as I go so it's going to take a while. I am really impressed by how well the printed parts are designed! so far everything has just fit together perfectly. Also there are little touches like how there is a little bump on the Z drive that aligns it on the frame extrusion. The build guide is also amazing! Printing the Z eyedler parts now. I can see why so many people are building these.

Here is what I have done so far.

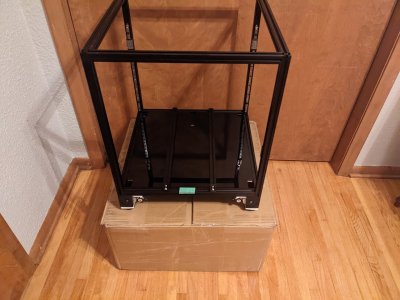
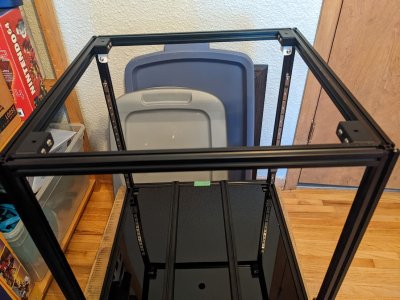
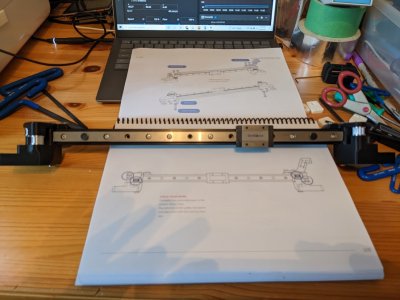
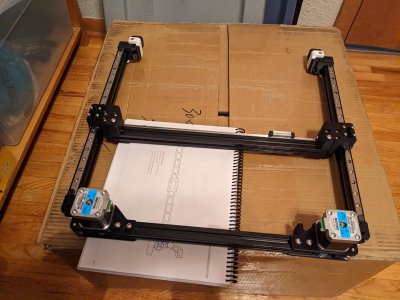
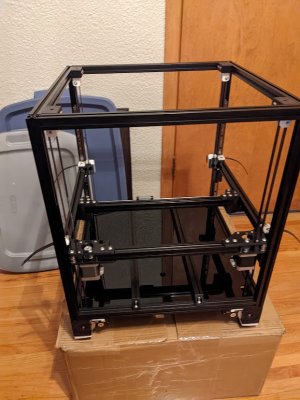
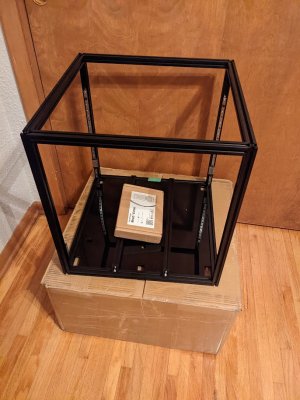
Frame with the Z rails mounted
PXL_20221117_023455814 (1).jpg

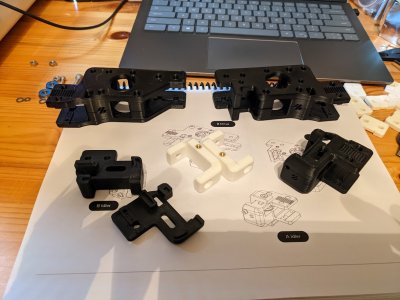
Here's one Zdrive

PXL_20221117_023450694.jpg

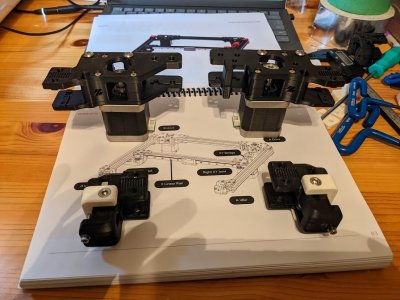
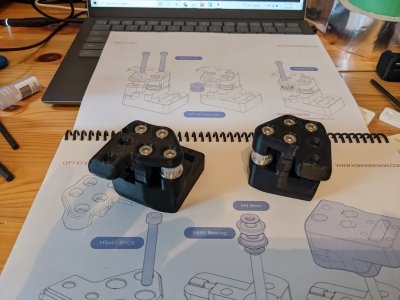
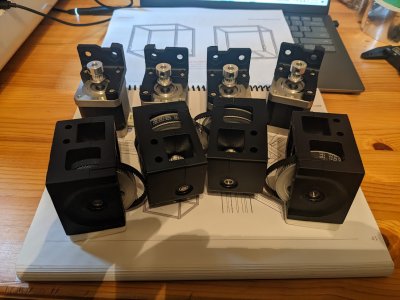
Here are all the Zdrives and motors with the mounts
PXL_20221120_011306253.jpg

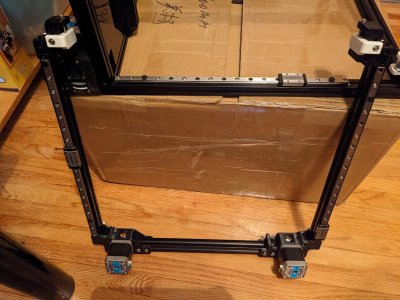
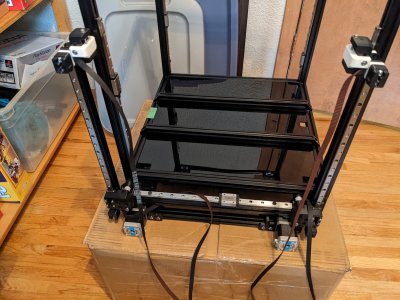
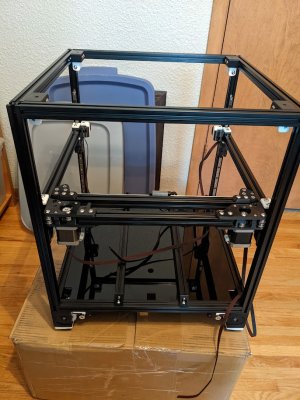
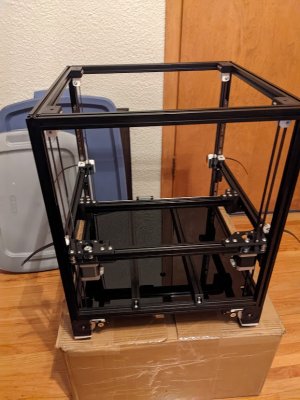
Zdrives and motors attached to the frame
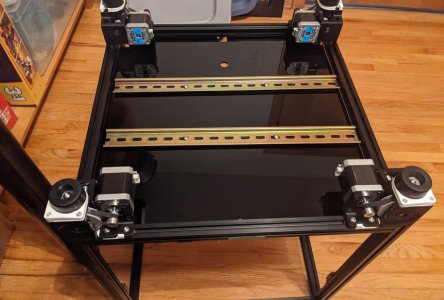
PXL_20221120_014954568 (1).jpg

PXL_20221120_015015808.jpg
 
I built mine from a formbot kit about a year or so ago. Had to replace a few small parts so far, but I probably have 500+ hrs of print time on it.
 
I built mine from a formbot kit about a year or so ago. Had to replace a few small parts so far, but I probably have 500+ hrs of print time on it.
Thanks that is good to hear. It seems like they keep improving their kit as time goes on.
 
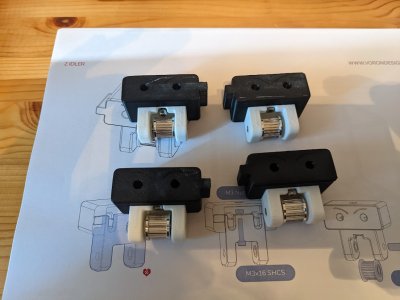
Z idlers done. Got some black on the white parts from a skirt that didn't get fully removed, good thing I am not a perfectionist. There is some space between the pully and the z tensioner , I don't see anything saying to put a shim in there. Printing parts for the gantry.

PXL_20221120_200741501.jpg

PXL_20221120_201911225.MP.jpg

PXL_20221120_202740838.jpg
 
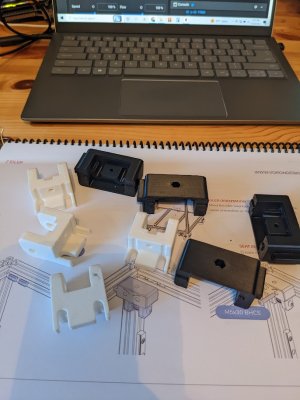
Got the front idlers and AB drives done. Had some confusion with the front idlers I ended up printing two of the same one but I think I have them right now.

PXL_20221124_003058893.jpg

PXL_20221124_011718526.jpg
 
Got the belts attached to the gantry. Go to attach the lower z joints to the rails and hey the screws aren't long enough? Seems formbot gave me M3x16 instead of M3x20. Gotta find some M3x20s now.

PXL_20221129_182241486.jpg
 
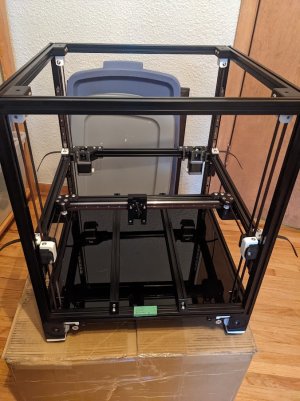
Got the gantry installed in the frame. I went to the hardware store and paid a lot for some screws. I had to settle for BHCS they didn't have any 3mm SHCS.

Now I need to pick what to use for the X carriage. I would like to use the tap but not sure if I would have trouble getting it to work. Also doesn't sound like the sensor pcb is available for a couple weeks at least. If I use the stealth burner or after burner I just use the carriage that is in the 2.4 stl folder right and if I go for the tap I use the one in the tap stl folder right?

PXL_20221129_225118868.MP.jpg

PXL_20221129_201440678.jpg
 

Attachments

  • PXL_20221129_225118868.MP.jpg
    PXL_20221129_225118868.MP.jpg
    105.3 KB · Views: 4
Got the Z and AB belts done. I recommend not using a pliers to tighten the AB belts. I tried and the end ripped off one. I was still able to get it done though.
 

Attachments

  • PXL_20221130_215042218.jpg
    PXL_20221130_215042218.jpg
    147.4 KB · Views: 3
Not making much progress now and I have just been doing random stuff while I wait for my order from west3d. I want to try wire it up enough that I can move XY and Z.

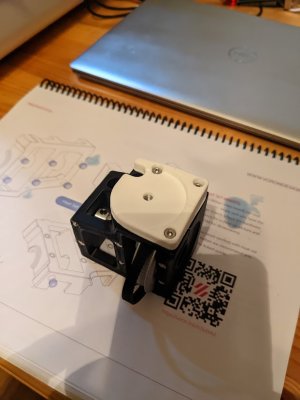
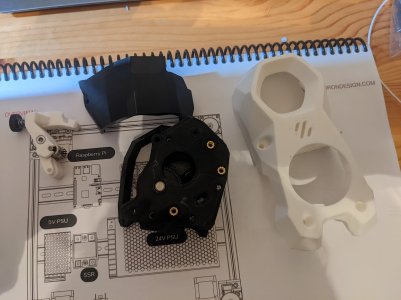
Got as much done of the clockwork 2 and stealth burner as I can

PXL_20221205_044406980.jpg

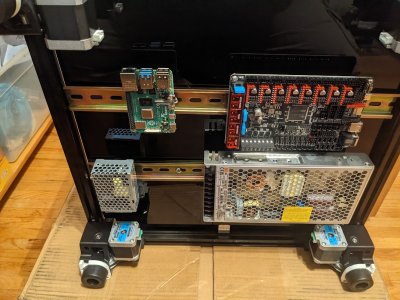
Got the boards mounted

PXL_20221205_044019057.jpg
 
Top