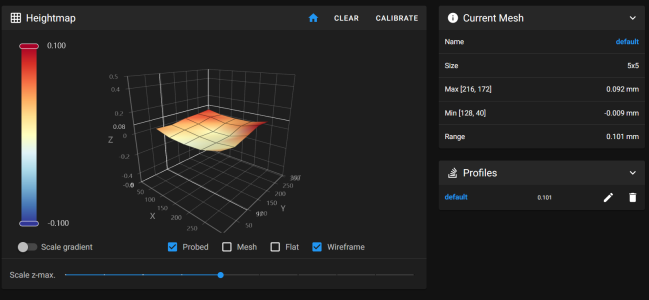
Hello all. I have a LDO Trident 300 which I have built but have never been happy with how it prints the first layer. If I print a small 30mm x 30mm first layer box at the centre of the bed, the spacing of the lines is uneven. Usually one half of the square has gaps while the second is close to perfect. My first thought was uneven extrusion so I disassembled the extruder and found the gears had been rubbing on the printed parts. I decided to upgrade to cw2 so purchased a new pancake motor and printed the new parts. I now have that up and running but am having the same issues. I then decided the inductive probe may be the issue so printed and installed KlickyNG. No luck, same issue. I have tried variable bed mesh also without any luck.
I guess I am looking for another set of eyes so to speak. I'm at a loss as to where to go from here? New extruder maybe? Anyway thoughts anybody? Cheers!
I guess I am looking for another set of eyes so to speak. I'm at a loss as to where to go from here? New extruder maybe? Anyway thoughts anybody? Cheers!