What's new
VORON Design

Register a free account today to become a member! Once signed in, you'll be able to participate on this site by adding your own topics and posts, as well as connect with other members!

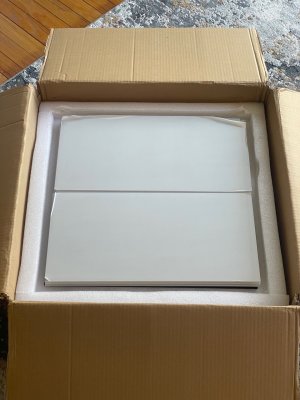
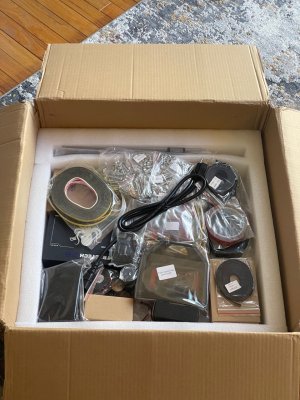
Formbot 300mm build... CLU

greendog

Member
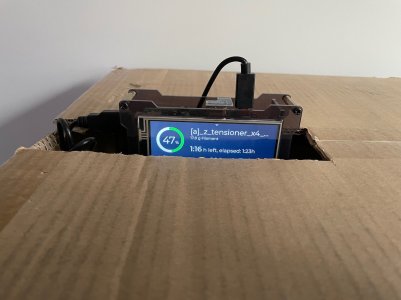
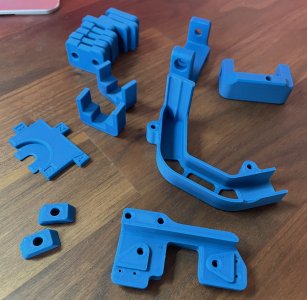
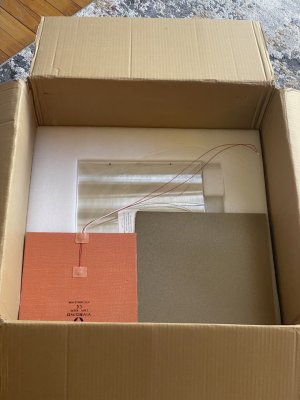
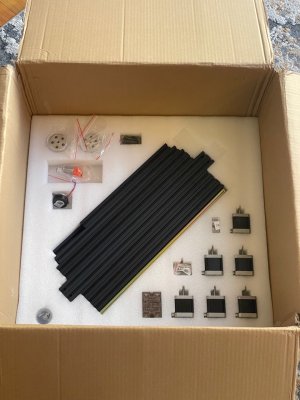
My Formbot 300mm kit arrives this Friday! I've been slowly printing functional parts on one of my two heavily modified Anycubic Mega-S printers with a super high-tech cardboard enclosure (see pics). Never tried ABS before but it's been really smooth sailing (eSun ABS+ Blue). The only issue I ran into was bridging... after a lot of experimentation I found that an absurdly slow speed (5mm/sec) results in perfect bridges. Printing at 240ºC, bed 100ºC, fan @ 40%, bridge fan @ 80%. Almost done the accent color functional parts, starting on the black parts tomorrow. I'm using Gabriele Colaiuda's "Voron 2.4 R2 Print Parts" google spreadsheet to select and track my prints.

Still getting my head wrapped around various options, but I feel like I might want to try to go with Tap right from the start rather than the inductive probe or Klicky. Also might try the Canbus mod rather than the standard wiring, though it sounds like lots of people have canbus connectivity issues.

Gonna be a fun month or two!
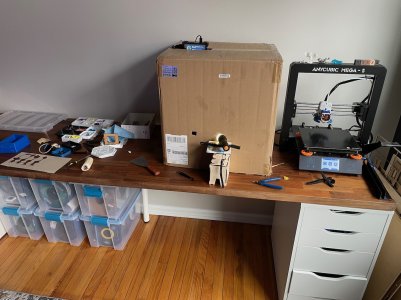
IMG_2825.jpegIMG_2826.jpegIMG_2811.jpeg
 
Last edited:
Nice accent color.
I would not recomend CAN bus until after the printer is up and running. So many people have issues. TAP or Klicky, I would recommend though.
 
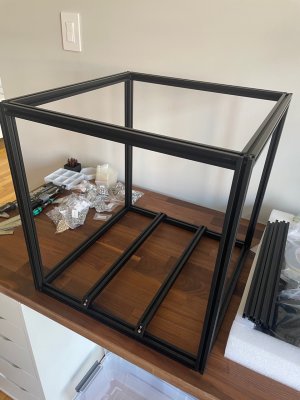
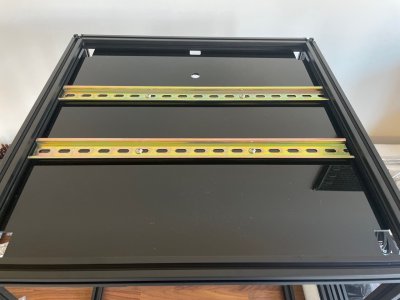
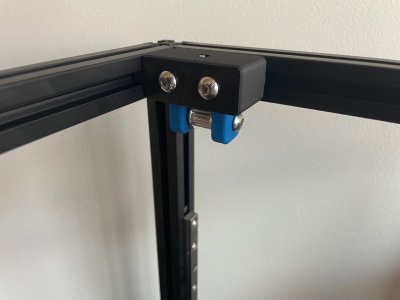
Managed to get a few things done the first day.
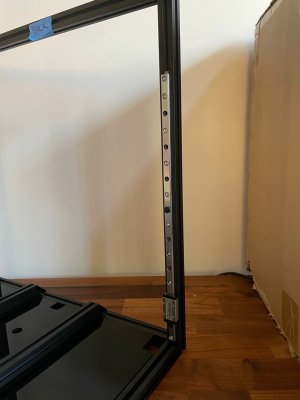
  • Assembled frame and ensured it's perfectly square.
  • Had to use dremel and hacksaw to trim a few mm off one of the DIN rails since there was no way to make the screw holes line up.
  • Cleaned the linear rails and tried to smush some SuperLube into the bearings... not sure how successfully but the carriages all move smoothly.
  • Mounted linear rails.
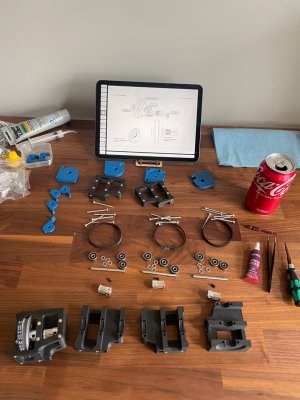
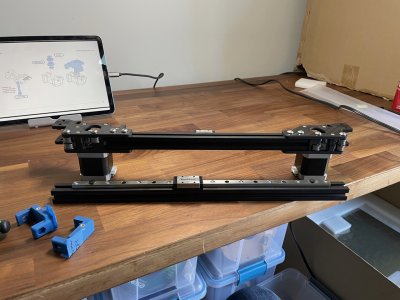
Next up is the Z drive mount assembly. I'm still printing the final z_drive_retainer_b file, and then need to print all four z_motor_mount_[ab] files today, so unfortunately my Anycubic ABS printing is soon going to become the bottleneck in this build process...

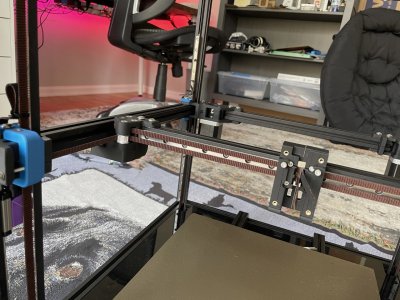
IMG_2843 Large.jpeg70068682600__5C185C8E-F86F-4F04-8E2E-8F3848B8CFAC Large.jpegIMG_2849 Large.jpeg
 
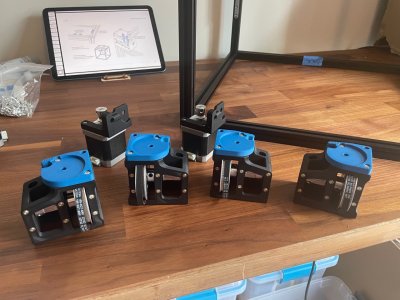
Z drives and idlers done. Slow but steady progress. The 5mm shafts for the Z drives seemed a little too large... had a really hard time getting the pulleys and bearings to slide onto the shafts, which also made it really hard to get their positions just right.

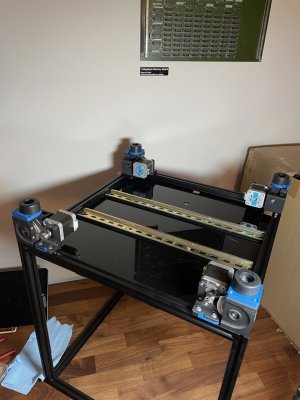
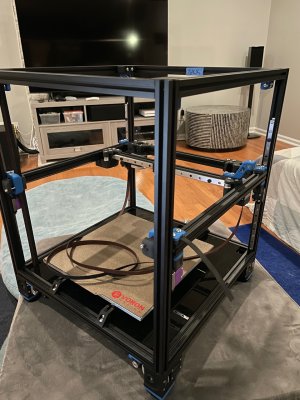
Next will be the heat bed and A/B drives. Still have to print all four parts for the idlers, so I probably won't be able to work on those until tomorrow. Thinking about getting a second black ABS spool and cardboard box and getting my second Anycubic in on the action so I can get caught up on parts...

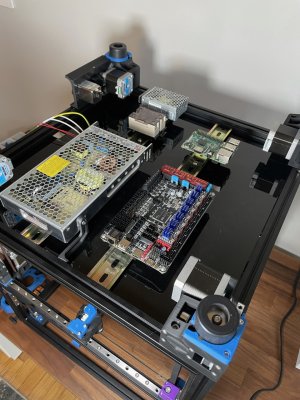
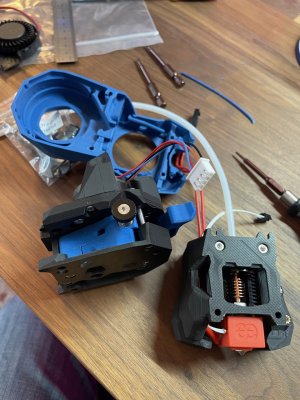
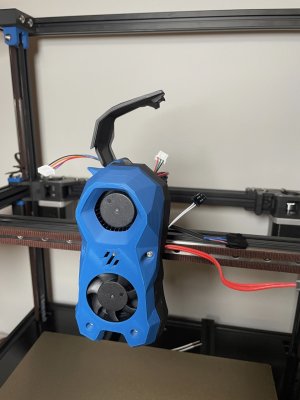
IMG_2854 Large.jpegIMG_2857 Large.jpegIMG_2859 Large.jpegIMG_2863 Large.jpeg
 
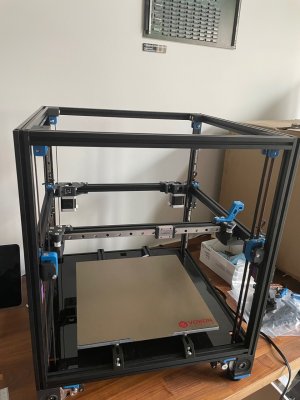
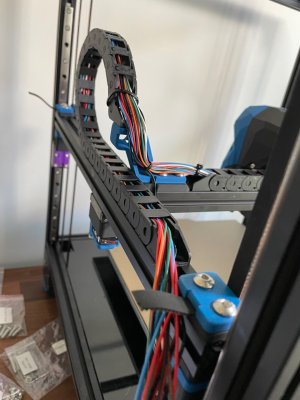
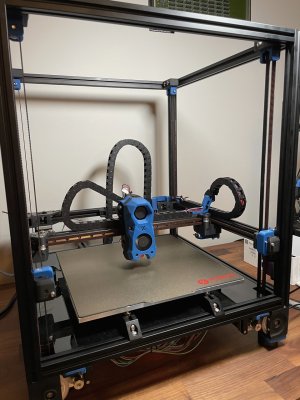
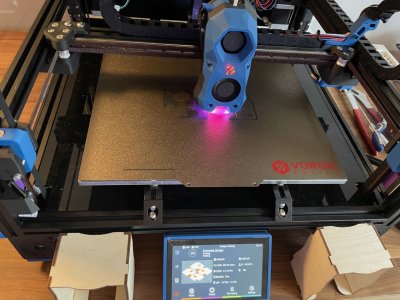
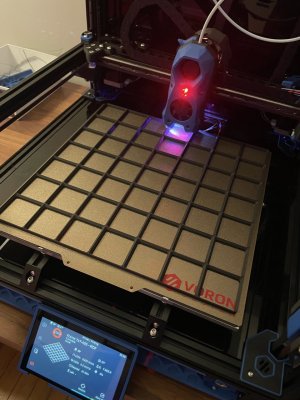
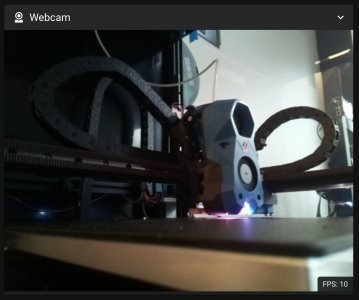
Haven't posted in half a week, but the printer is working! Now printing skirts, door/panel mounts, etc. Have PiCam2 hooked up and PITFT50 screen installed. Had a fair bit of problems with warping and detaching from bed until I added a mesh bed level before every print. Will try saving a hot bed mesh and loading that each time to see if it's sufficient. Print quality is really amazing!

IMG_2930 Large.jpegss-20230401-093646.jpg
 
Top