What's new
VORON Design

Register a free account today to become a member! Once signed in, you'll be able to participate on this site by adding your own topics and posts, as well as connect with other members!

My V0.2 Formbot Build

robrob

Active member
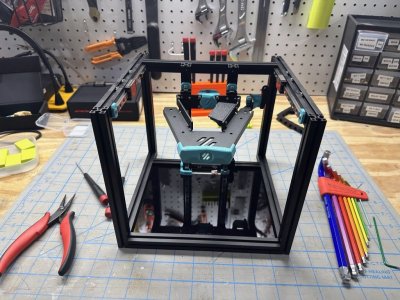
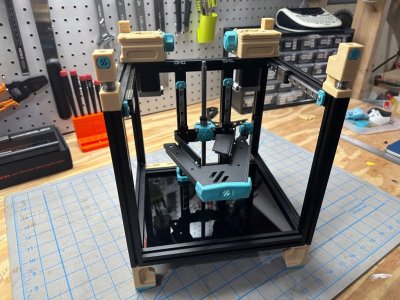
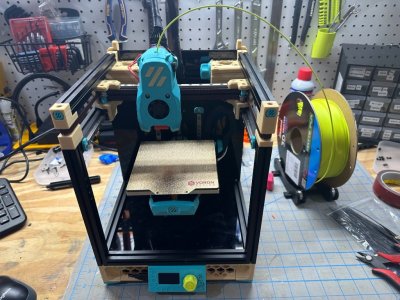
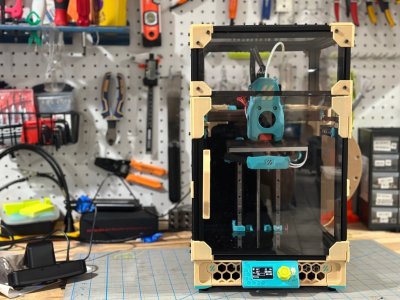
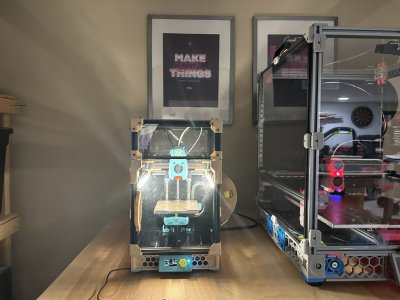
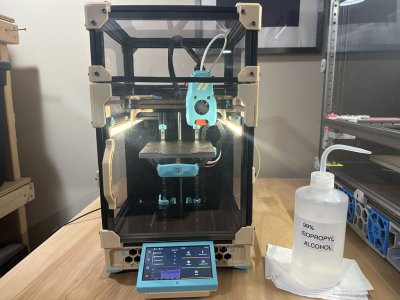
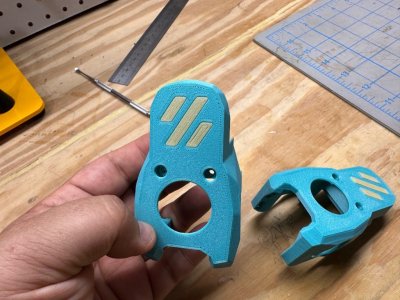
V0.2 Kit from formbot, with a Phateus Dragon hotted and Self printed parts in Paramount 3D Beige ABS and Polymaker Sparkle Teal ABS accents.

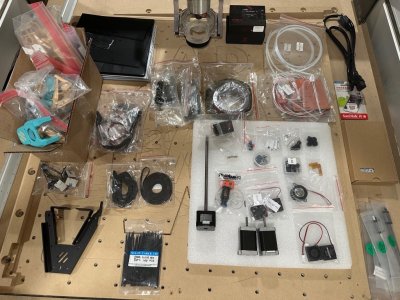
Overall, I'm glad I built an LDO kit first, though the 0.2 is such a different beast than the 2.4. While I appreciate the build being small enough to work on on my well lit workbench, tight quarters are tight and unforgiving. For those curious Formbot provides zero documentation, it's basically like you sent a robot down the aisles of a parts department picking material from the BOMl. The savings are substantial, but the lack of support is A Thing, as well as some shoddy corners being cut– several wires had to be recrimped, and not enough hardware was sent to complete the panel and topcoat assembly.

Anyhow, the photos. A take in three parts. IMG_7627-2.jpg
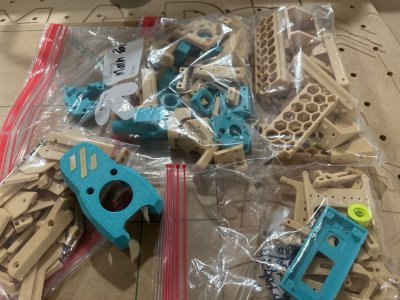
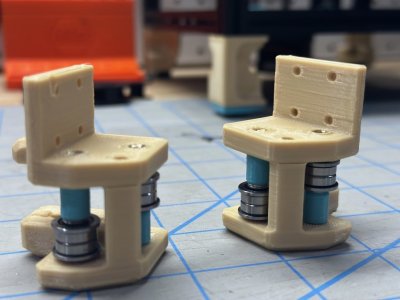
The printed parts were the first thing I printed on my big Voron.

IMG_7629-2.jpg

Of course I was impatient and printed them before working through ellis' tuning guide. They are mostly ok though.
IMG_7669-2.jpg

The Formbot kit, unboxed. Note the lack of documentation.
IMG_7665-2.jpg

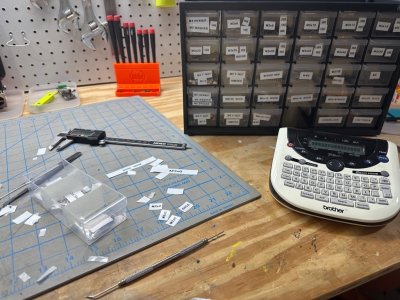
Pre-build ritual.

IMG_7668-2.jpga
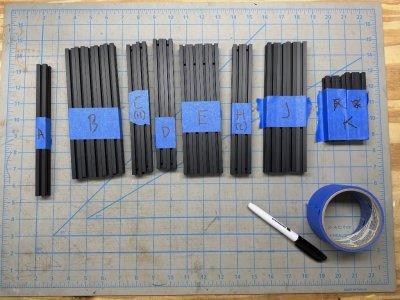
Extrusions laid out and labeled.
IMG_7670-2.jpg

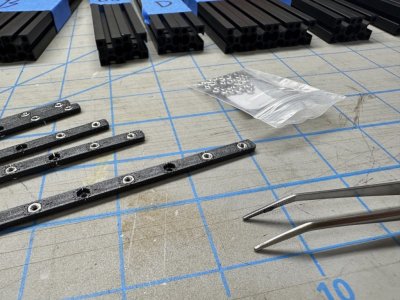
havent even started in earnest and the tweezers have come out.
IMG_7671-2.jpg

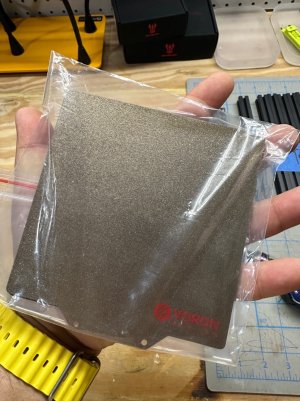
Small plate is small!

IMG_7706-2.jpg

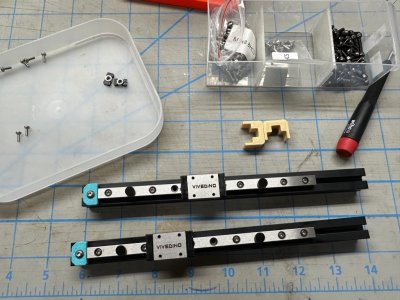
Fun night in doing some rails. Linear rails.
IMG_7707-2.jpg

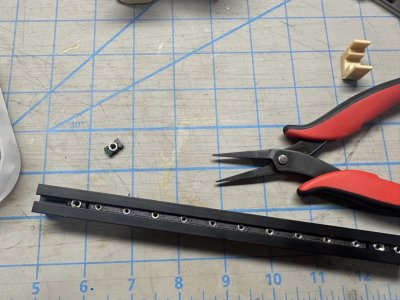
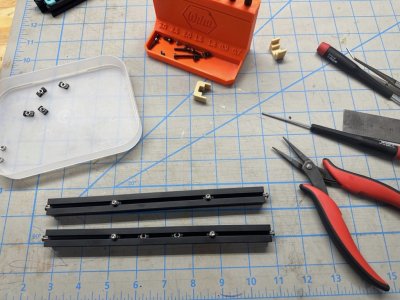
The first of many nuts being pre-loaded. Finding a carriage that worked in these extrusions was a bit of a pain, and they are delicate. Print a lot. Like a whole lot. Also, tiny needle nose pliers are good fit for this build!
IMG_7715-2.jpg

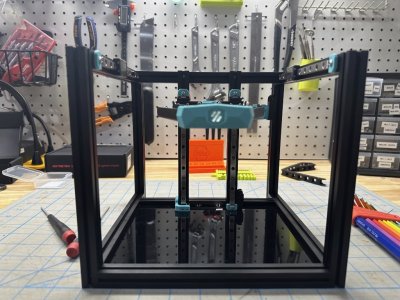
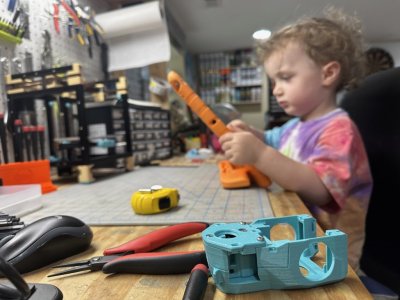
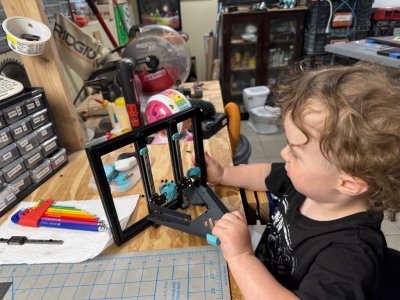
it helps to have a good QA assistant to check for squareness.
 
IMG_7717-2.jpg

Bed attached. While I appreciate formbot tossing this part in, note that it's only THIS PART they toss in. Maple Leaf Makers video was somewhat helpful in figuring this mostly out.

IMG_7719-2.jpg

IMG_7721-2.jpgIMG_7722-2.jpgIMG_7724-2.jpg
I printed the STLS for the bed, the LEO wiring harness with neopixel I ordered from a vendor I am not gonna name still hasn't shipped the part after a couple weeks of waiting :/

IMG_7728-2.jpg
Motors mounted!

IMG_7736-2.jpg

Idlers idling.

IMG_7738-2.jpg

Did I mention how much I love these tiny pliers? Also nit preloading. soooo much nut preloading.

IMG_7739-2.jpg

Belted! Not as bad as I was expecting, though threading the second belt through the slot in the mounting piece was a pain; I had better luck undoing the first belt and running both through at the exact same time.

IMG_7742-2.jpg

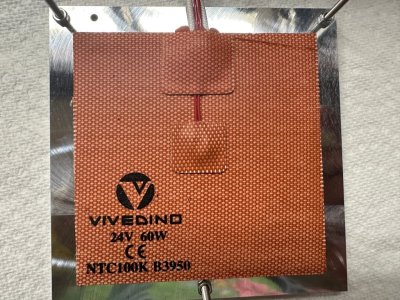
Bed prep.
 
IMG_7744-2.jpg

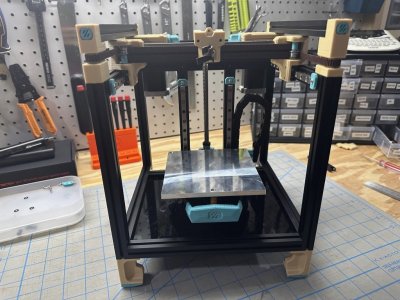
Bed installed.

IMG_7766-2.jpg
Boos looks unimpressed while I work on the extruder.

IMG_7767-2.jpg

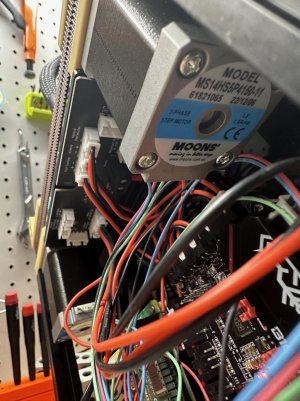
Strugglebussing my way through interpreting Moon label before I remember Motor schematics were the one docs Formbot thought to include.

IMG_7768-2.jpg
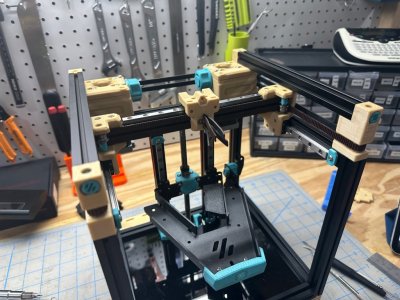
Getting closer!


IMG_7776-2.jpg

Panels, Door, and Topcoat in place!

IMG_7779-2.jpg

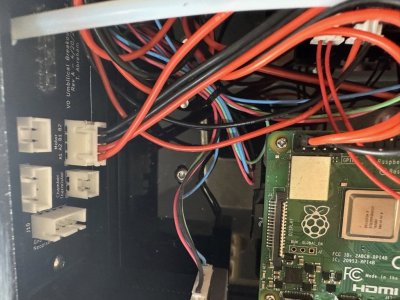
This cable was killing me,. Initially I ordered a U shaped one on Amazon, but it didn't work out. Luckily, discord to me to hack up a USB cable and use Dupot connectors on the opcb pinouts.

IMG_7780-2.jpg

Extrude jsut buzzing instead of extruding; narrowed it down to a bad/missed crimp at the Formbot factory. Grrrr

IMG_7783-2.jpg

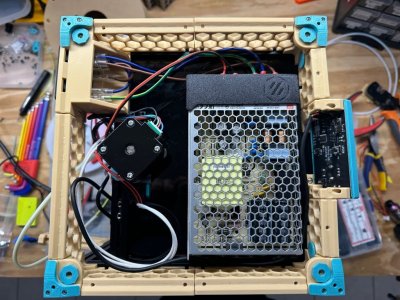
Since I had to get in there anyhow, I added a power supply cover to protect my paws (and route the USB cable); additionally, I added these 2mm spacers to the feet as the included motor bulges against the baseplate otherwise.

IMG_7786-2.jpg

COMPLETE!

IMG_7796-2.jpg

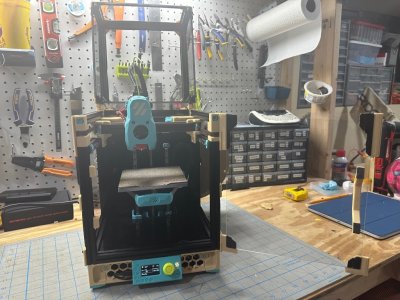
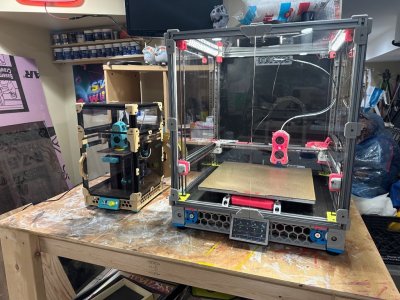
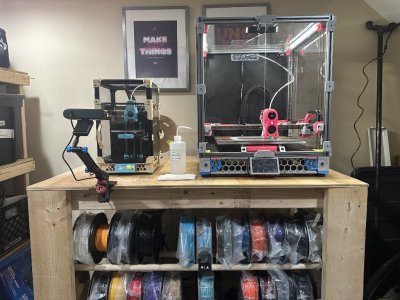
Situated next to it's buddy
 
I like this 2x4 table, and I amalso curious about the plastic filament bag you are using. Can you share what you are using?
 
I like this 2x4 table, and I amalso curious about the plastic filament bag you are using. Can you share what you are using?
Sure, they are esun filament bags from Amazon. Came with a little electric pump that’s pretty sweet. Couldn’t imagine using the manual hand pump version.

And thanks! The filament shelf’s are 1 inch wood dowels held up with brackets from printables.
 
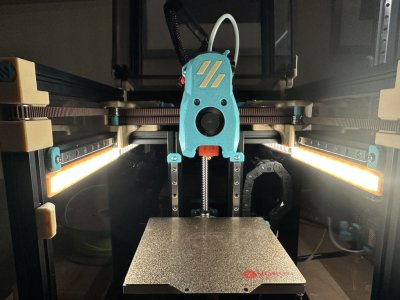
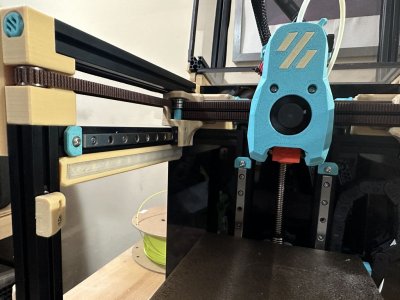
I added some lights. Daylight on a matchstick, with MapleLeafMaker's diffuser. Came out pretty nice! They are super bright.

IMG_7839.jpgIMG_7840.jpgIMG_7841.jpgIMG_7842.jpg
 
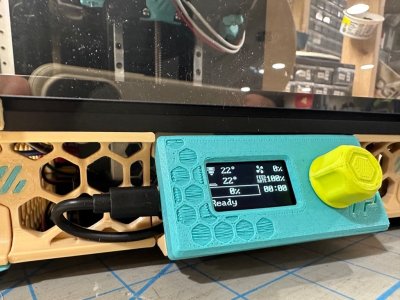
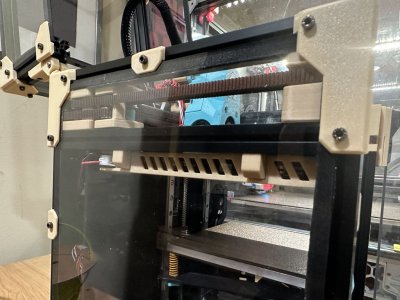
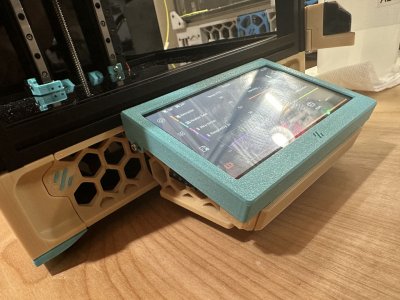
Couldn't deal with the dinky little screen. It was cute and all, but I missed Klipperscreen, and wanted the same UI as its big brother.
Canabalized the Pi Screen off my kippered Ender 3 and found a nice mount that worked great with the stock 02 skirts. IMG_7851.jpgIMG_7847.jpg
 
View attachment 2668

Bed attached. While I appreciate formbot tossing this part in, note that it's only THIS PART they toss in. Maple Leaf Makers video was somewhat helpful in figuring this mostly out.

View attachment 2669

View attachment 2670View attachment 2671View attachment 2672
I printed the STLS for the bed, the LEO wiring harness with neopixel I ordered from a vendor I am not gonna name still hasn't shipped the part after a couple weeks of waiting :/

View attachment 2673
Motors mounted!

View attachment 2674

Idlers idling.

View attachment 2675

Did I mention how much I love these tiny pliers? Also nit preloading. soooo much nut preloading.

View attachment 2676

Belted! Not as bad as I was expecting, though threading the second belt through the slot in the mounting piece was a pain; I had better luck undoing the first belt and running both through at the exact same time.

View attachment 2677

Bed prep.
No thermal fuse?
 
Did you wire the lighting into the umbilical board? I seem to have 4 pins on both sides and would love to know hoe you did it
Butting in here. If you mean the Daylight on a Matchstick he has, those aren't going to be in the umbilical. I have Rainbow on a Matchstick (because RGB!) in the MapleLeaf Maker brackets--those are great. I just re-routed my wiring yesterday. I had it running up to the little notch on the right side of the Picobilical frame PCB, but that bugged me since I set it up. Messy, and kind of got in the way of Y homing. I just moved the wires after finally realizing they will fit in the 1515 extrusion channel. So they go into the channel and up & over the top edge of the back plate. Neat, clean, invisible.
 
Top