What's new
VORON Design

Register a free account today to become a member! Once signed in, you'll be able to participate on this site by adding your own topics and posts, as well as connect with other members!

My Voron: LDO Trident 300 (VT.1054)

ilkhan

Active member
Howdy all. I have an Ender 3 S1 Pro I bought last year, and enjoy. Got interested in building a Voron almost immediately due to the obvious advantages and good things I'd heard, but never expected to spend the money. Well, obviously, I did.

I've been going back and forth on what exactly I wanted to build for a while. Trident versus 2.4, obviously. Trident much easier to build, 2.4 being the "Iconic" Voron. Knew I wanted an LDO kit to simplify, and wanted a Rapido for the hot end.

I ended up wavering on the hot end, and went with a Revo voron. I haven't changed the nozzle on my ender, ever, but the simplicity convinced me. And if I end up tuning it to the point of needing more flow, its easy enough to print the replacement toolhead and swap over.

Ordered PIF on 2/4, with a 10 person queue. Got assigned Will on 2/6, and finalized the details. Added a set of TAP printed parts as well. Fabreeko was out of Trident kits, but had a shipment due on the 10th. On Discord they verified stuff was coming in so I went ahead and ordered the LDO Trident 300 kit, and a Revo Voron. Ordered the nozzle kit and TAP kit from matterhackers as well. Will got the PIF parts shipped by the 9th, the LDO kit showed up at Fabreeko and they slapped a shipping label on it. PIF arrived on Friday, the Trident kit on Saturday, and the MH order on Sat as well. Great turnaround for all of them.

Opened the LDO kit box, and found that they had included a Revo inside?! Jumped onto their website for the BOM, nope, no Revo listed. Checked the BOM included in the box, no Revo. Jumped onto discord and pinged Fabreeko and LDO. Fabreeko thought maybe they'd opened the box to include the one I ordered until I posted a picture of 2 side by side. Verdict: LDO simply screwed up. Their response: Bonus and enjoy! Fabreeko suggested I request a return on the one I bought. Yeah, I think I will. Its blue instead of red, but I can live with that. Apparently Im not the only one, someone else asked about the same thing.

Plans:
1: Build the thing
2: TAP
3: Sensorless homing XY
4: CANbus/Umbilical
5: ERCF (6? 9? Don't know yet. Mostly to be lazy and have hands off color choices rather than MMU, but will be used for both as needed)

So I have the parts, time to start building!

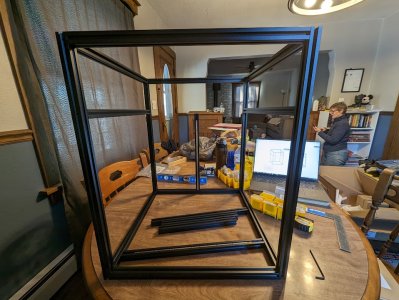
Black frame kit, KVP Black primary color, KVP British Racing Green for accents.
 
Last edited:
Day 2: Sunday

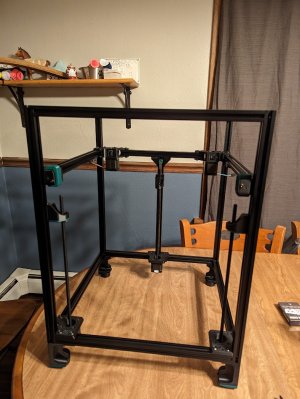
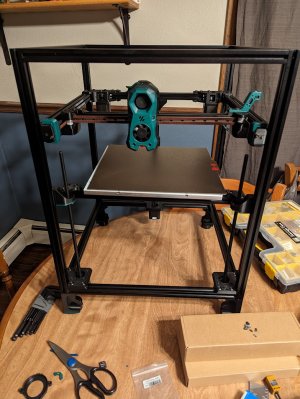
Got through page 100 in the assembly guide. Feet and most of the motion system. Found one missing piece from my PIF stuff, the little probe retainer bracket. It took 3 minutes for my ender to spit out a replacement, but I still called it a night there. Some people wanted to play a game of hand-egg ball on TV.

2 - Copy.jpg
 
The venders in the community are fantastic! Looks like your build is going well.

I won't recommend it but you could do TAP and Sensorless homing from the start. They are not complicated at all and I would even think TAP would make it easier to build but I don't know your skill level.
CAN bus has a high level of difficulty but it's probably not as hard as it was a year ago with so many implementing it now.
Ive thought about it, especially as I already have the parts, but not sure if I want to. On one hand troubleshooting is much easier when its a stock build. On the other hand it would simplify a lot as well, in regards to the physical build and *some* of the software. I think sensorless homing is more likely than TAP, but both are possible. I don't really want to set up a bunch of probing macros just to tear them out again immediately. So Im just not sure.
 
Last edited:
Day 3: Monday

Aside from spilling superglue over my fingers and splashing a little on my laptop touchpad (apparently it was squeezed when I popped it open. Oops) it was a productive build period.

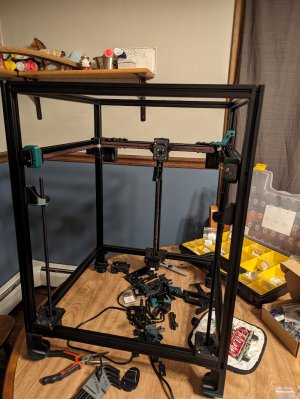
Got the X assembly built, and only had to redo it once due to using the wrong extrusion.

Cut my belts on the short side, but they fit. Barely. Said screw it and built the TAP kit (thus the super glue, and mostly because it provided a little extra belt length margin) and got it attached before calling it a night. Guess I'll start with TAP and sensorless homing after all.

3 - Copy.jpg

E: Busy doing prep for a long weekend getaway in a few days, so no more build progress until we get back. Will be another post on Tuesday.
 
Last edited:
Day 4: Tuesday

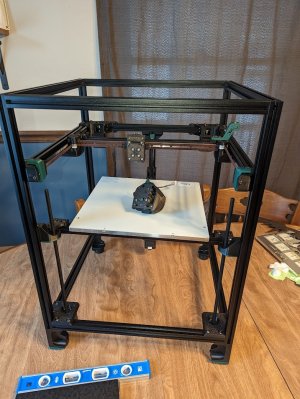
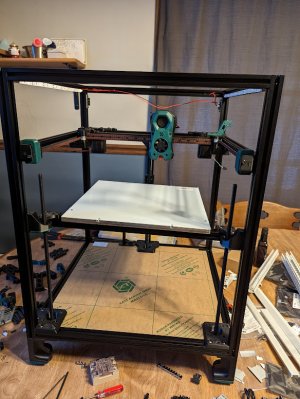
Worked on the printer for a bit after our trip. Got the build platform attached, built the clockwork 2 extruder, then had to clean up. No real issues with the build, but also not a lot of progress.

4 - Copy.jpg

edit:
Worked on it some more after dinner. Got the stealthburner done and installed.
5 - Copy.jpg
 
Last edited:
Day 5: Saturday

Started the day by trying to attach the SB toolhead PCB, realizing I'd used the motor housing from the SB manual, and having to tear the whole CW2 assembly apart to rebuild with the right piece. The day didn't get much better.

Got the CW2 re-built, then spent some time fixing up the rest of the stealth burner assembly, released the magnets, and got it running nicely. Happy with it. Spent way too long trying to figure out the TAP board wiring. The LDO toolhead board and the TAP board use different connectors and I didn't actually get a set of crimpers as LDO pre-crimps everything. but eventually made it work (I hope).

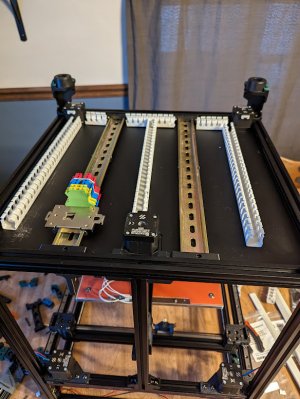
Got the bottom cover attached, the pictures in the guide were confusing, so that took longer than I would have liked. Then attached the rails for the electronics bay. Happy with that. Would have attached the power plug, but I've got a piece wrong or something because it just doesn't fit in the piece that I'm assuming is the power plug cover. Don't know, I'll figure it out later. The wiring looms aren't actually attached, just set in place to help me figure out where they go. Also attached the top LEDs, but not wired in yet.

6 - Copy.jpg

7 - Copy.jpg
 
Would have attached the power plug, but I've got a piece wrong or something because it just doesn't fit in the piece that I'm assuming is the power plug cover. Don't know, I'll figure it out later.
Use a file and open up the hole a little. I had the same problem when I built my LDO 2.4 kit.
 
Day 6: Sunday

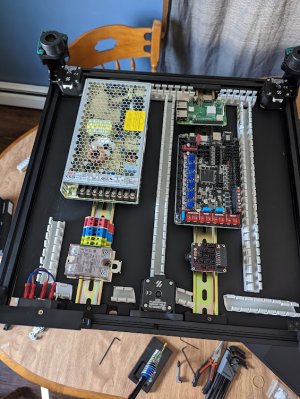
Didn't have a lot of time but took what time I had and made some progress. Got the cable channels taped in and the electronics attached. Took Diffdent's advice and used a file. Didnt take much off, but wiggled it around a bit and eventually it dropped into place.

8 - Copy.jpg
Didn't take an overview picture as nothing changed.
 
Day 7: Saturday

ITS ALIVE!
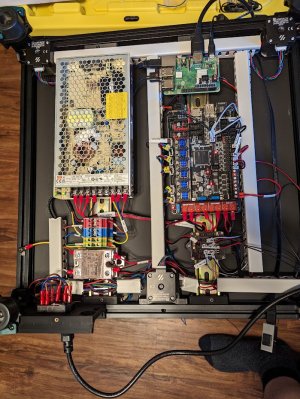
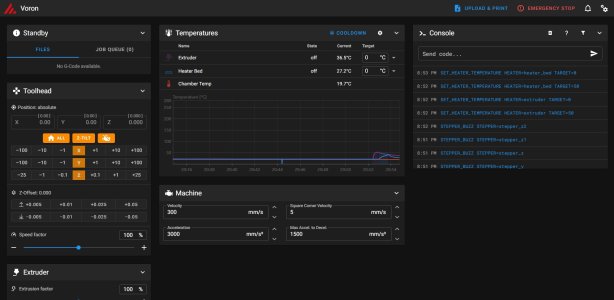
Spent the day doing wiring. The cable chains aren't installed yet, but the wiring is all in place and seems to be functional. Its even fairly neatly organized. Got the pi installed, got the klipper firmware installed, got the *base* printer.cfg installed. TAP and sensorless are not set up yet, so I can't home, but buzzing the motors works, fans work, lights work... its alive.
9 - Copy.jpg

10.jpg


I still need to figure out a permanent home for it. Probably build a stand for it in the garage, but wifi is faint, ethernet is un-run, and humidity will definitely be an issue. Crafts room is already pretty crowded, but that's the alternative location. Basement, maybe, but again humidity.
 
Last edited:
Day 7: Saturday

ITS ALIVE!
Spent the day doing wiring. The cable chains aren't installed yet, but the wiring is all in place and seems to be functional. Its even fairly neatly organized. Got the pi installed, got the klipper firmware installed, got the *base* printer.cfg installed. TAP and sensorless are not set up yet, so I can't home, but buzzing the motors works, fans work, lights work... its alive.
View attachment 1808

View attachment 1809


I still need to figure out a permanent home for it. Probably build a stand for it in the garage, but wifi is faint, ethernet is un-run, and humidity will definitely be an issue. Crafts room is already pretty crowded, but that's the alternative location. Basement, maybe, but again humidity.
Very nice and tidy cable management. Like it.
 
I still need to figure out a permanent home for it. Probably build a stand for it in the garage, but wifi is faint, ethernet is un-run, and humidity will definitely be an issue. Crafts room is already pretty crowded, but that's the alternative location. Basement, maybe, but again humidity.
Humidity shouldn't be a deal breaker, so long as you have a drybox of some kind.

I live in Florida and print in the garage. PETG and TPU can be difficult if left out, as is silk PLA. ABS and regular PLA should be ok left out.

The basement will probably be less humid than the garage, and it's easier to dehumidify.
 
Day 8: Sunday

Worked on the calibration and setup stages. Got sensorless configured and working for X/Y. Got TAP working for Z (that was a pain in the ass. Apparently, it doesn't work on pin PG10 but does on PG15 with everything else the same. Physically moving it convinced it to recognize the "end stop" as triggered.
Did a (rough) extrusion calibration and hit print on a calibration cube... and got an out of range error. Several minutes of pulling my hair out later I added an absolute coordinates command to the start script and out popped a plastic calibration cube!

11 - Copy.jpg

To do:
Cable chains
Panels
Firm calibration of extruder
Webcam config
Nevermore
Print skirts and other optionals (including a spool holder)
Bowl of cereal picture
Whatever else Im currently forgetting
 
Day 9 - Saturday/Sunday

Combining the two days as I didn't even bother to clean up between days. Ran the cable chains. Screwed that up a couple of times as I tried to run the tool head cables through the Z-axis chain before figuring out that's not the right way to do it. Live and learn.

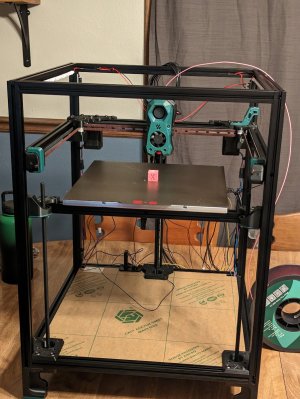
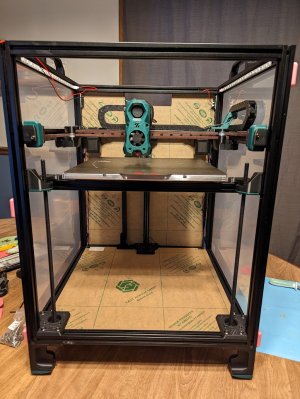
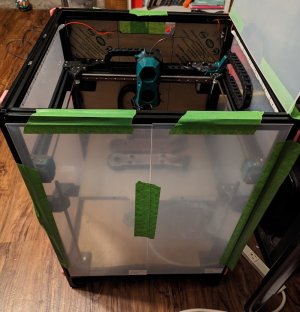
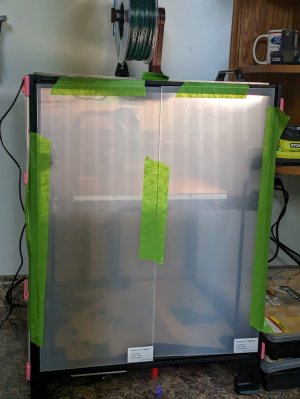
Spent the morning adjusting belt tension and Z offset. I think I got it, if not dialed in, then at least close enough. Printed a full tray of panel clips in PLA. Not quite enough, but enough to hold panels on while I print a permanent set of easily removable ones in ABS. Got a spool of KVP BRG to print those in. Found and attached the spool holder. Got the sides and rear temporarily attached, I'll do the doors and top and then be able to start testing ABS. Haven't peeled everything off as these are temp. Almost there.

12 - Copy.jpg
 
Day 10 - Saturday

She prints!
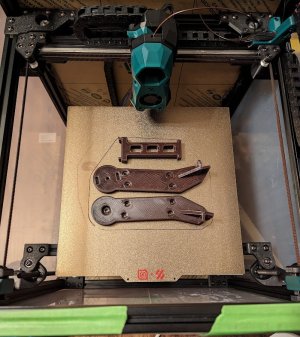
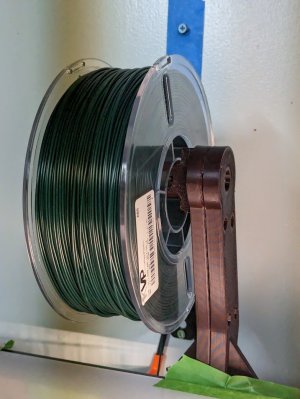
Taped on the doors and top panel, stuck in a roll of ABS, and started printing. Took all day to spit out a filament roll holder that sits above the thing (https://mods.vorondesign.com/detail/VjlccbeeOuH5iax4AFHA). Seems slow, but that'll come with some tuning. Adjusted Z height some, but otherwise still not much tuning. The holes fit the proper bolts, the nuts are a little tight, but it works. Print quality was ok at best, but again, for completely untuned I'll take it. Print time was dead on to what prusaslicer estimated as well, which is amazing to me.

I sliced a plate with removable door pieces and magnetically attached side panels which will print tomorrow. Not comfortable printing overnight or when I'm away, so taking that part slow. Nevermore and the exhaust pieces are to come as well.

13 - Copy.jpg

14 - Copy.jpg

Ordered a bunch of bolts to have around as spares and proper crimpers/terminals. Will need those for when updated TAP board arrives, and when I switch to CANbus I believe.
Among the first functional prints will be a bunch of organizers for harbor freight boxes, and a gridfinity system to help organize the garage stuff. Wife needs some vases as well for spring plants. Things are moving along...
 
Day 11: Sunday

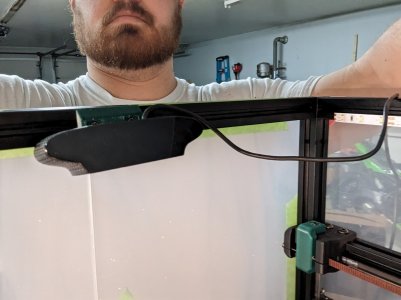
Did some more tuning on the printer. Attached the spool holder (will need to re-print, though). Printed and attached the camera mount. Printing still seems unreliable, but its making progress. Moved the printer out to the garage.

15 - Copy.jpg

16 - Copy.jpg

17 - Copy.jpg
 
Printing still seems unreliable, but its making progress.
Out of curiosity, have you installed the reverse bowden tube yet? That's necessary to keep the filament fed at a consistent rate, and not have the filament be tugged by the motion of the gantry.
 
Top