WhiteWulfe
Well-known member
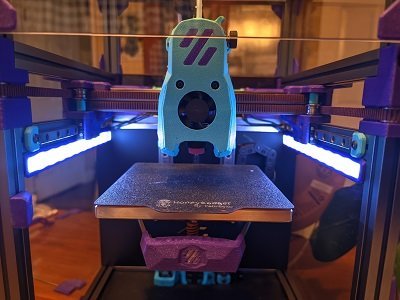
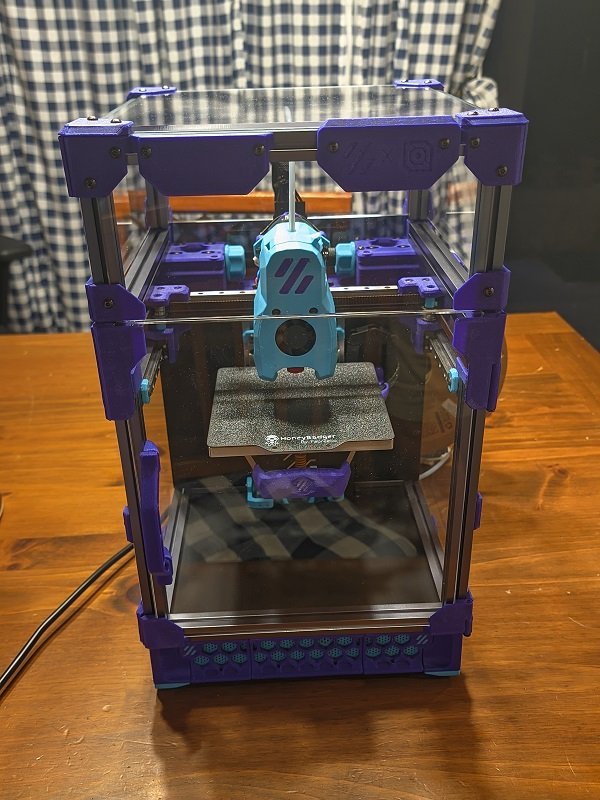
I definitely need to get myself a few rolls of that Geomagnetic Mauve... Looks so good with that Space Grey frame!


 \
\


")
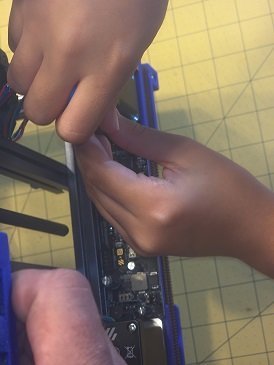
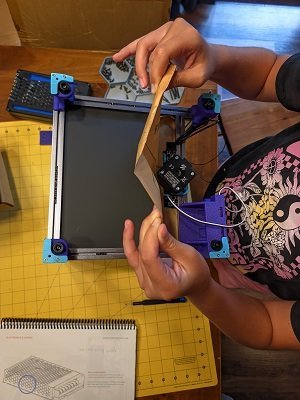
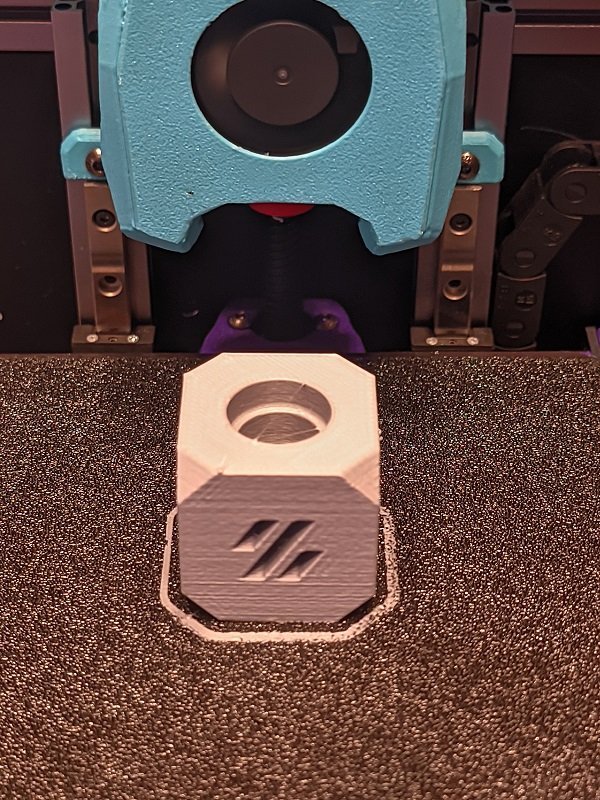
Looks good!As you can see, @transonic_gecko the skirts all fit nicely.
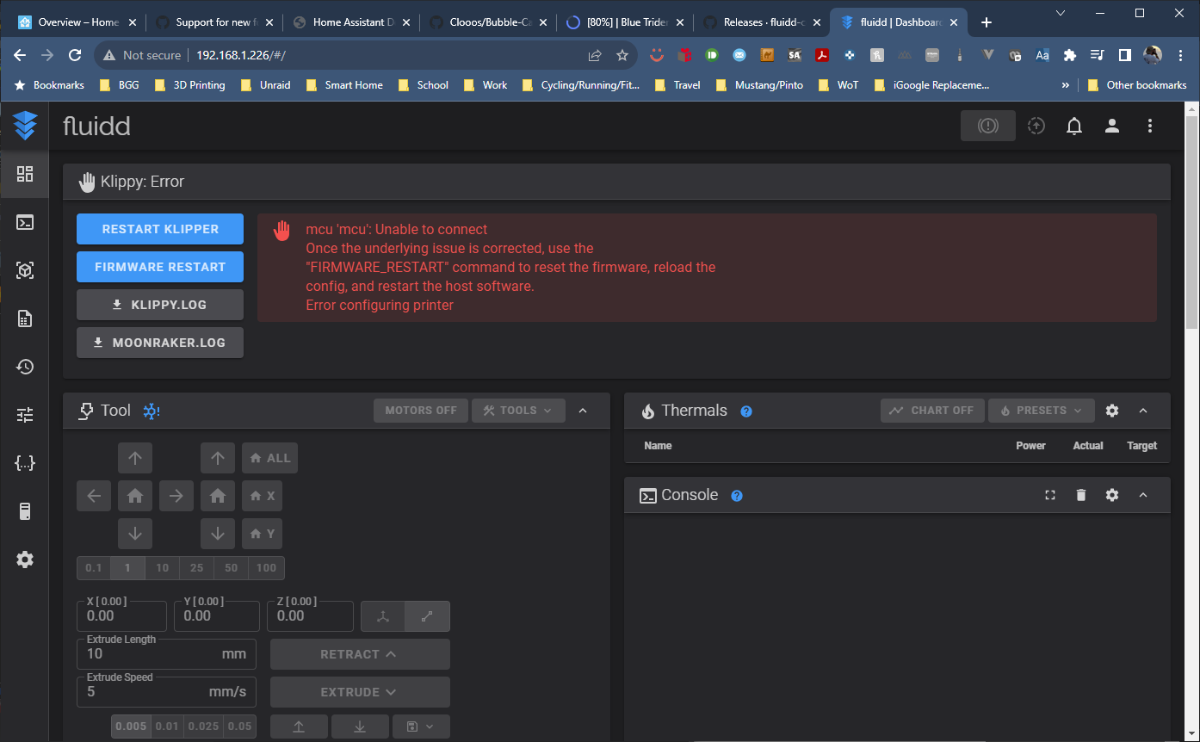
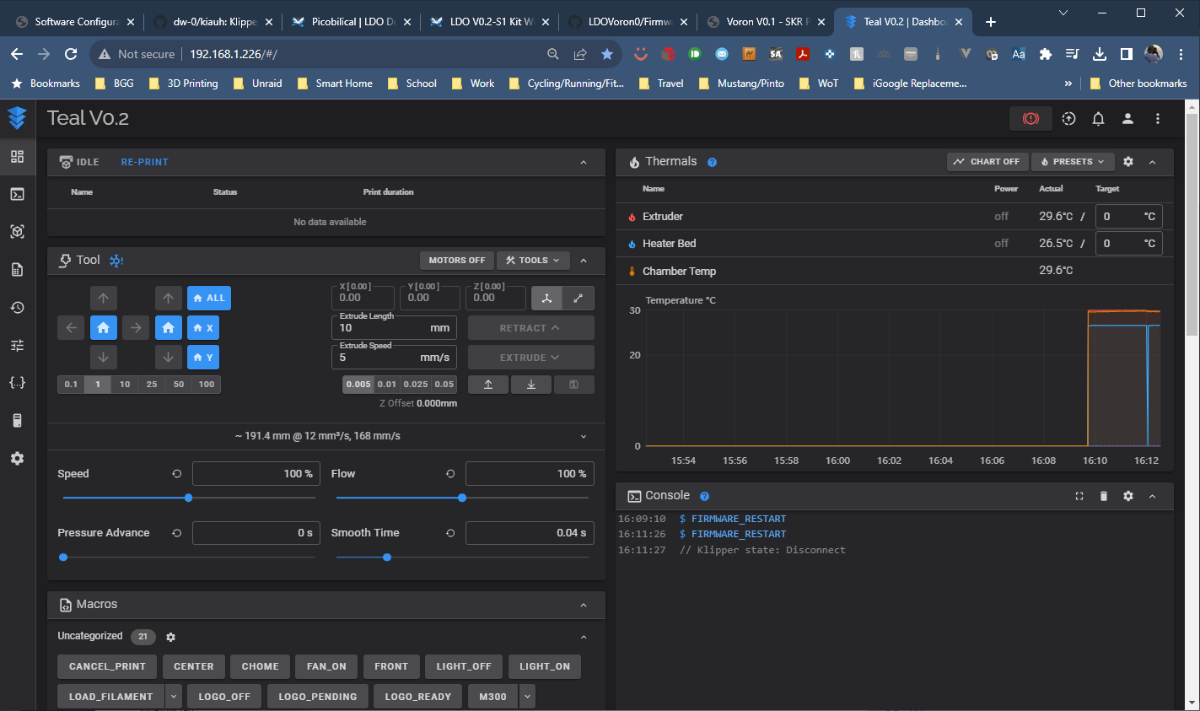
Oh yeah, I'd forgotten about that part. I followed the scattered instructions myself and numpy appeared to install correctly (albeit suspiciously quickly), but wouldn't work. I ended up doing something similar to your fix... I think I might have installed numpy to my base system in addition to the virtual environment? Glad you got it to work!FYI, trying to get input shaper set up was giving me fits. Unfortunately the instructions are scattered in several places and the current last instructions for installing numpy are incorrect. It throws an error that no BLAS libraries can be found. After much searching, I found the solution on the Klipper discourse. Using ~/klippy-env/bin/pip install -v numpy==1.25.2 allowed numpy to install and now input shaper is off and running.
If you get a chance, maybe you could post your input shaper curves if you saved them?I tried installing numpy with pip3 and it seemed to go ok and way too quickly. Input shaper still wouldn't work which got me searching again and finally turned up that solution. After finally getting a good run there, I printed a calidragon which turned out really clean.