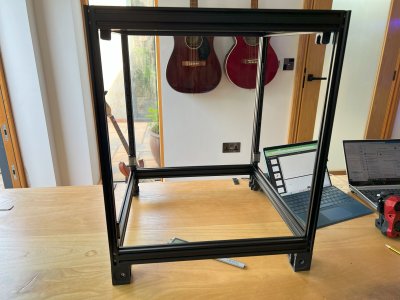
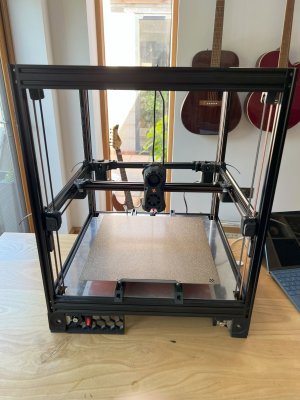
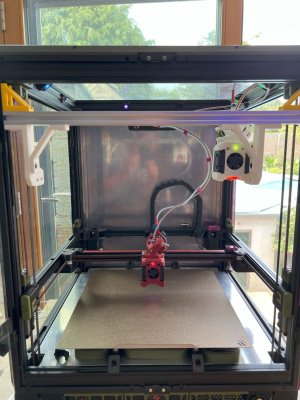
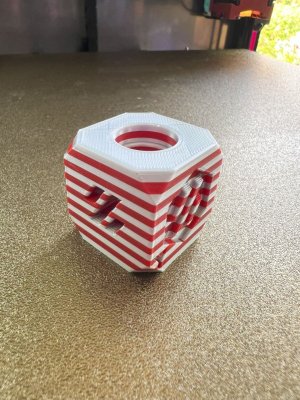
I've had a printer for 10+ years. It started life as an Anet A8 and over the years has had the full frankenstein treatment, like a vintage car if something breaks you bodge it with 'something that works' and keep going. Recently though my titan extruder gave up the ghost along with a few other parts and I finally decided enough was enough, I'll build a new printer. TBH I looked at Vorons years ago but decided they were too expensive to build, the Rolls Royce of DIY printers. When it came to deciding what to build I didn't even consider them. After doing nowhere near enough research other than I wanted a core XY rather then a bed slinger I decided to build a BLV MGN cube. I started sourcing the components and bought the required extrusion to build the frame, next was to find a decent hotbed. I knew I wanted cast aluminium at least 5mm thick at least 310 x310mm. living in the UK something like that was surprisingly difficult to find. I could get the aluminium but would have to machine out for the mounting holes and thermistor and would have to find a similar sized 220v bed heater and some sort of magnetic fixing for a spring steel build plate. Adding it all up the costs were way more than I wanted to pay. I then found I could buy a Voron 2.4 350 mm plate including heater magnetic mounting and build surface for a lot less. I started looking into whether I could fit it into the MGN frame and at this point the light clicked on, I'm not too far into the build to change direction why don't I just build a Voron 2.4? The plate was ordered and I started looking into how much of the already bought extrusion I could use. The BLV uses a lot of 2040 and rather than waste it I wondered if I could mod the Voron frame to use it and add a bunch of stiffness at the same time. As a result I've come up with this:
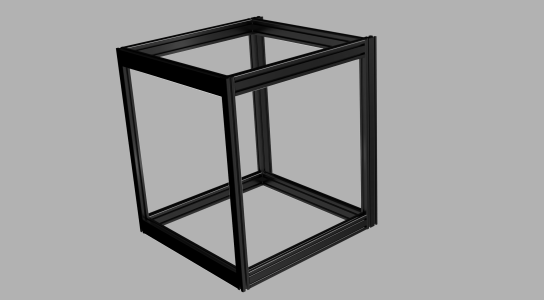
The front 2020 extrusions are made 40mm longer so the external dimensions are 40mm taller than standard and 20mm deeper than standard but all the internal dimensions / clearances remain exactly the same so I shouldn't have to modify any other components. If anyone knows why this wouldn't work please let me know but I can't see why not.
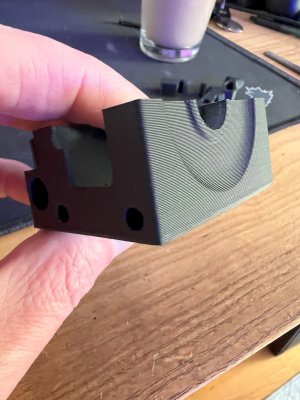
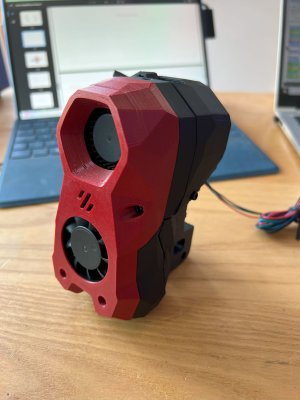
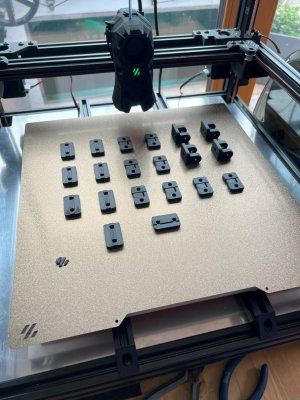
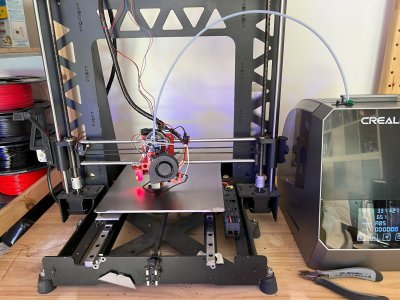
The poor old frankenstein A8 has been resurrected one more time and is now busy printing parts :
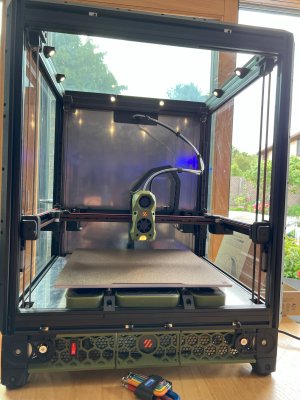
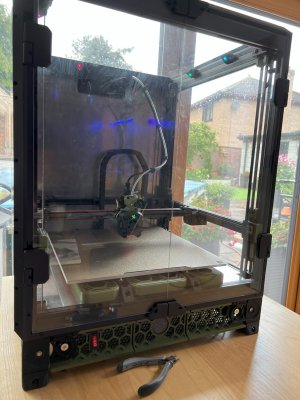
This is not a Voron!

This is a Vorlon!
Thanks for reading, will update when I've bashed the frame together which may be a while as the wifey has a list of jobs for me atm

The front 2020 extrusions are made 40mm longer so the external dimensions are 40mm taller than standard and 20mm deeper than standard but all the internal dimensions / clearances remain exactly the same so I shouldn't have to modify any other components. If anyone knows why this wouldn't work please let me know but I can't see why not.
The poor old frankenstein A8 has been resurrected one more time and is now busy printing parts :

This is not a Voron!

This is a Vorlon!
Thanks for reading, will update when I've bashed the frame together which may be a while as the wifey has a list of jobs for me atm


