What's new
VORON Design

Register a free account today to become a member! Once signed in, you'll be able to participate on this site by adding your own topics and posts, as well as connect with other members!

Self sourced 2.4 R2. My first 3D printer ever

lotech

Active member
I was on the sling shot channel and someone designed a repeating ball bearing slinging crossbow.
But you can't buy it, you have to print it yourself.
Then I'm putting a later/better/stronger 02A trany in the old MK2 VW golf and the speedometer won't match the new trany.
Someone designed and printed up a solution.
Then it hit me.
There's a whole world of great things being designed that I can't buy.
I don't know anyone with a 3D printer locally. But I could make them myself and should learn how.

I got to studying 3D printers and there are so many to choose from.
In the comments on a utube video, someone mentioned a Voron, so I went to see what they were talking about, down the rabbit hole.
I love building things and have an old degree in electronics from '89 so I think I can do it.

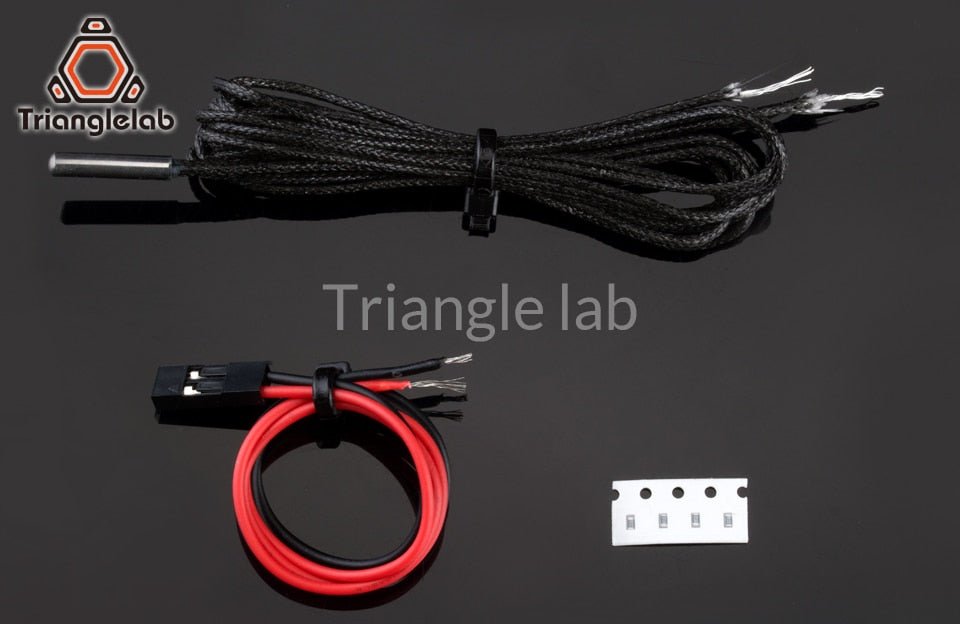
Bought the stealthburner guts from Fysetc:
And a REVO hotend at the discord garage sale. Got my PIF parts delivered so all the parts for the stealthburner are here.
Heatserts are fun.

Well I've already run into some problems.
1. The extruder bearing in the flat half fits nice and tight but when I went to put the other extruder bearing in, it fits loosely into the bottom of the half with the cone.
I wondered if the OD of the bearings was different, so I popped the one out of the flat side and tried it in the cone side. Same result.
So I made a video. Wondering what you experts think:
It fits loosely on the shaft but it still comes out with the shaft. It falls in and falls out.

2. The squirrel cage fan sticks up past the edge of the plastic, by about 1/8".
The distance from the top of the plastic down to the ledge the fan sits on is about 12.6mm and the fan is 15mm.
So I made another video:
Doh, I didn't see the stealthburner stuff in the instructions so watched a video on how it goes together.
He didn't mention that the bottom half of the fan gets removed and the stealthburner takes it's place.
But I should have noticed it left on the table,.. like I did the next time I watched it, ha.

Discord is great for a quick answer, but forums are easier to follow so I'm glad this one is available.
And thanks to all the members who have made build threads. They really are a great way to learn from other people's mistakes.
 
Last edited:
OK, my mistake. The fan doesn't get put back together before it is installed.
The cover gets removed and stays off.
I am watching BIB videos and working alongside.
Couldn't find the voron design page for the stealthburner, just the afterburner.
Maybe his instructions are for an LDO kit.
 
Good luck on the build. I'm sorry that I can't help - I built my Vorons before Stealthburner was released so I'm not familiar with your issues. Without any 3D printing experience, you may find the software (Klipper) and tuning of the printer a little intimidating, but enough people are willing to help and some pretty good videos.
 
The tuning is really the most intimidating part for me. But I have to get that far first, ha.
I have to mention that one of the reasons I chose a voron is because of all the community support.

To tighten the bearing up in the housing, I wrapped some foil tape around the bearing.
That was too much, It felt like it was fitting too tight and might crack if I kept pressing so I just put foil tape on 1/3 of the bearing's OD.
It now fits snug, holds tight.
My PIF provider said it would be fine. But that bearing is on the end closest to the filament and I think it would have caused an oscillation, being loose enough to fall out.

Another problem I ran into was with the LEDs in the fysetc stealthburner kit.
The LEDs have a surface mounted cap and resistor on the sides of the LED.
Just like in these ones:

There is a groove in the plastic holders to make room for them to slide into.
The fysetc one had the center LED, that goes under the logo, turned 90 degrees, so the cap was on the end instead of the sides.
When I tried to slide it into the LED carrier it hit the plastic nub on the far end and broke off.
I let fysetc know so they don't continue to build them like that. Gotta give QC feedback to vendors so they can improve their product.
If I had noticed, I could have carved the nub out of the plastic and it wouldn't have broken off, and probably would still have sat good enough to work.
I'll put an LED string into one of my other carts.

I never have learned how to solder surface mount components, might be time I did.

Over the weeks, while I was studying voron, learning the terms, I filled a cart on alley express with items from different venders.
It was time to actually commit and start spending some money and checkout.
The fysetc stuff got here last by a good stretch. The extrusions and bed from Funssor got here quick.
 
I'm making my own deck panel out of some stainless I have.
Someone linked me to this site to find the dimensions:

But if I make a deck at 41cm, when the inside dimensions of the 350mm frame is 47cm then there will be a gap all around the edges.
About 1 3/8" gap.
The instructions show the deck panel filling in the entire space.

it's supposed to fill in the entire space right? Not supposed to be a big gap between the deck panel and the inside of the frame right?

Does anyone here have a link to the real dimensions for a deck panel for a 350mm, 2.4?
 
The same link you posted has a DXF file for all three different builds - thanks for posting it, now I have the info for my Alumaclad deck project.
1699891628958.png
In case reading DXF is an issue, I pulled it into CAD and dimensioned it.
 
Hey thanks for doing that. I couldn't understand what the DXF files were saying.

Right, I asked my question on discord.
Since the placement of holes on the inside is the same for all deck panels
I guess what I didn't understand was "frame -41" for the outside dimensions.
What that means is to take the outside dimensions of the frame and minus 41mm.
40mm because the extrusions are 20mm and an extra 1mm to keep it from rubbing on the inside of the extrusions and scratching them up during install,... give a little clearance.

I didn't make rectangle-shaped holes in the center of the deck panel, I just lined up the din rails and drilled 1/4" holes.
My din rails (from west3d) didn't have slots that would line up with the extrusions. I would have had to drill holes between the slots.
Basically making one long slot, that in my opinion would have made them weak where they bolt on
So instead of putting them in perpendicular to the extrusions they bolt to,
I put the din rails in parallel to the extrusions.
I saw in BIB's videos, that's the way LDO suggests mounting them.

And since I used 16 gauge stainless, instead of the thicker composite, I had to shorten the 10mm bolts to about 8mm.

I have the deck panel mounted and it's on to the electronics.
I'm sure there will be many small things I don't understand.
I don't care if they make me look stupid, I'll still post any problems I have, to hopefully help anyone else with the same concerns.
No worries. Like I said, I needed that very drawing, now I can use it for cutting the Alumaclad I managed to source. I have completed my build and have moved to tuning, so I'll have to do a partial disassembly to replace the panel.

Make sure you get instructions for the controller board that you are using - I only had a couple wiring issues and some jumper problems. My Fysetc kit came with a picture and a pictogram of the controller - but not a lot of information about jumper settings. I missed moving a jumper and had 3 different fans that had a 12v jumper which needed a 24V jumper. Good luck and have fun.
 
I'm sure there will be many small things I don't understand.
I don't care if they make me look stupid, I'll still post any problems I have, to hopefully help anyone else with the same concerns.
We were all there once. You won't look stupid, you'll look smart for being willing to ask the question and be sure before moving on with guesses. We're all here to learn and share knowledge.
 
I'm putting together another order and would like to get the last few parts.
On thermistors; I have a revo, which I think comes with it's own thermistor.
How many more thermistors do I need?
One for the chamber thermistor, any others?
And what kind is recommended?
 
Yes, the Revo heater has the thermistor integrated. The bed heater pad should also have on integrated. You don't require any more than that. A chamber thermistor is a nice to have, but not required. A basic 104NT like this is fine.
 
Depending on your toolhead, you may have a thermistor present on the toohead board, if not, you can get a couple cheap ones on Amazon and use as many as your board allows. I have one in the EBB2209 on the toolhead (built-in) and one in my gantry cable chain for chamber temps. I also have one thermo-taped to my PSU on the side to monitor those temps. Some also use them to monitor heat creep on hotends by affixing them to the top of the heatsink (different for each toolhead).

Lots of different uses, but the only two you really need are one for the hotend (your Revo is built-in) and one for the chamber.
 
I think my bed heater came with a thermistor but I'll have to check, thanks for reminding me about that one.

I'm trying to keep this order from one vender, you know, to keep shipping down.
West 3d has the slotted raceway cable ducts, KB is out of stock on those.
It doesn't look like that is something available locally in my small town.

West 3d doesn't show the 104NT. It has this one instead:

Is one better than the other? Or more appropriate for this purpose?
PT1000 vs 104NT
Looks like it is 11.99 instead of 5.99
450C is that more than I need for chamber? doesn't say what temp
Might be just for a hotend
but has a meter of fiberglass High temp wire. vs the 104 short piece of temp wire then just regular

A chamber thermistor wire is run inside the gantry chains right? So the wire should be teflon or something flexible?
I'll check to see if my wiring harness came with the wires for the thermistor.

Also wondering about the rasberry Pi. Have they come up with a reliable/tested/documented alternative?
And what is a good GUI?
I was going to use an old laptop but it seems bulky and most of the folks using one have more than one printer running off it.
 
I have not used a PT1000 yet myself. My understanding is it's more for higher temps and is a bit more accurate. There' also some additional settings & wiring considerations with it. I'm happy with my cheap 104. It gets the job done. On my Trident I have the chamber thermistor mounted about halfway up the rear leadscrew rail extrusion and just run the wire down and under the deck. If you do end up running its wires in the chains, use the same kind as you do for the tool head.

Most of us run Klipper and either Mainsail or Fluidd as the GUI. Use whichever you prefer, they are very similar. I started with Mainsail but have shifted over to Fluidd. I've come to like the general interface a bit more after an adjustment period, and much prefer config file editing in Fluidd (that's what drove me to look at it to begin with).

For Pis, right now it looks like there's decent availability of several models last time I looked. Any model of 3 or 4 is more than enough, and for smaller printers the Zero 2 (or preferably 2W) worsk as well. BTT has developed their own "clone" and there's the Orange Pi among several others.
 
Top