RNLauritsen
Member
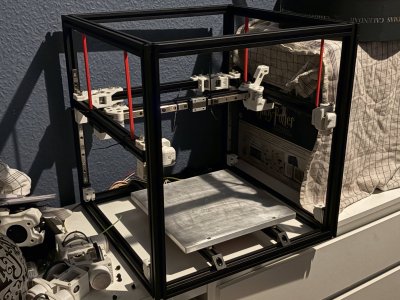
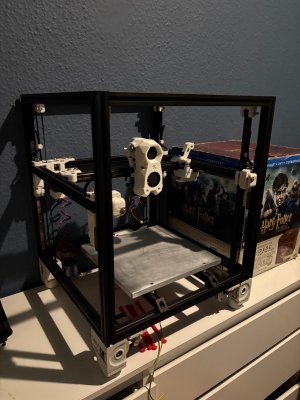
I'm about to start building a Voron 2.4, after i got around to assemble my moded Sunlu S8 again, but it takes up so much space, due to the print bed, and 310x310x400 is nice, but im not going to use that much print area anyway, so i decided to go with a 250 build for my 2.4, since it fits my needs, and then i might be able to find my old S8 a new home, once im done with my second Voron.
For the printed parts, I am once agaim going to print it in 3DE Premium PBT+ snow white, like i did with my V0.2, sine they worked perfectly, and im going to print them on my V0.2, it just saves so much more time, rather then using the old bedslinger.
I though about doing it with another accends colour then red, just to make it stand out from the V0.2, i might be doing it in avocado green
( https://3deksperten.dk/products/pbt-3de-premium-avocado-green-1-75mm ) i can always change the parts to another colour, if i so feels like it.

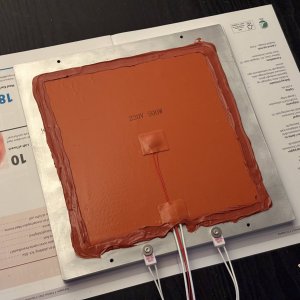
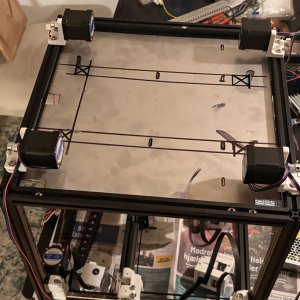
But before all of that, im making the build plate, and once again, i am milling it myself, this time using a large fly cutter, since it is way to big for a facemill, and i did not want it to become taco formed, or have high and low spots, coresponding to how i milled the surface.

Dont let the pictures fool you, the surface is all smooth and flat (not only due to the coolant), and some rounded corners (radius=2mm), just so i dont cut or nick myself and it looks profesional

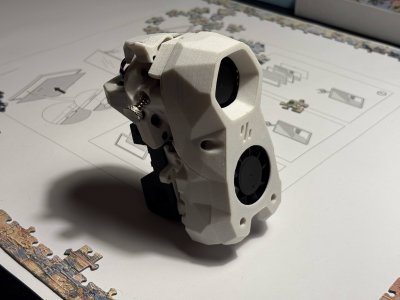
I also have started printing the difrent parts, the first things to be printed is the toolhead and such, just because i felt so.
For the printed parts, I am once agaim going to print it in 3DE Premium PBT+ snow white, like i did with my V0.2, sine they worked perfectly, and im going to print them on my V0.2, it just saves so much more time, rather then using the old bedslinger.
I though about doing it with another accends colour then red, just to make it stand out from the V0.2, i might be doing it in avocado green
( https://3deksperten.dk/products/pbt-3de-premium-avocado-green-1-75mm ) i can always change the parts to another colour, if i so feels like it.

But before all of that, im making the build plate, and once again, i am milling it myself, this time using a large fly cutter, since it is way to big for a facemill, and i did not want it to become taco formed, or have high and low spots, coresponding to how i milled the surface.

Dont let the pictures fool you, the surface is all smooth and flat (not only due to the coolant), and some rounded corners (radius=2mm), just so i dont cut or nick myself

I also have started printing the difrent parts, the first things to be printed is the toolhead and such, just because i felt so.


