What's new
VORON Design

Register a free account today to become a member! Once signed in, you'll be able to participate on this site by adding your own topics and posts, as well as connect with other members!

SuperSlicer 2.5 Print Result help

Hello
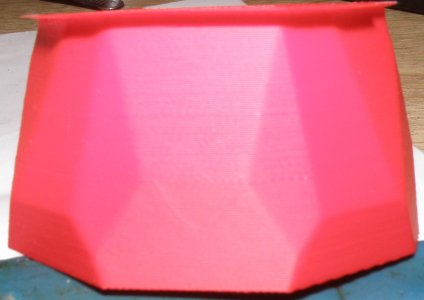
I printed again after the filament had dried, unfortunately without success
I then checked the belts from the Z belt, one looked a bit broken, see photo
I did the gantry squaring again, but exactly as before
Z Belt and A/B Belt checked for tension
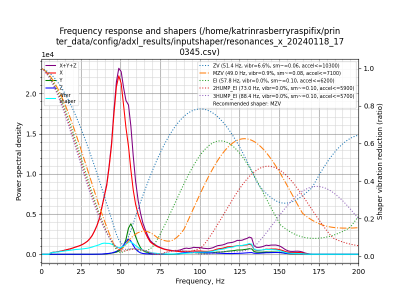
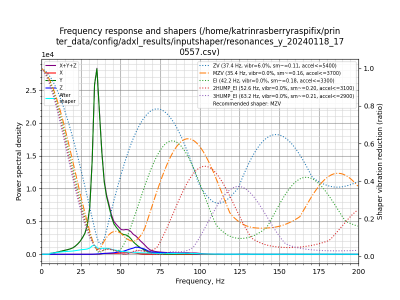
Input Shaper remade
Bed Mesh looked at is currently on a span of 0.069 mm
Extruder calibration
I'm currently printing again according to these settings and changes
 

Attachments

  • P1010076.JPG
    P1010076.JPG
    285 KB · Views: 17
  • P1010079.JPG
    P1010079.JPG
    120.2 KB · Views: 14
Wow, that belt looks mauled! I'd start by investigating what caused that and get it resolved. I'll bet once that's done & the belt replaced your prints will look lots better.
 
Hello
Unfortunately the same result
Have it again now

Extruder calibration
First Layer Squish
Extrusion Multiplier
Pattern Method
Retraction

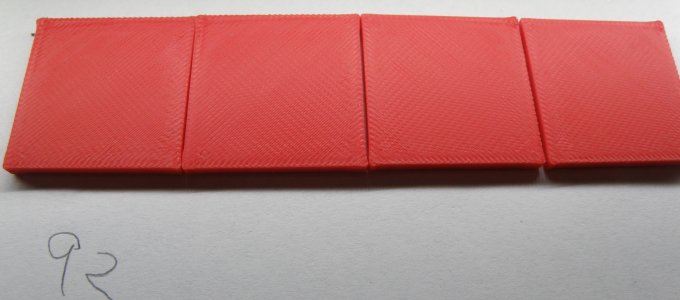
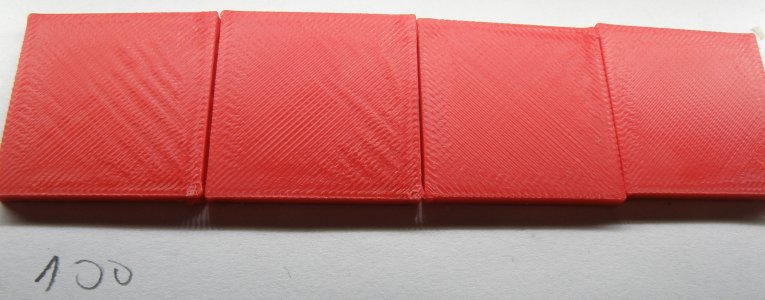
In the photo I start at 100% on the left and go 2 steps lower
The second with 92% to 86%
I think it's 96%

What do you think?

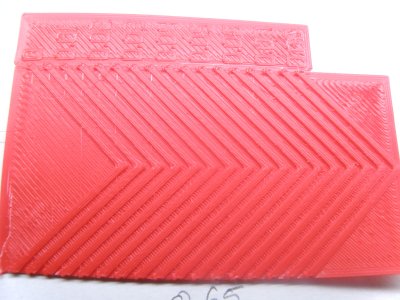
For the pattern method I think it is 0,065

What do you think here?

Adjusted input shaper result acceleration in slicer
 

Attachments

  • P1010080.JPG
    P1010080.JPG
    986.9 KB · Views: 9
  • P1010081-min.JPG
    P1010081-min.JPG
    865.8 KB · Views: 8
  • P1010082-min.JPG
    P1010082-min.JPG
    870.3 KB · Views: 13
Last edited:
Those EM patches look off. Did you set up the slicing exactly like instructed in Ellis' instructions? There are a number of steps you have to manually tweak from your standard setup to make sure there's a break between the base layers and the top layer. It looks like maybe there wasn't on these; I've almost forgotten to do it myself a couple of times. It should be pretty smooth in the middle, and none of those pictured are. With that issue, the PA is hard to analyze, but 0.065 looks decent to me.
 
Hello
I have now swapped the Z rails and Y rails again and swapped the belts of xy and also checked the pullies
I turned off the bed mesh

Unfortunately everything happened without

I looked at the middle when setting the Extrusion Multiplier
and as it says on the page
Minimum layer time: 0
set to
I wanted to continue with the PA / EM Oddities after hearing your opinion about what it could be from above

The minimum layer time I have when printing the StealthBurner is 25. I don't know how high you can go

I also printed a cylinder that is almost the same height

I'm starting to get confused

I'm already thinking about buying a complete new kit. There must be a mistake somewhere

what do you think about that

it is an improvement on 10mm belts instead of 9mm belts
 
Last edited:
I don't know at this point. If it were me, I'd go back to the start and try to begin fresh. Get a fresh default profile and see how it looks.
Looking back over the thread, I noted you pointed to your signature. This V2.4 has metal parts? I wonder if that's a contributing factor? I have zero experience with those, so have no informed input there.
 
Hello
As I wrote before, I already set it to standard profile and nothing
I'm slowly losing track too
Now I just haven't checked the small z belts and the pully of Z motors and replaced the rail of x then everything should be fine
I also changed drivers
 
I have now checked the small Z belts and all the grub screws and pullies

Can someone check whether there is an error in the Klipper config
 

Attachments

  • klippy(39).log
    66.9 KB · Views: 0
It's a shame that I have a printer that I haven't been able to print properly with until now

I have now checked the belts again with this tool


Then I put a second aluminum plate on top of the other aluminum plate on the bed
To see how you can see that the cubes are almost always at the same height.
Unfortunately it is also at altitude so you can assume that the Z motors and belts and pulleys are not the culprits
I'm currently printing with the Prusa profile reset, the extrusion multiplier from 100-80
The input shaper can't be the culprit

1.I have now checked all pulleys
2.I changed all the belts
3. I replaced all ruler rails except x
4. I swapped the A/B and Z motors
5 I checked all the screws
6.Changed the extruder
7.I tried Prusa, Superslicer, Cura, Orbit
8.Gantry Squaring
9.Extruder Calibration
10.First Layer Squish
11.Linear Advance Pattern Method
12. I'm currently making the Extrusion Multiplier 100-80
13.Retraction
14.Determining Maximum Volumetric Flow Rate
15.Input Shapers
16.VIBRATIONS_CALIBRATION


Then I don't know what to do next
 

Attachments

  • P1010088.JPG
    P1010088.JPG
    161.6 KB · Views: 12
  • resonances_x_20240118_170345.png
    resonances_x_20240118_170345.png
    144.9 KB · Views: 11
  • resonances_y_20240118_170557.png
    resonances_y_20240118_170557.png
    143.7 KB · Views: 11
Hello

I have now completely dismantled the printer and reassembled it with a new frame
I had a frame from LDO where the nuts were very tight and couldn't come out
It was changed from LDO
I also ordered the set from Ali and installed all the pulleys and so on from the set
The engines have been replaced
I also printed without a PTFE tube and without a chamber heater

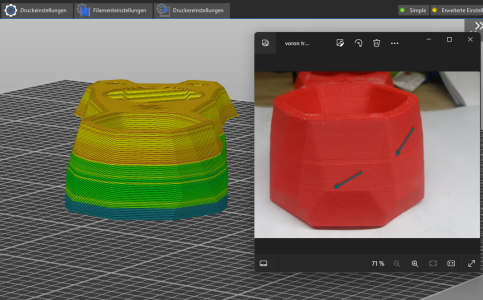
Then I saw the layer time in the preview under Superslicer
In this area where the lines are, the layer time is higher, but I don't know how to control it
I also tried it with several objects on the plate
same result

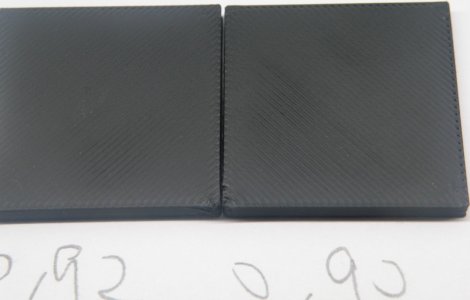
I know that it is difficult to judge the cube from a distance
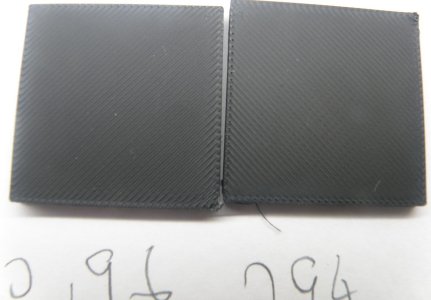
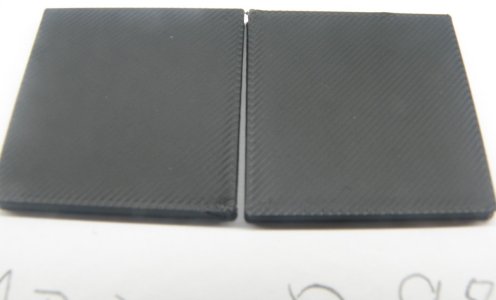
I 92 and 90 have open lanes
1.0 is too smooth you can't see any tracks in the middle I think it's 0.96
I hope someone knows about the layer time or what it is

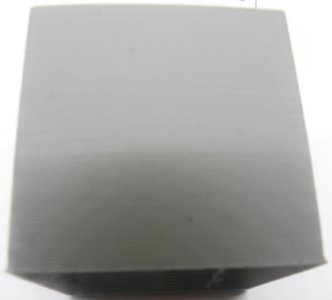
I also printed a cube at the same height and it isn't there
 

Attachments

  • 0.92-0.90.JPG
    0.92-0.90.JPG
    130.8 KB · Views: 8
  • ,96-,94.JPG
    ,96-,94.JPG
    125.9 KB · Views: 6
  • 1.00-0.98.JPG
    1.00-0.98.JPG
    98 KB · Views: 7
  • Screenshot (77).png
    Screenshot (77).png
    546.9 KB · Views: 10
  • P1010110.JPG
    P1010110.JPG
    58.8 KB · Views: 13
Last edited:
I forget the setting for layer time. I think it's in cooling settings under the Filament tab. My SS is unfortunately crashing on me at present so I don't know precisely where it is in there but there are both settings for enabling the fan and slowing down the speed (I believe they are towards the bottom). It's there to solve for the Benchy bent or melted smokestack problem where the plastic on the previous layer hasn't had enough time to cool before putting more plastic on top. It will be different for every filament (more for ABS, less for PLA e.g.) but also related to other factors, like your heat settings, etc. It's generally good to have enabled and simply finding a good value that works for your setup.

I myself didn't get into Vorons to set Speedboat records so I tend to print rather slowly for better part quality and strength. Even then, I'll still run into slow layer times if the parts I'm printing are small or have small sections to them (again the Benchy smokestack being a great example and a good way to test that you have it dialed in correctly).
 
Hello

I took a break and now I'm trying again
I now use Orca Slicer
I did the ellis setting again
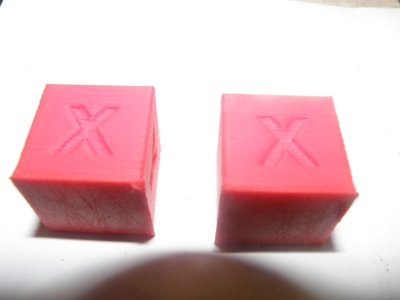
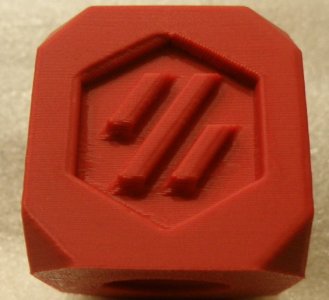
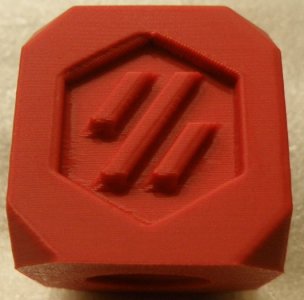
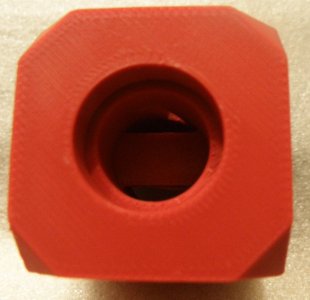
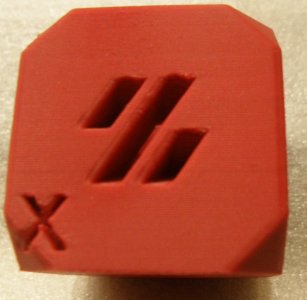
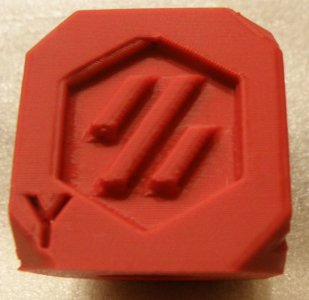
Have a Voron Cube printed now
Unfortunately it is in size
Z: 30.00
Y: 30.16
X: 29.98
I know you can set it with the Orca Sclicer, but as I see it only works XY at the same time and not individually.
What else can you do, or what else could be the problem?
Klipper also has the skew correction function, I just don't know whether it works for a Voron
I have uploaded a photo of the cubes and the profile can be used over it
google as a project 3mf
Maybe someone knows of an improvement in the profile
In my opinion the cube is not yet perfect
 

Attachments

  • seite1.JPG
    seite1.JPG
    56.5 KB · Views: 6
  • seite2.JPG
    seite2.JPG
    54.6 KB · Views: 6
  • top.JPG
    top.JPG
    75.2 KB · Views: 5
  • xseite#.JPG
    xseite#.JPG
    68.9 KB · Views: 5
  • yseite.JPG
    yseite.JPG
    69.4 KB · Views: 5
If you're trying to skew correct, I recommend Vector3D's Califlower or something similar. I ended up making a larger part myself that was a bit more economical to print on my larger Trident to help really dial things in. For whatever reason it took me a few tries on my Trident where I nailed in on my 2.4 but I eventually got there. Printing cubes to assess skew isn't the best option because you need to measure the diagonal. Klipper docs have information about that as well, but if in doubt, Vector3D's Califlower and associated spreadsheet make it easy.
 
Top