VORON Design

You are using an out of date browser. It may not display this or other websites correctly.
You should upgrade or use an alternative browser.
You should upgrade or use an alternative browser.
160mm Salad Fork Build Log (DFH kit)
- Thread starter Yeri
- Start date
Panzarkatten
Member
This will be fun to follow! Been enjoying the streams from both Nero3D and Steve of their Salad Fork builds.
A Salad Fork of my own is high up on the list of future projects
A Salad Fork of my own is high up on the list of future projects
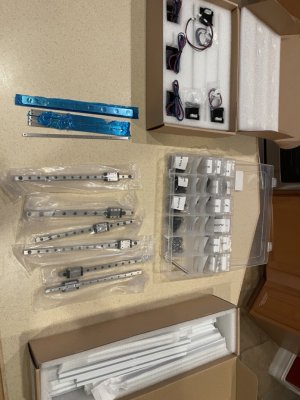
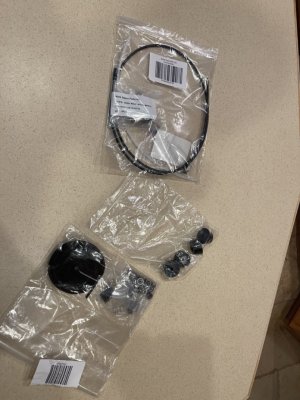
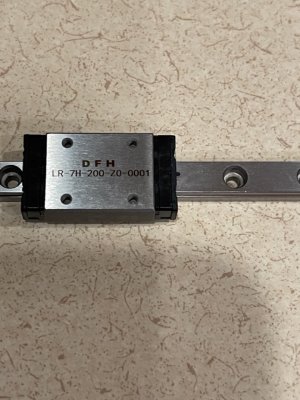
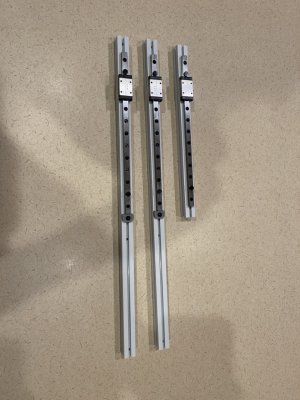
I prepped the rails, they came clean with no shipping grease on them. Movement on all of the rails was very smooth, nothing was crunchy at all. I was surprised at the lack of a grease port on them, until I realized the ends of the rail carriage were dust covers. Once I removed them I was able to put Mobilux Ep2 (my normal rail grease) in with no problem.
One nice little thing I also noticed about the rails is that the top of the carriage is etched with the rail information, this makes finding the correct rail for each assembly step much easier, especially if the lengths are similar
One nice little thing I also noticed about the rails is that the top of the carriage is etched with the rail information, this makes finding the correct rail for each assembly step much easier, especially if the lengths are similar
Attachments
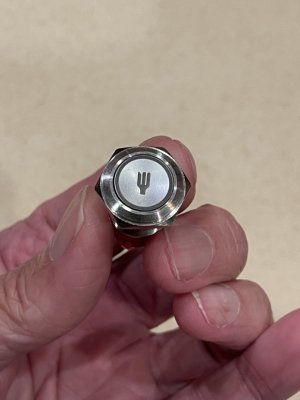
probably yes. I printed klicky parts just in case. The only reason I'm not 100% yes on boop for this one is that this is going to be my "stable" printer, that I never ever mess with and is always ready to print parts. If I feel boop is stable enough by the time I get to that part of the build I'll go for it, but if it looks like there may still be changes to it I'll go with klicky first.Hey, Yeri! I see this Salad Fork will CAN. It will also Boop?
However my gut is saying boop is pretty stable for antfarm printers unless the team finds something that needs fixing
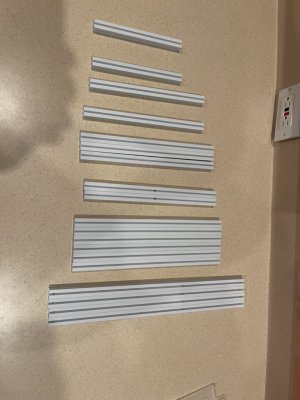
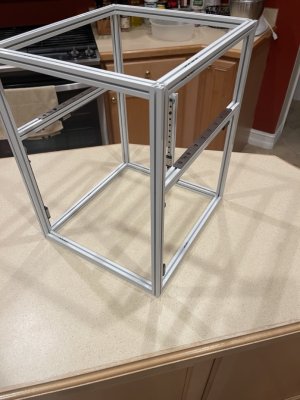
Frame is coming together, this shows the z extrusions and rails all set up and the base of the frame is done. Next step is to get the Y extrusions, rails and backers all assembled and attached to the printer
Attachments
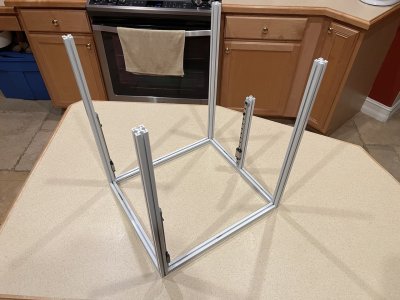
And the core frame is assembled, backers installed. Starting to resemble a printer!
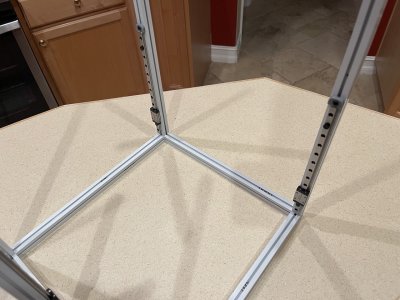
Next up I need to align the Y extrusions and square up the frame, printing the tools for that now and reprinting the feet, since I wasn't happy with the way they came out. This printer has to look good after all!
Next up I need to align the Y extrusions and square up the frame, printing the tools for that now and reprinting the feet, since I wasn't happy with the way they came out. This printer has to look good after all!
Attachments

happy_mfg.
Active member
just regular nuts in the 1515 for your backers? nice build btw!
Similar threads
- Replies
- 26
- Views
- 3K