What's new
VORON Design

Register a free account today to become a member! Once signed in, you'll be able to participate on this site by adding your own topics and posts, as well as connect with other members!

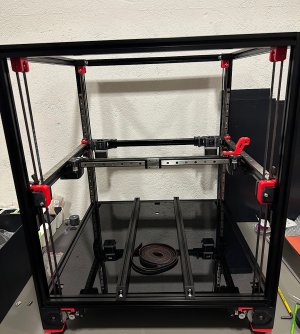
ckk's 2.4r2 350 Formbot kit build

ckk

Member
Great timing with a new forum, just as I'm getting started!

My first 3D printer build was a Printrbot Jr back in 2013:
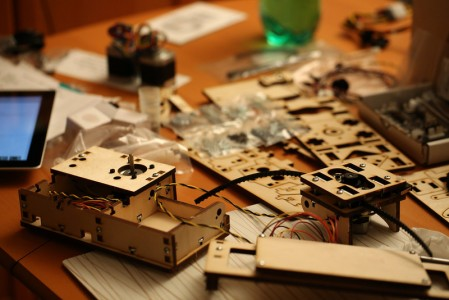
1668813543277.png

Really fun to build but not the greatest 3D printer, so after a hiatus my main printer since a few years back is a Prusa Mk3S, also built from the kit. Really keen on a bigger build volume, faster prints and better setup for printing with ABS. A Voron 2.4 ticks all boxes and seems like a fun project! After much deliberation and looking at availability I settled for a Formbot kit as my foundation. Instead of fighting with ABS on existing printers I went for PIF and very quickly got assigned and the parts are on the way! More on that later...

Today my Formbot kit arrived from Formbot's Czechia warehouse and excited to get started even if this project might take a while due to family and work. The Formbot kit seems to have evolved in a nice direction since early reviews I've looked at so hopefully a detailed look at the components from my fresh kit can be helpful for others. Here's a look at the fasteners:
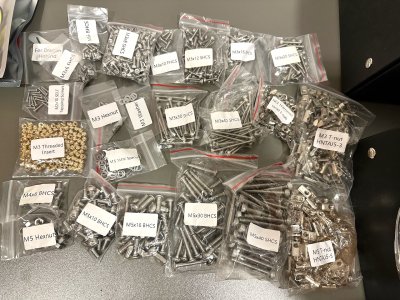
IMG_0258.jpeg
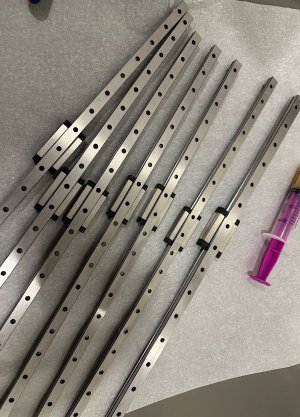
And an overview of the extrusions, rails, pulleys, cable chains, motors - most still in their slots in the packaging:
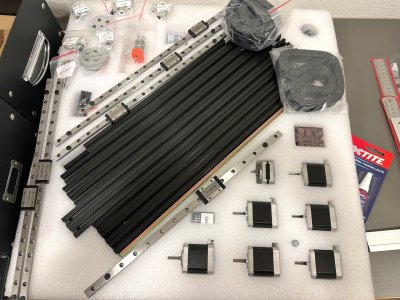
IMG_0260.jpeg
I'll share a more detailed look and thoughts as I start building. Some of the additional things I've purchased and received so far:
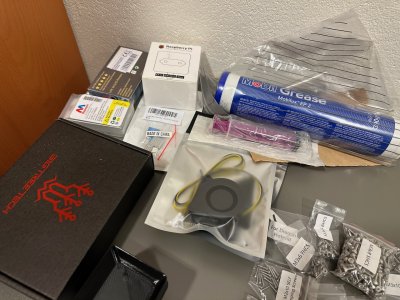
  • more 6x3 mm magnets
  • Raspberry Pi 4 heatsinks and power adapter (for initial testing and setup)
  • large amount of grease
  • blowers for a Nevermore Duo
  • BTT TFT50 and a 50cm DSI flex cable for it
  • Loctite, as seen above
IMG_0259.jpeg
The PIF parts should show up early next week, so I'll get started on the frame and perhaps greasing the rails until then. At the moment I plan a build based mostly on the kit, with a CW1/AB using the included E3D V6 clone, but tentative plan is to update with a CW2/SB using CAN and Revo Voron later (some parts already on the way!).
 
Annoying when life gets in the way of your build!

But still some progress:

IMG_0262.jpeg

IMG_0264.jpeg
Next step is verifying that it's square enough, as soon as I find one of the measuring tapes I know are somewhere, and printing a couple of MGN9 rail guides right now.
 
Why do you go for CW1 and AB?

Formbot kit includes the parts for CW1/AB and I went with just the clone E3Dv6 with the intent to put something nicer on sourced separately. I've ordered stepper, CAN board, Revo Voron, fan etc for the CW2/SB upgrade, unfortunately with the lockdown in China it seems like those will take a while.
 
Annoying when life gets in the way of your build!

But still some progress:

View attachment 346

View attachment 347
Next step is verifying that it's square enough, as soon as I find one of the measuring tapes I know are somewhere, and printing a couple of MGN9 rail guides right now.
Hi I ordered PIF parts several weeks ago. They have not shown up and I have no way to know if they were ever sipped. Can you tell me how to find out. Thanks
 
Hi I ordered PIF parts several weeks ago. They have not shown up and I have no way to know if they were ever sipped. Can you tell me how to find out. Thanks

Where did you order your printed parts from?
 
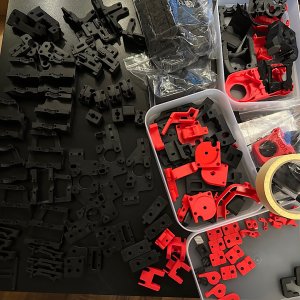
My PIF parts look really awesome, @pajtaz delivered fast but also with great print quality! Extras like Nevermore, CW1/AB and Klicky were packad separately. Although I have browsed through the manual once when seeing all the parts at once I realized how many there actually are! Plan to go through and inventory them, then start with the Z motor assemblies.
IMG_0473.jpeg
 
My PIF parts look really awesome, @pajtaz delivered fast but also with great print quality! Extras like Nevermore, CW1/AB and Klicky were packad separately. Although I have browsed through the manual once when seeing all the parts at once I realized how many there actually are! Plan to go through and inventory them, then start with the Z motor assemblies.
View attachment 852
Doing an inventory is a good idea. I wasn't so smart, and started my build. I found out that some of the parts I'll need to complete are not in my order of printed parts. I learned a new term, "Functional Printed Parts Set". The translation is, you receive only the bare minimum to make the printer work. My set does not include the skirting, belt covers, display housing, or any of the enclosure parts. I have my other 3D printers hard at work printing to allow me to finish.

Enjoy your build. I found the assembly process a lot of fun. Read ahead and the little details, like nut plate sizes. I messed up more than once placing the wrong size in where they have two different sizes, like in the gantry build.
 
Last edited:
Doing an inventory is a good idea.
I promise I'm not stalking you, or following you around, but this is great advice. I had to continually print parts as I was building because I forgot some things, or broke some things, so making sure it is all on hand before dedicating the time is a very good suggestion. One I wish I had done a little more thoroughly.
 
Hi I ordered PIF parts several weeks ago. They have not shown up and I have no way to know if they were ever sipped. Can you tell me how to find out. Thanks
Where did you order these parts?
 
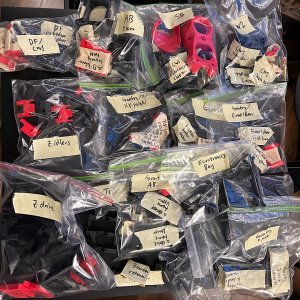
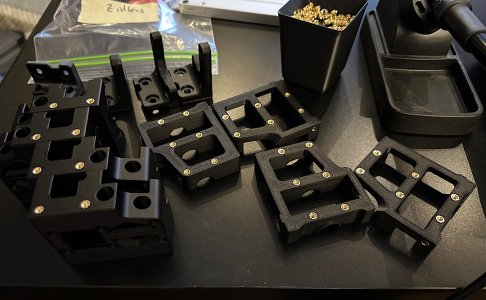
Result of inventory, sorted by category and all marked. Extra useful since I have a full set of both CW1/CW2 and AB/SB:

6C355423-7F8B-4A92-9C1C-0F37D55D3C4B.jpeg
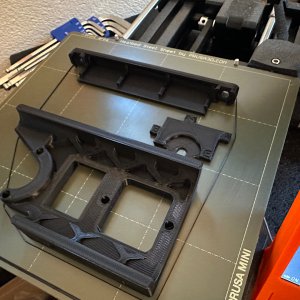
I got an extra z_drive_retainer, but the PIF program apparently doesn’t supply the power inlet piece for Chinese kits, and Formbot also includes some Wagos for nicer wiring, so for now I just printed those plus the pulley jig tool in PLA:

526797D0-67E9-4534-A896-6D8E9777218B.jpeg

Note that is the filtered inlet version, Formbot does ship the preferred and hopefully much safer components now.

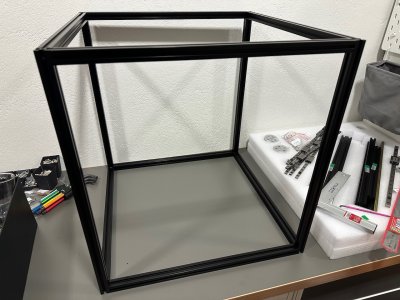
The machinist square I ordered also arrived recently so spent some quality time with the frame in the kitchen, which has the flattest surface in the house. Adjusted most corners a tiny bit and looks mostly perfect with the square, and when cross measuring for squareness it’s either close enough that I can’t tell or there’s at most a 0.5mm difference. Don’t think I can get a better result than that.
A5E1663F-984E-4C86-B80B-89DF55BB55FB.jpeg
Finally I got started on the Z drives by installing my first round of heat set inserts!
2FB5AABF-7B90-4572-93D7-E353470E0EAC.jpeg
 
Haven't been great at updating here but let's take a look at what has happened since last time!

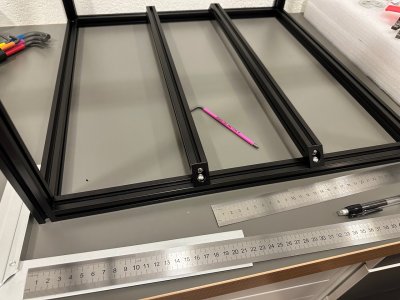
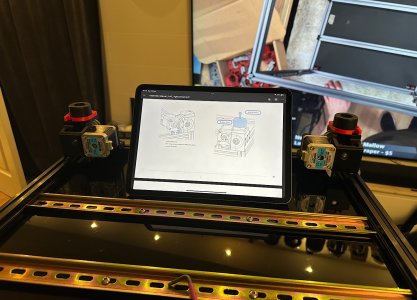
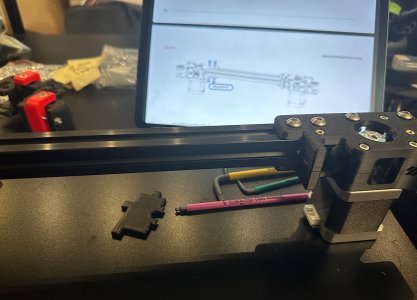
With the order of photos taken as a reference the next thing I did was adding the bottom deck and the DIN rails followed by mounting the four Z's:

IMG_0685.jpeg
Pretty straightforward, no problems as far as I can remember. Next up I cleaned and greased the linear rails with the recommended Mobilux EP2:

IMG_0684.jpeg
A little bit messy but used the method I've seen eg @Nero3D used to really get the grease in there!

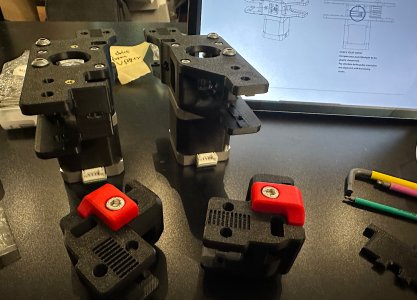
Next up was the gantry!

IMG_0687.jpeg
IMG_0686.jpeg
Enjoyed this part of the build on a temporary workstation in front of the TV! It did get quite messy...
IMG_0683.jpeg
Also partially seen here but more clearly below is my first mod, the addition of Titanium backers which seems to make sense given the target of being able to nicely print ABS.

Getting the gantry installed in the frame was not too bad, used the trick given by someone in one of @Nero3D's build streams to use the rail stoppers. The only issue I had was having to loosen up the screws too widen the width of the back part of the gantry. But after that everything moves smoothly, so continued with getting the Z belts routed and fastened. Now it's starting to look like a proper printer!
IMG_0682.jpeg
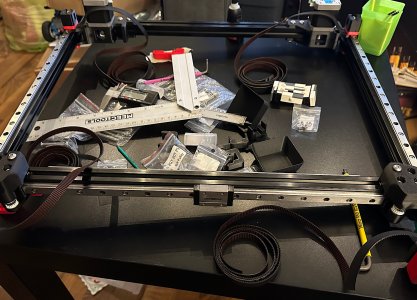
Next up are the XY belts!
Since the last update I've also received some more components, mainly my Revo Voron, but also LEDs and fan for the Stealthburner. On the way is also a Tap kit from @Lab4450! But those
will all be part of the later upgrade since I need the printer functional to print the necessary pieces needed.
 
Top