What mods to include in the initial build is a great question because you don’t want to have to tear down what you just built.
Here are a few I found to include in my initial build:
•
Roller Brackets: Super useful for accessing the electronics bay during and after the build.
•
V2.4 Handles: Sturdy and good looking handles.
•
BTT PITFT50 45-degree Mount: I found and tried a 5" LCD mount that pivoted so you could adjust the angle. But it turned out that it blocked the smooth opening of the doors. So I switched to this one. You may want to install the simpler, non-TFT, non-graphical screen first to make sure everything works. But I found it easy enough to get the touchscreen working.
•
Nozzle Scrubber with a Little Bucket for Voron 2.4: I really liked the "Decontaminator" brush/bucket, especially the idea of having alignment screws to quickly set the steel plate correctly. However, 1) the brush was too low, and 2) the 10x2mm pins barely screwed into the soft plastic and appeared way too flimsy to withstand the steel plate knocking into them. So I went with this simpler scrubber/bucket. I would like to see someone design a good plate aligner, but I'm guessing it can't be just printed plastic because it has to touch or come very close to the heated bed where it could melt.
•
Voron V2.4 Skirt Buttons Mod: I considered these because they seem like a great idea, especially the idea of having a physical emergency stop button. Ultimately, though, I didn't install these figuring I would wait to see which buttons I actually wanted. Turns out I haven't really needed any. The touchscreen works well.
The general recommendation of the community is to build the canonical Voron 2.4, and then, only after it's working, take on more advanced mods. I think that's good advice for something as complex as CANBUS, which when I last looked lacked extensive documentation and a lot of community experience. However, I did build the Clockwork2 and Stealthburner directly instead of starting with CW1/Afterburner as shown in the official build guide. Having some challenge was part of the fun!

www.teamfdm.com
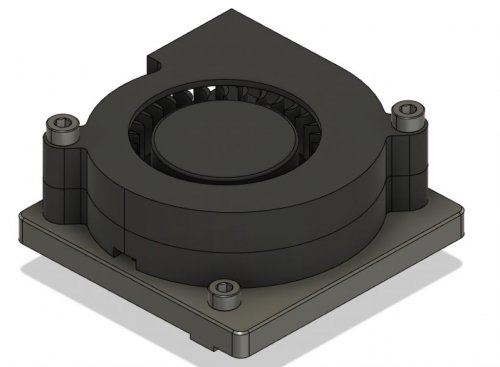
") https://github.com/VoronDesign/VoronUsers/tree/master/printer_mods/Ellis/Bed_Fans
https://github.com/VoronDesign/VoronUsers/tree/master/printer_mods/Ellis/Bed_Fans