Hi all!
I'm finally getting around to trying to print with my recently assembled Voron 2.4 350mm spec. I started out with the voron cube, using the default OrcaSlicer profile, and the print started out ROUGH.

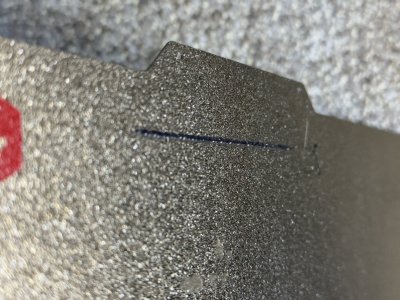
First the purge at the beginning was odd, it has regions of "blebbing" where the left side has tons of material, and the right is super thin. Then the print starts:

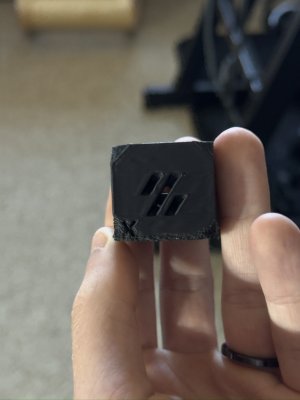
And the bottom of the print is super messed up. Surprisingly though, the cube starts to get better and better as it gets further into the print. I'm not totally sure what the cause for this is, maybe there was a blockage in the nozzle? The chamber not being hot enough? I should say I'm printing ASA and changed out the extruder to be a Galileo 2, as well as using Voron Tap.
Edit: Trying again letting the printer heat soak more before starting printing ended up with the same messed up first layers, I guess my next theory is the bed is too hot?
Looking forward to being a part of the community!
-Adrian
I'm finally getting around to trying to print with my recently assembled Voron 2.4 350mm spec. I started out with the voron cube, using the default OrcaSlicer profile, and the print started out ROUGH.

First the purge at the beginning was odd, it has regions of "blebbing" where the left side has tons of material, and the right is super thin. Then the print starts:

And the bottom of the print is super messed up. Surprisingly though, the cube starts to get better and better as it gets further into the print. I'm not totally sure what the cause for this is, maybe there was a blockage in the nozzle? The chamber not being hot enough? I should say I'm printing ASA and changed out the extruder to be a Galileo 2, as well as using Voron Tap.
Edit: Trying again letting the printer heat soak more before starting printing ended up with the same messed up first layers, I guess my next theory is the bed is too hot?
Looking forward to being a part of the community!
-Adrian
Last edited:

