What's new
VORON Design

Register a free account today to become a member! Once signed in, you'll be able to participate on this site by adding your own topics and posts, as well as connect with other members!

Goldie - the 350 Voron 2.4 R2 Fysetc kit

pws

Active member
New to the community with a smoking hot delivery of a Voron 2.4 R2 kit bought from Fysetc via Aliexpress.

I have an Ender 3 Max, modified with dual Z-axes, Sprite 300 C extruder and hotend, PEI-sheet etc.
It prints PETG really nice, but life pushes us forward and I want to be able to print more advanced filaments which requires more of an high temperature enclosed printer.
I also have got really cheap a Sovol SV03, which I intend to rebuild to an IDEX, but that's another story. :ninja:

So, after a long time probing the "market", I finally decided to build a Voron 2.4 R2 350 as a base and then do some additional mods.
I also jumped the short path and bought the aluminum kit from Fysetc, if it is working ok I will stay with it, if use it to swap to glass fiber enforced CP-12 which has really interesting temperature coefficients.

Also, the most important part with precious things, the name!
It's name is Goldie, from the golden (well, more yellowish) extrusions that I chose. Don't ask me why on that choice. 😂

Mods that I plan to have in the first setup is:

  • Klicky probe
  • Automatic Z Calibration
  • Managed by a computer, not a Pi (hard time getting one, and want to control the my other printers from same spot)
  • Sensorless homing
Further on, when Goldie has got a couple of hours under its extruder, I plan to extend it further with at least:

  • Mosquito high temperature hot end
  • CAN-bus
  • LED lights in the chamber

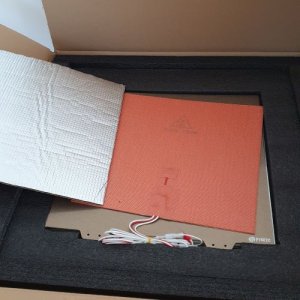
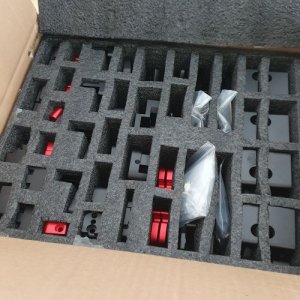
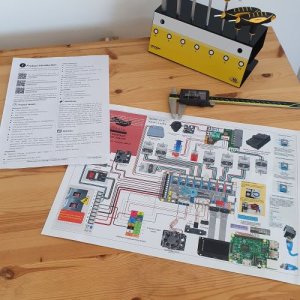
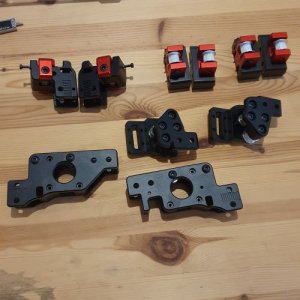
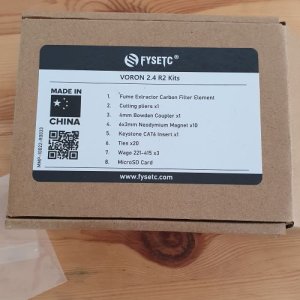
I just have scanned through the packages and comparing to other peoples "Unboxing", all seems to be included.
Of course pictures:
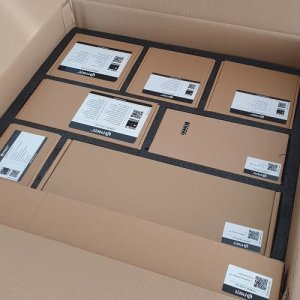
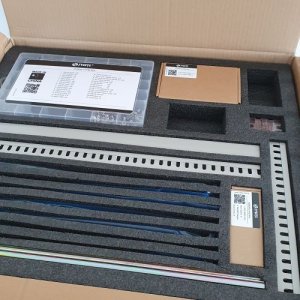
s-20230330_094302.jpgs-20230330_094247.jpg
s-20230330_094143.jpgs-20230330_094151.jpg
s-20230330_094122.jpgs-20230330_094347.jpg

Findings about the kit(s).

  1. No Pi included (as I expected) though the BOM on Fysetc sellers page kind of states it (has an "optional" word after but not clearly stating it is not included)
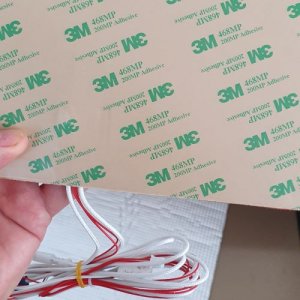
  2. The real deal with 3M 468MP adhesive on the bed heater
  3. The aluminum parts look good, haven't measured or done any further investigations
  4. The kit ships with a "E3D V6" hot end. Included was two different heat breaks. BOM states nothing about the difference.
    One is in all steel (?) and the bi-metal but is it copper and titanium or have they cheated?
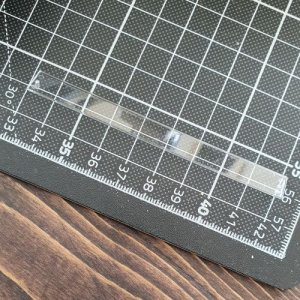
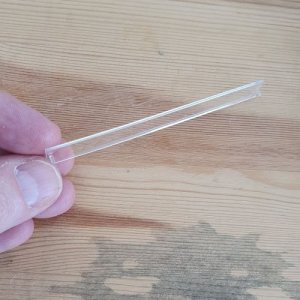
  5. Then there was a small transparent plastic thingie which I have no clue what it is for. I can't remember seeing anything about this in the build docs or some of the build videos I watched.
Well that is all for the first post.
 
After gone through and started to print the plastic parts that is needed.
I couldn't find the Loctite, so I made a pre-assembly of some of the parts instead.

In the aluminum kit, there were a bunch of screws provided but no information of which and were they are intended to be used.
Some of the parts has been machined off more to keep down the weight compared to its plastic counter, but that means I had to do a little trial and error to find if a screw from the original BOM should be used or if a screw from the kit.

Quite annoying, how hard could it be to just provide a sheet of paper and some instructions? :rolleyes:

s-20230330_224243.jpg

Now, time for bed.
 
It will be my old Dell Latitude E6420 laptop with docking station. I will install Ubuntu 22.04 on it.
 
What computer are you going to use?
You can use pretty much any computer you want. I have loaded Klipper on all sorts of Linux machines, laptops, mini Intel desktops.

@pws show a picture of the small transparent plastic thing and we can help identify it.
 
@NoGuru sure, here are some pictures. I came in that box, but it is not part of the BOM on the label. All the parts were included.
s-20230331_144547.jpg

This is the part. Put it also on the cutting mat, so you can see the size.

s-20230331_144642.jpgs-20230331_144706.jpg
 
So, as the E3MAX is working, I focused to setup the computer.

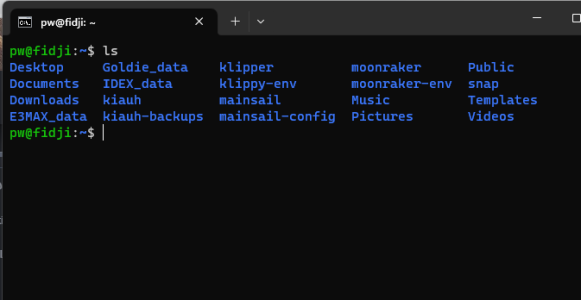
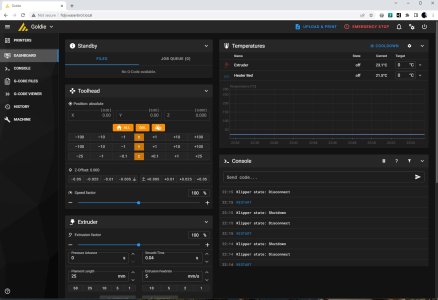
Installed UBUNTU 22.04 LTS and then run KIAUH for setting up 3 instances of Klipper, Moonraker and then three printers in Mainsail.

Findings:

1) If you set a name for instances, Mainsail doesn't show which instances it uses when you add the printer and want to name it.
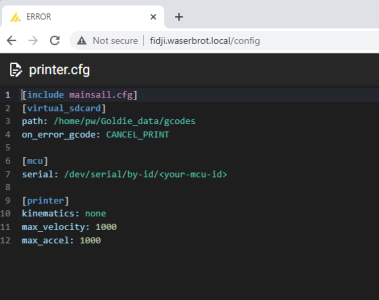
If you do like me, named the instances with the printer name, you have to go in to the printer.cfg template for the printer so find what the instance is called in Moonraker/Klipper.
Looking in you home directory (or the directory where you installed klipper/moonraker/mainsail you find a directory with named <instance_name>_data.
For Goldie you find a Goldie_data directory. In that directory you find a config directory and there the printer.cfg.

1680268812716.png

So, in Mailsail - just choose one of the printers, open the printer.cfg and you will see what instance it has mapped to.

1680268907383.png

Finding number 2)

After installing the klipper, moonraker and mainsail I switched to my desktop computer and used Chrome to connect to my "klipper"-computer. I added the printers and everything as mentioned above.

Then I switched to the laptop, and I had to actually add the printers again. It then found them so they are defined but need to add anyway again. :)
 
LOL, I have no idea what that is. I don't think it's for anything. Maybe for the wagos to sit in.......
 
  • Haha
Reactions: pws
Well, will see. Now I am off for a trip, so won't be able to work on the printer till I'm back.
 
Thanks for the info on your kit.
Throwing in parts you don't need is kind of a dirty trick,..
but it's better than not including parts you do need, ha.

I have an old dell D620 I'd like to use. I think it's a little older than your Dell E6420.
It's 32 bit so it needs needs an earlier version of ubuntu. I think it's 19.1.
 
  • Like
Reactions: pws
Thanks for the info on your kit.
Throwing in parts you don't need is kind of a dirty trick,..
but it's better than not including parts you do need, ha.

I have an old dell D620 I'd like to use. I think it's a little older than your Dell E6420.
It's 32 bit so it needs needs an earlier version of ubuntu. I think it's 19.1.

My E6420 is made 2011, so I would guess the D620 didn't support 64 bit. Don't remember when 64 bit operating system started to be supported on PC:s.
I bought it from when I left a previous employment in 2013 and I hade win7 until now on it. It was too old for win10 at least. 😁

22.04 runs without any problem though. 🥳
 
Last edited:
That's some rather nice looking packaging they've got there...

Yea, I am quite surprised. My impression so far is that Fysetc really want to be a serious dealer and not seen as "cheap Chinese".
Will be interesting when I get everything, including their board, up and running if that holds.
 
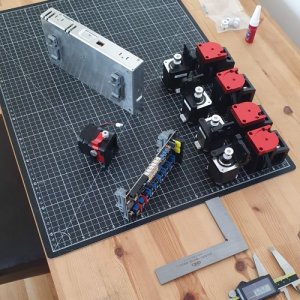
Back home, and continued the pre-assembly work. Pretty much straight forward.

s-20230406_181244.jpg

The Clockwork however had some challenges. The Guidler and the Latch being all metal leaves little room for movement and flexibility so I had to lubricate the metal to metal surfaces as well as being thorough when fitting it together. Some PTFE-grease did the trick.

I noticed that I just have like 0.25 liter of isopropanol at home so I couldn't clean the rails.
So next step will be to start with the frame and gantry instead.
 
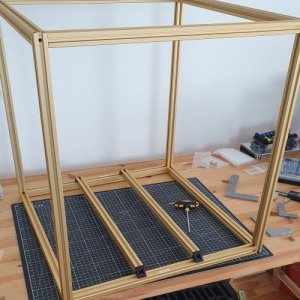
Mounted the frame and the part for the Z-axis except for mounting the z-motors. I want to test the electronics works correctly before mounting everything to the printer.
Added a front and back label to the frame to make it easier when rotating, turning upside down all the time. 😁

s-20230407_120512.jpg

There is a difference in the color scheme between the extrusions. 8 of the 10 A-extrusions had the same color but 2 were slightly lighter in color. The same with the B-extrusions.
Also the color "Gold" is quite light, more of a yellow color.


s-20230407_120506.jpg
 
Started then with the electronics, and here I ran into troubles.

I booted up the linux computer and plugged in the Fysetc Spider v2.2 board. Went to Fysetc:s github and followed the instructions for compiling the klipper firmware.
Nothing problematic with that so I flashed the firmware by their suggested commands using dfu-utils.
The board went nicely into DFU-mode, it flashed without any troubles, I disconnected it, removed the BT0 jumper and rebooted and...... nothing.

Linux couldn't mount the board, I reconnected, I connected, I ran lsusb, dmesg, usb-devices... well every command that I could think of but nope, no mounted board.

I was really puzzled. How can it be, so I re-did the firmware compilation, I re-flashed it and re-started and no nothing.

Started to google around and found a guy on Youtube stating he had the same problem and he installed Ubuntu Server instead of Desktop.
I thought, what? That can't be, I mean it is basically the same os, just different packages and startup but what the heck, I hadn't any other idea.

Downloaded Ubuntu Server, flashed a USB-stick and installed it on the laptop.
I re-installed kiauh and installed klipper, moonraker and mainsail but only as one instance.
I re-compiled the firmware and re-flashed it and it was the same result. No mount of the board.
However, after flashing I noticed this time that before I disconnected the board it was mounted but as soon as I reconnected it couldn't mount.

What heck, so I ask in #klipper channel on discord popped the question and was suggested that the bootloader was broken and I was also suggested to use the make flash command in the Voron docs instead of Fysetcs docs.

So I flashed a new bootloader to the board, I re-compiled and now used "make flash" and that worked.

So a BIG BIG warning, do NOT use Fysetcs github instructions even if they claim that the command will preserve the bootloader.

s-20230407_221950.jpg

small.jpb.jpg
 
Ok, so this morning was Electronics morning.

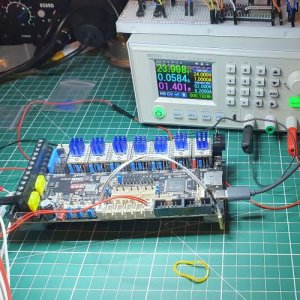
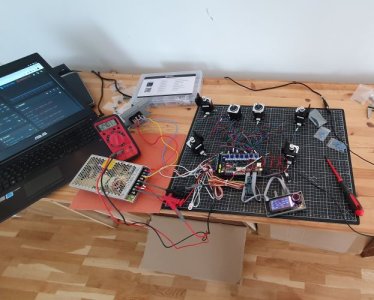
Wired up all the stepper motors, the hot end thermistor and bed thermistor, LCD-display as well as the x/y endstop and z endstop to the board.

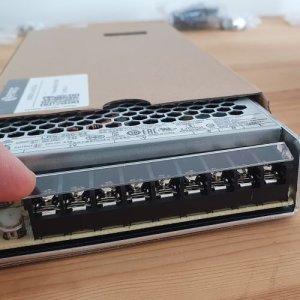
Then I started with the PSU. First checking that the grounding works as well as the, by Fysetc, pre-crimped cables and power inlet worked correctly before plugging it into the mains.
When satisfied, I fired up the PSU without any load and checked the 24 V calibration. It gave 24.65 V (!) so turned it down to more or less 24.00 V.
When tuned in, I turned off the power and connected the board to the PSU along with the multi meter to see if there will be any voltage drops when activating things around.

Everything work like a charm, except that I used the printer.cfg file from the Voron-site and it had wrong pins configured for the X and Y endstop.

All motors moved and listened to the home command, and from what I saw they moved in the right direction.
However, when I compared the printer.cfg from the Voron-site with the printer.cfg from Fysetc Github I noticed that Fysetc has all direction pins inverted., Fysetc had correct endstop pins configured though, so who knows...
I will have a finger on that Emergency Button when starting Goldie for the first time. :ROFLMAO:

No voltage drop at all either, so let's keep those fingers crossed.

Here it is, the inner parts of my precious...

s-20230408_123522.jpg
 
Today was more of a "do a little here and there". Still waiting for the IPA to arrive, hopefully it comes on Tuesday so that I can clean off the rails. 😬

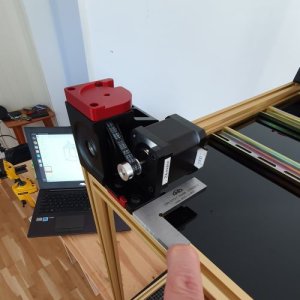
So, as everything worked ok with the electronics test yesterday, I mounted the motors to the frame and gantry.
As I have squared frame and then everything to that, squared the z-motors as well. 😂

s-20230409_134047.jpg


Things that got signed off the list:
- The screen and the Afterburner got fully assembled
- Crimping connectors to the compartment fans,
- Attaching the heater to the bed
- Re-structured the configuration files so that all Macros for different part are in separate files and included in printer.cfg
- Configured Klicky-probe and Sensorless Homing in klipper
- Printing the Klicky-probe parts
- Updated the activities list for the build process

Tomorrow we will open up the sporting season with a small contest at the shooting range.
The snow depth is still around one meter up here where I live but the guys has shoveled the lanes and created two nice Compak Sporting layouts.
So time to hit the bed.
 
Top