Part 9
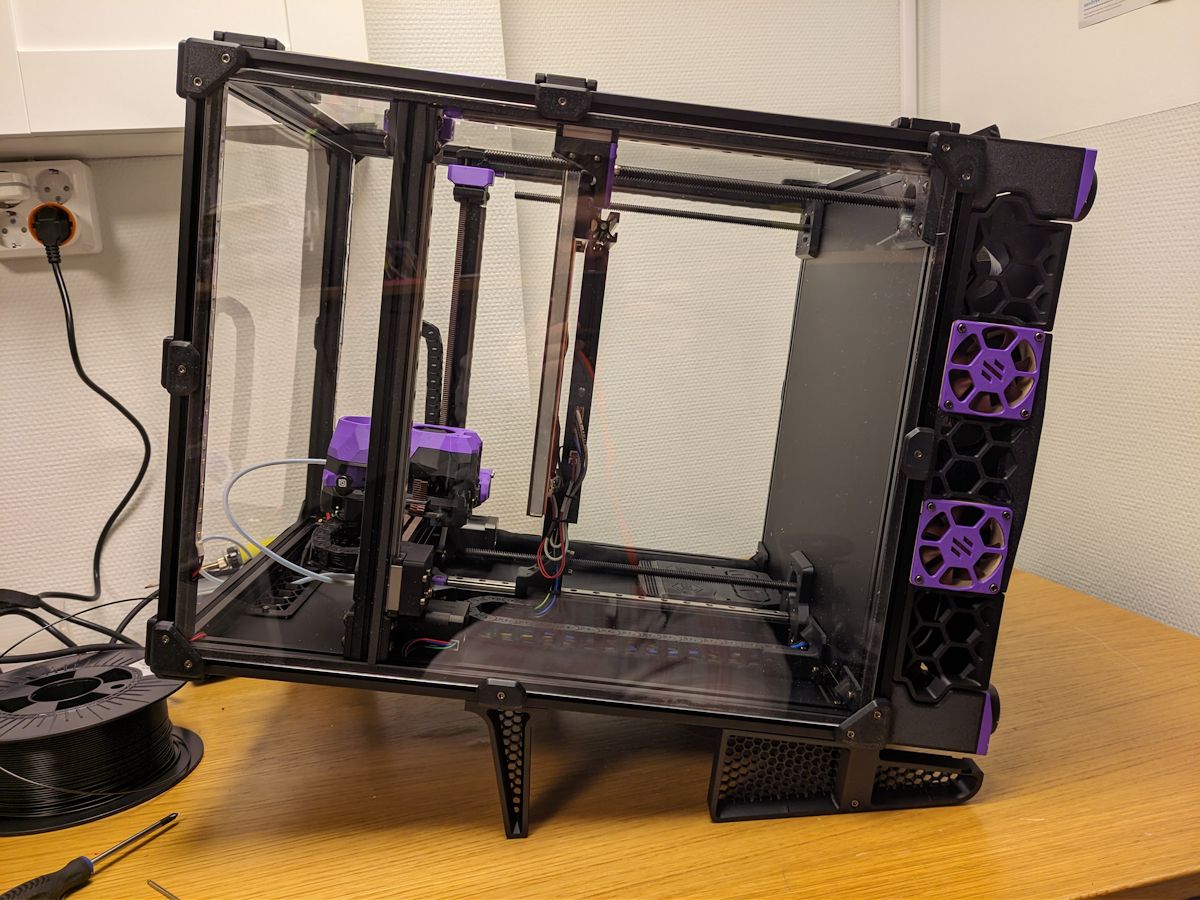
The printer is done, but I feel one of the best part of a VORON printer is the ability to modify and personalize it. There a tons of mods you can do, and while I’ve done a few there are lots more that I’d like to do some day.
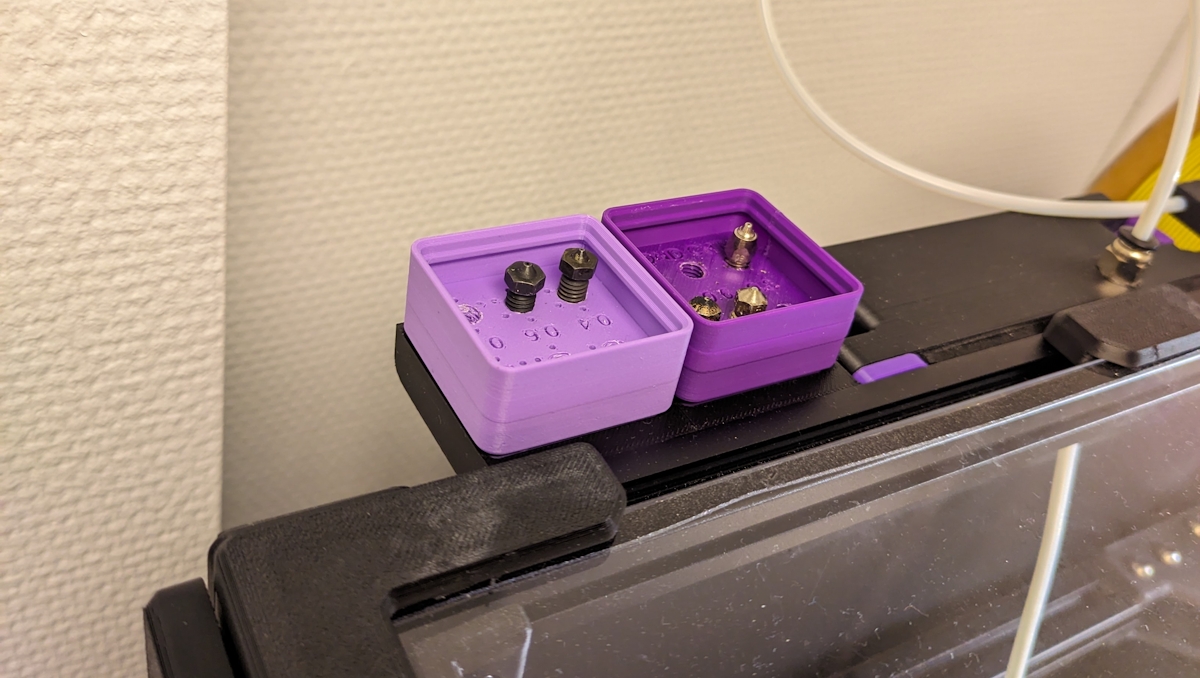
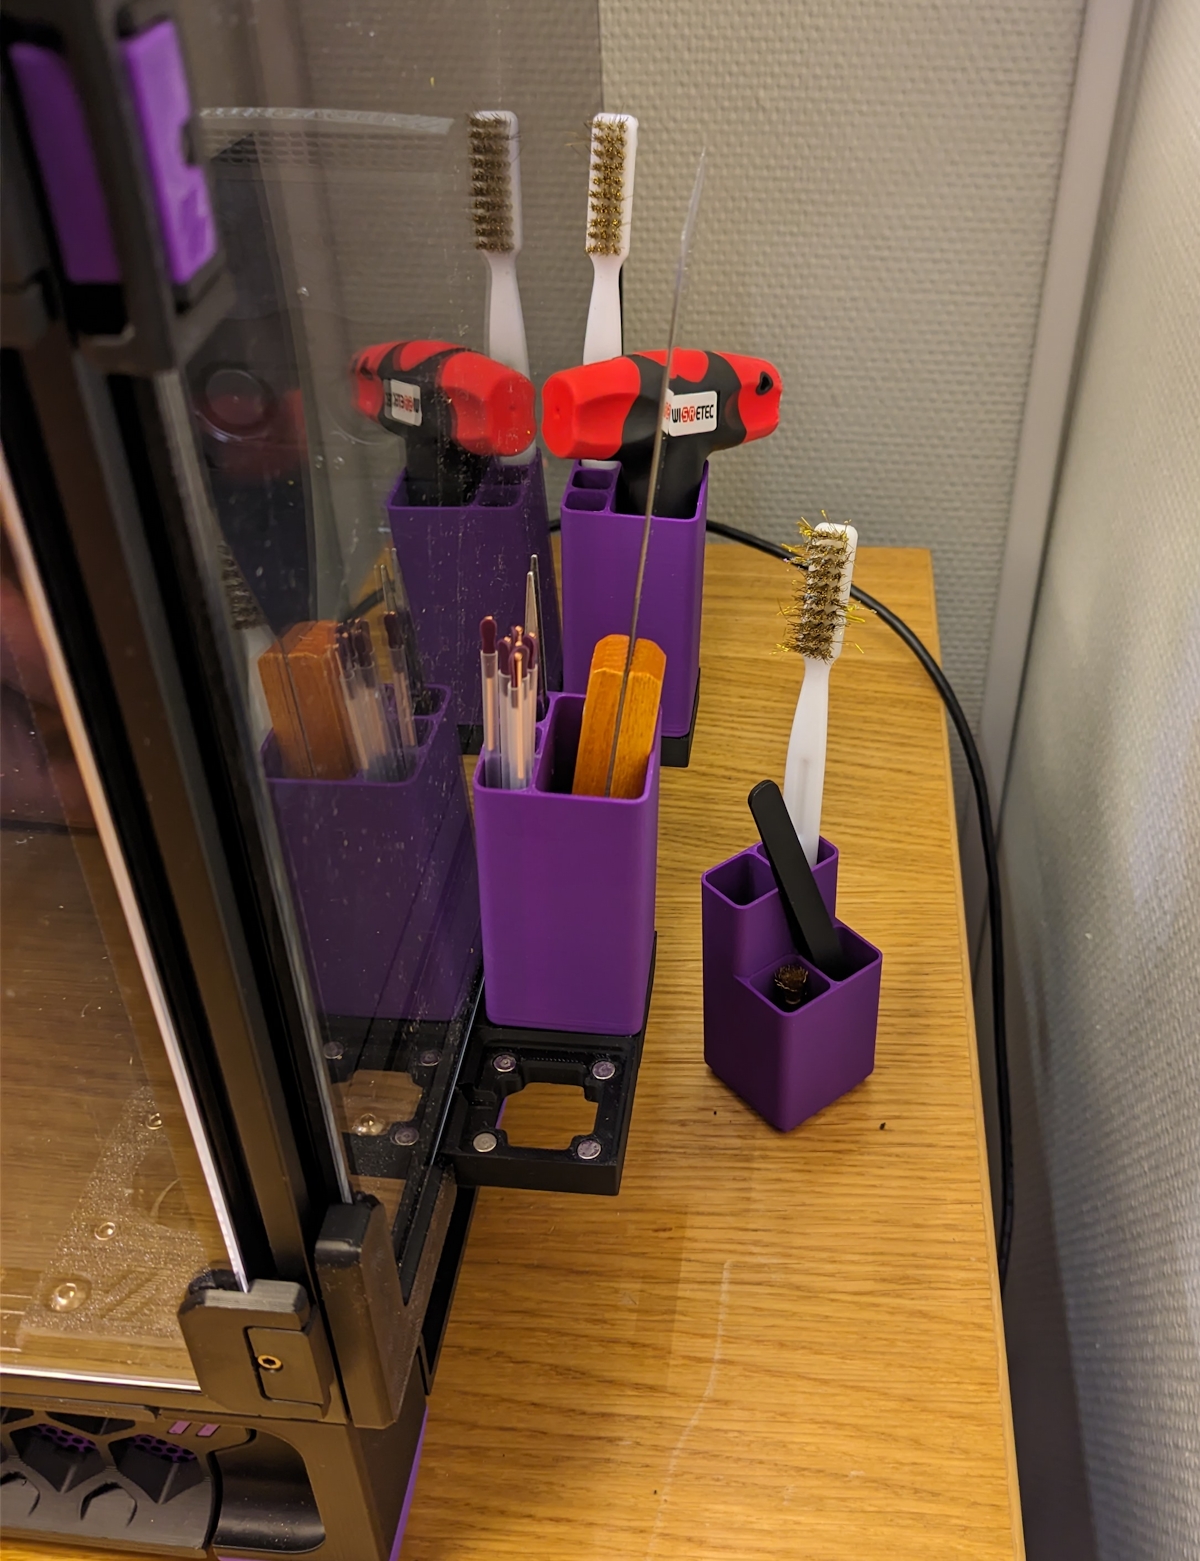
It’s a wonderful feeling to augment the printer with parts made by the printer itself.
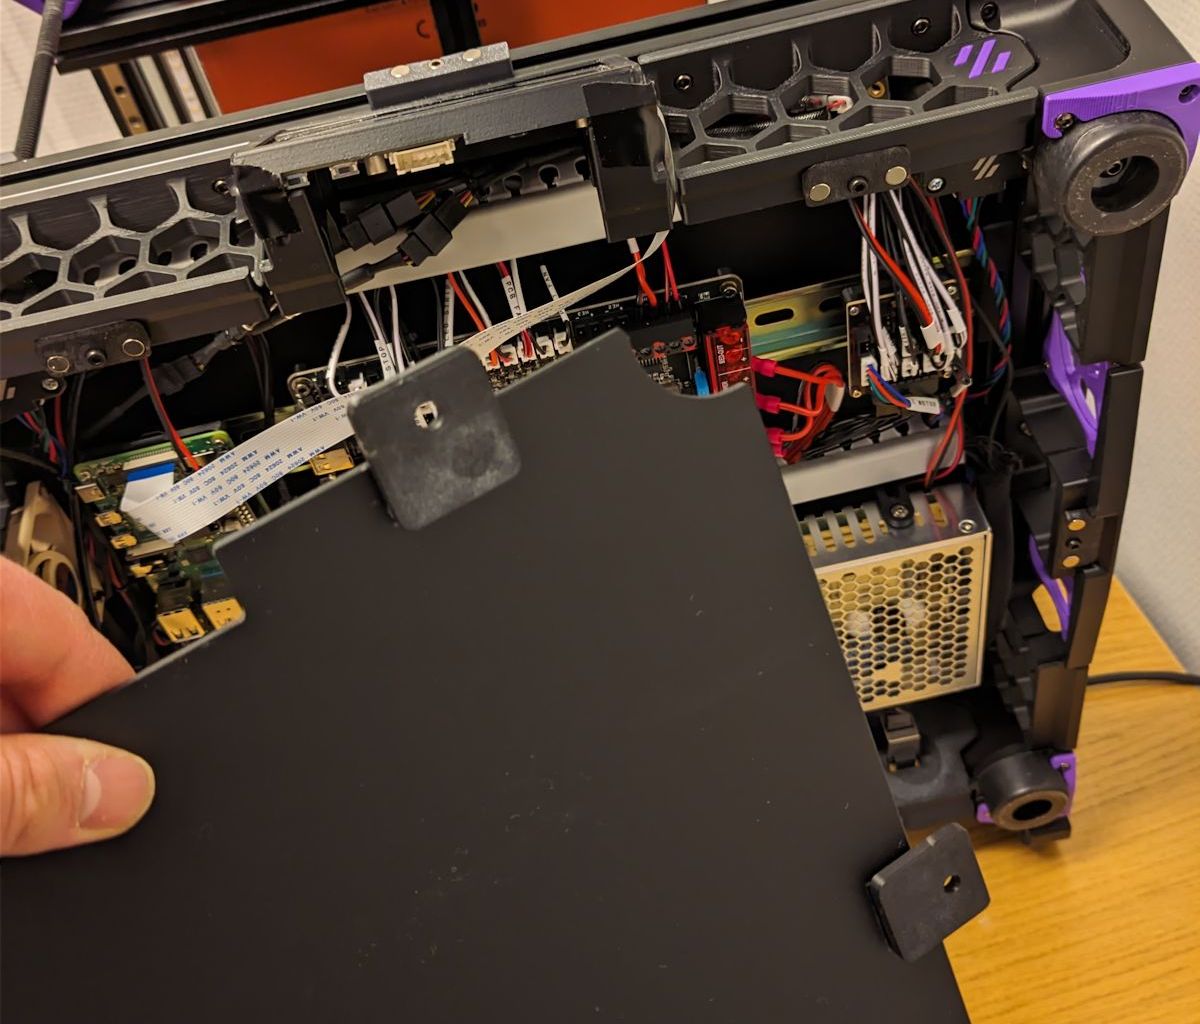
Flipping over the printer to access the electronics apartment is a huge pain. There’s a very cool inverted electronics bay mod for Trident printers, but it’s a tall ask for me to redo all the wiring at this point.
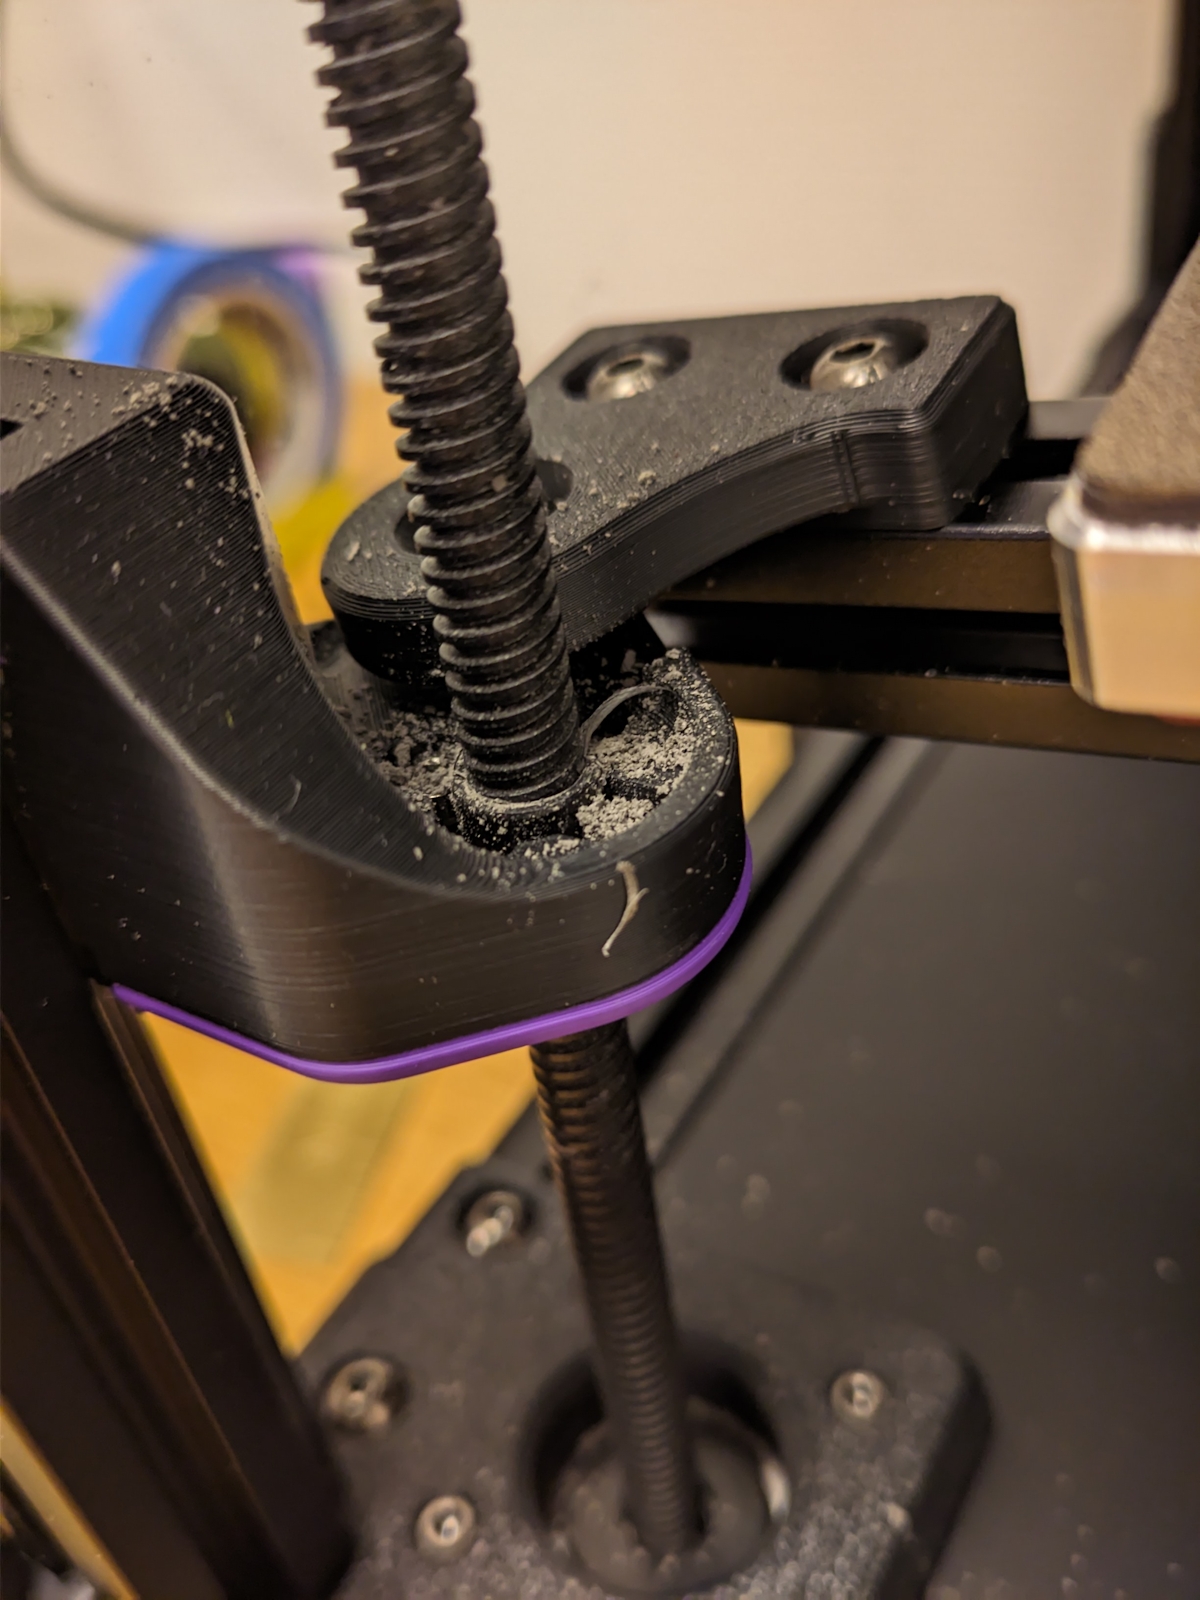
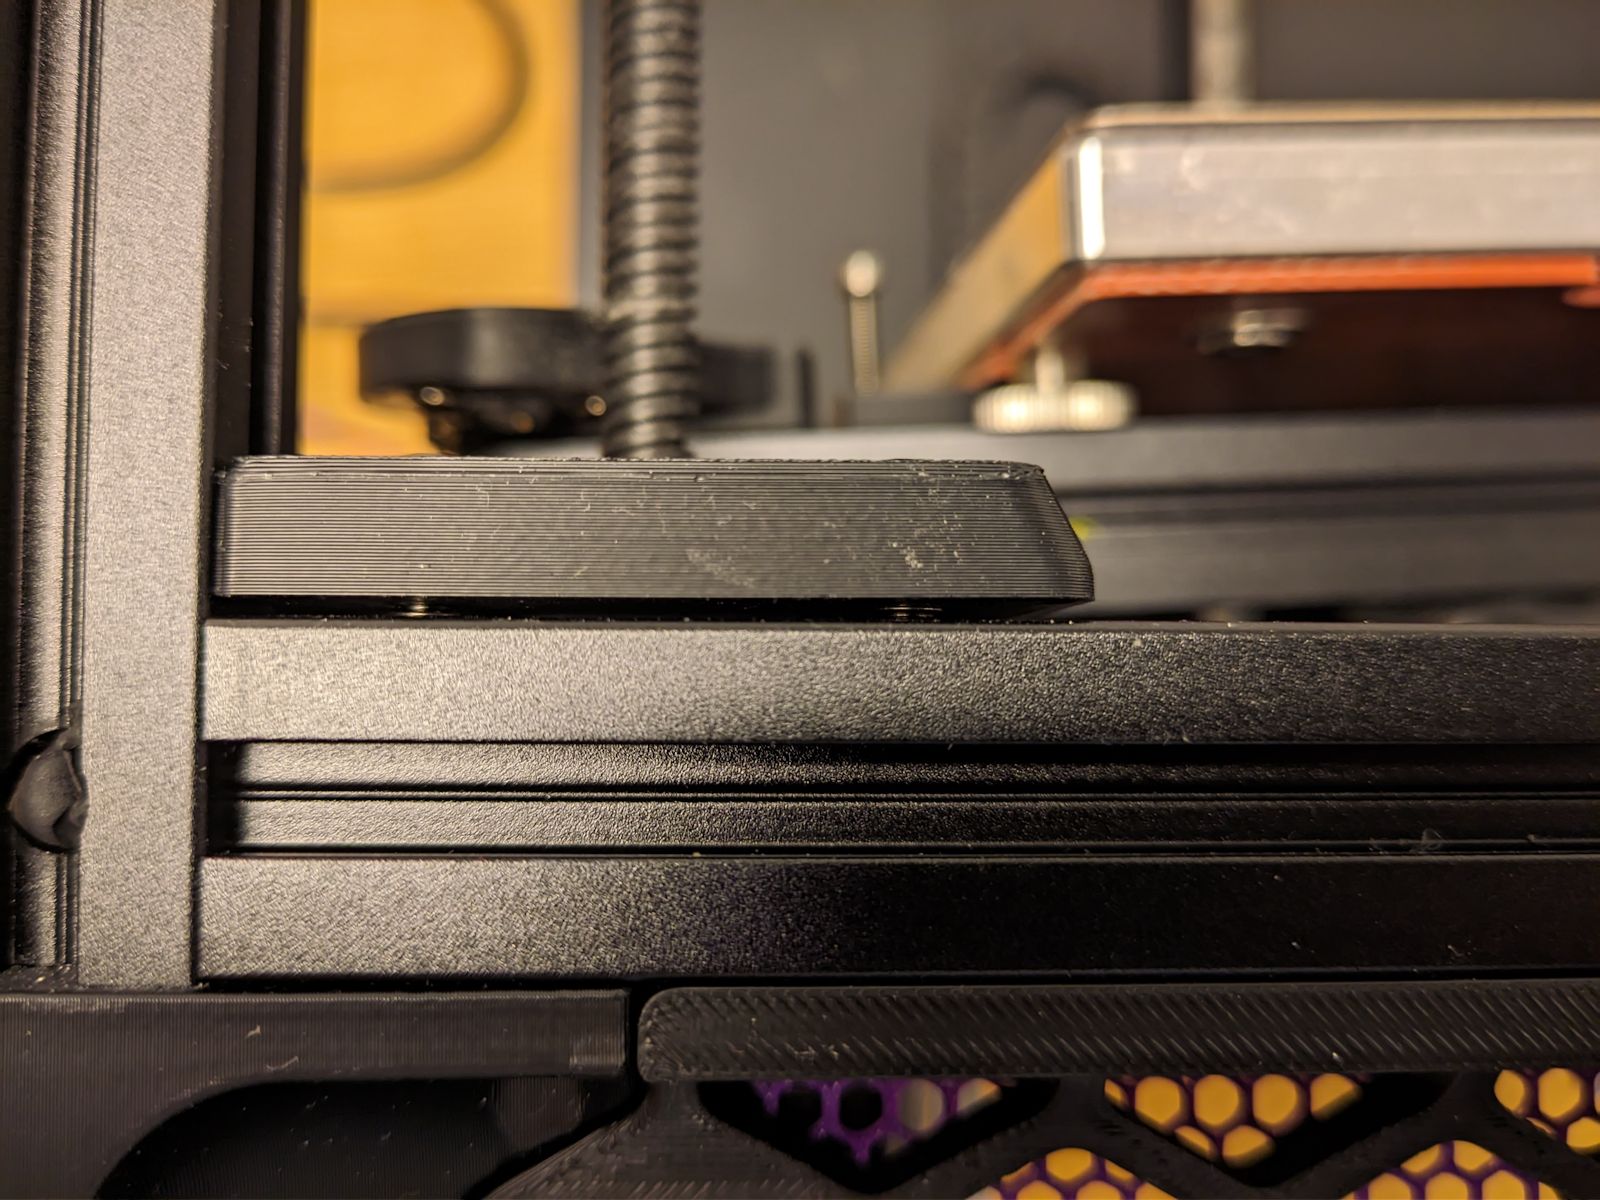
But then I found the simple RockNRoll mod that allows you to easily tilt the printer. Just having the rockers doesn’t work as the center of gravity is too high for the Trident, but with these additional stilts it works great.
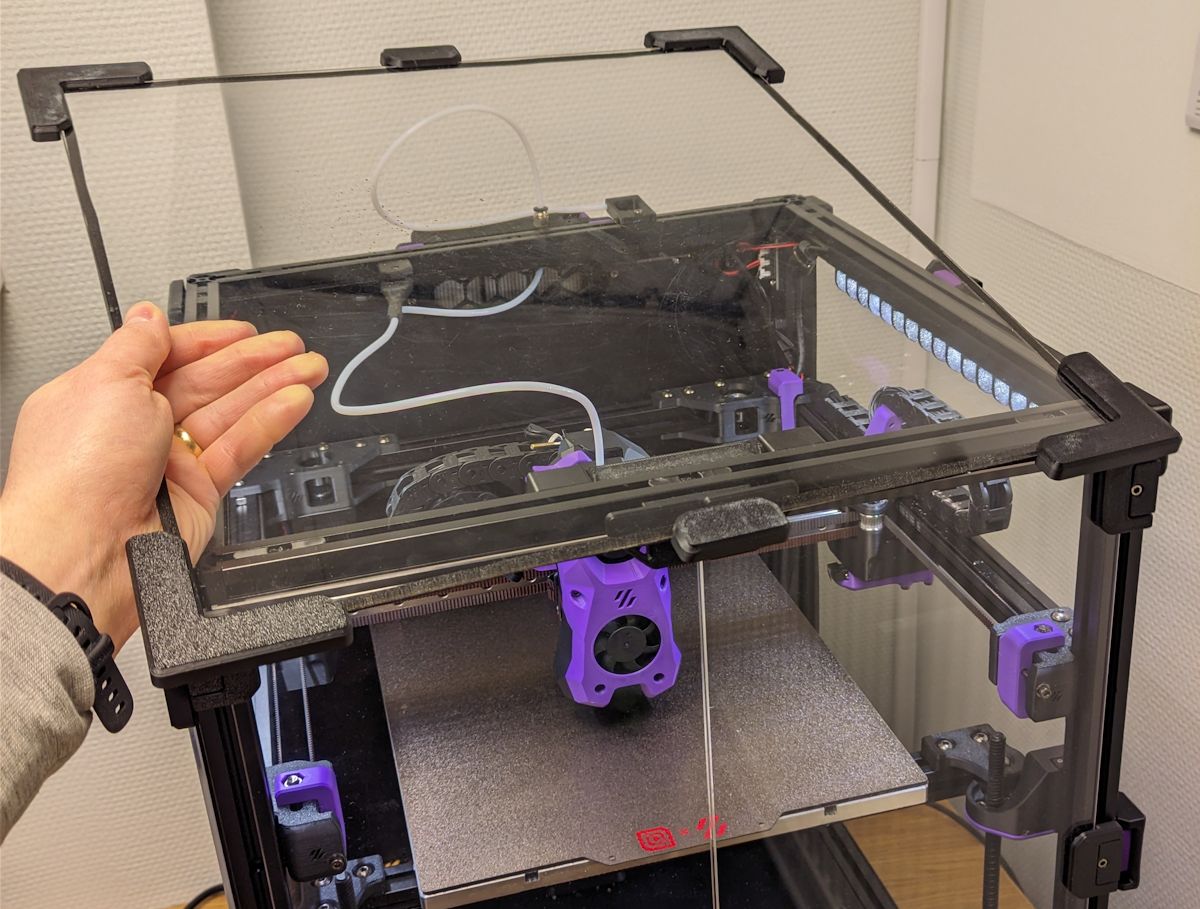
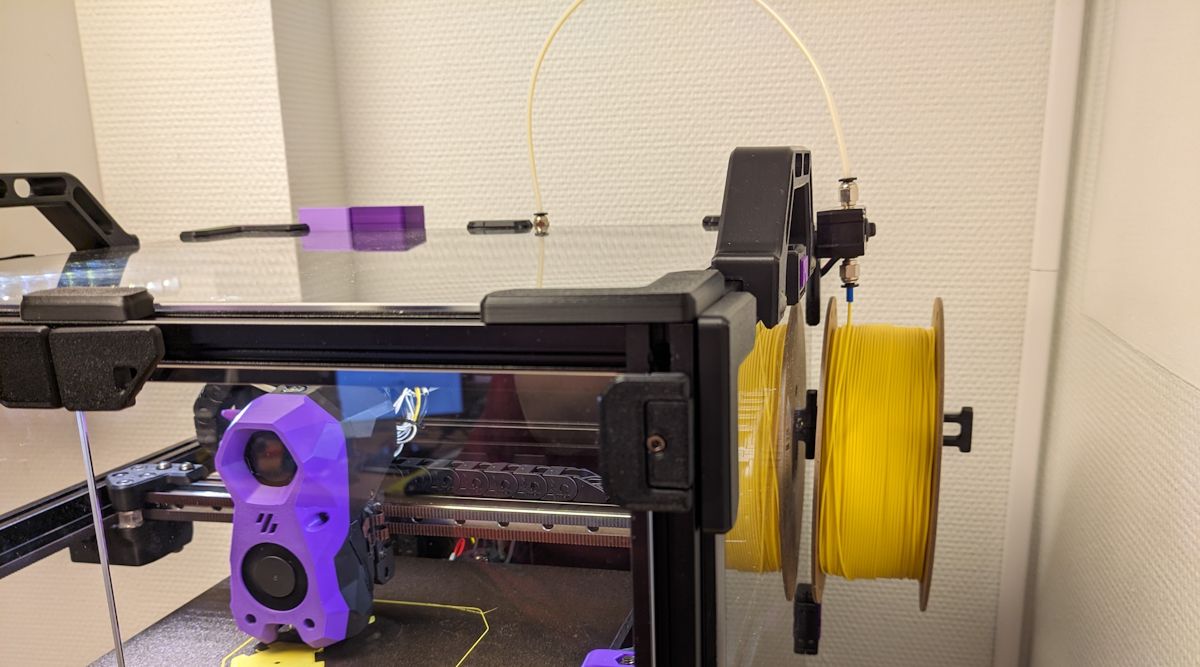
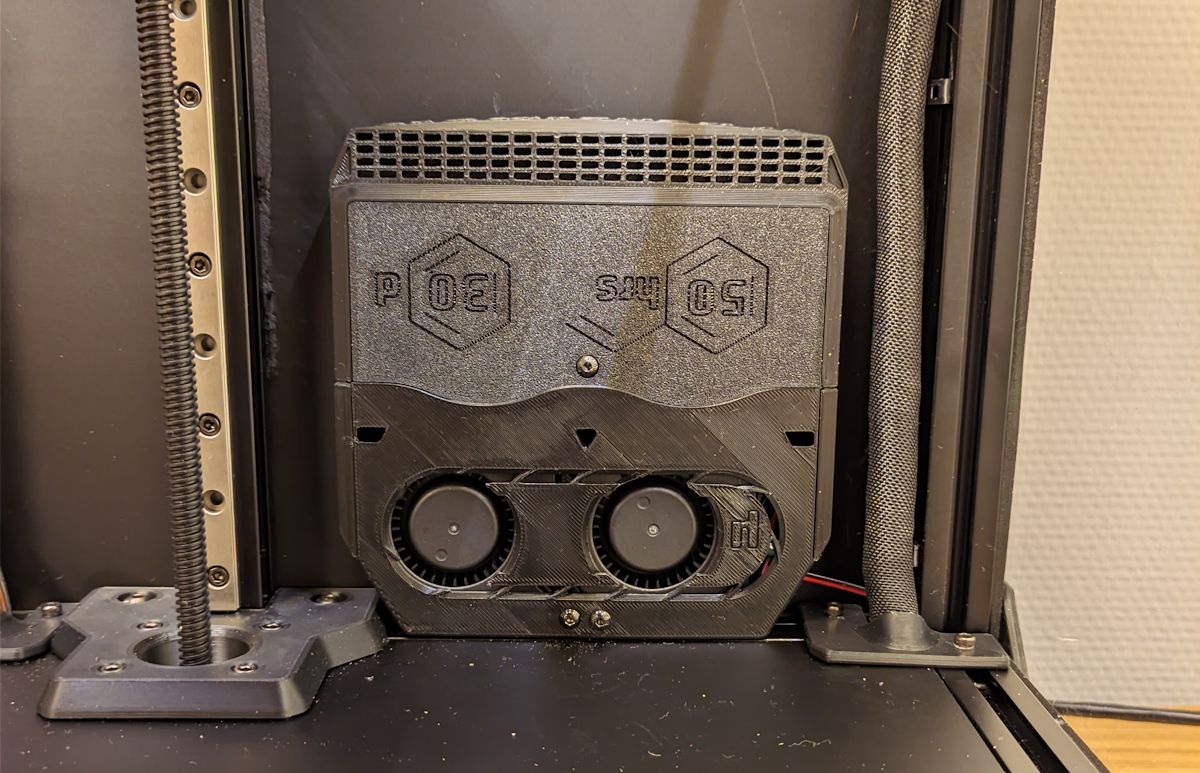
Having to screw and unscrew the panels when modding or messing around with the toolhead got old fast. Therefore I made the panels easily removable by using magnets and snap latches.
The top is completely magnetic using the Magnetic panels with Magnet Inserts mod and is very easy to remove and replace.
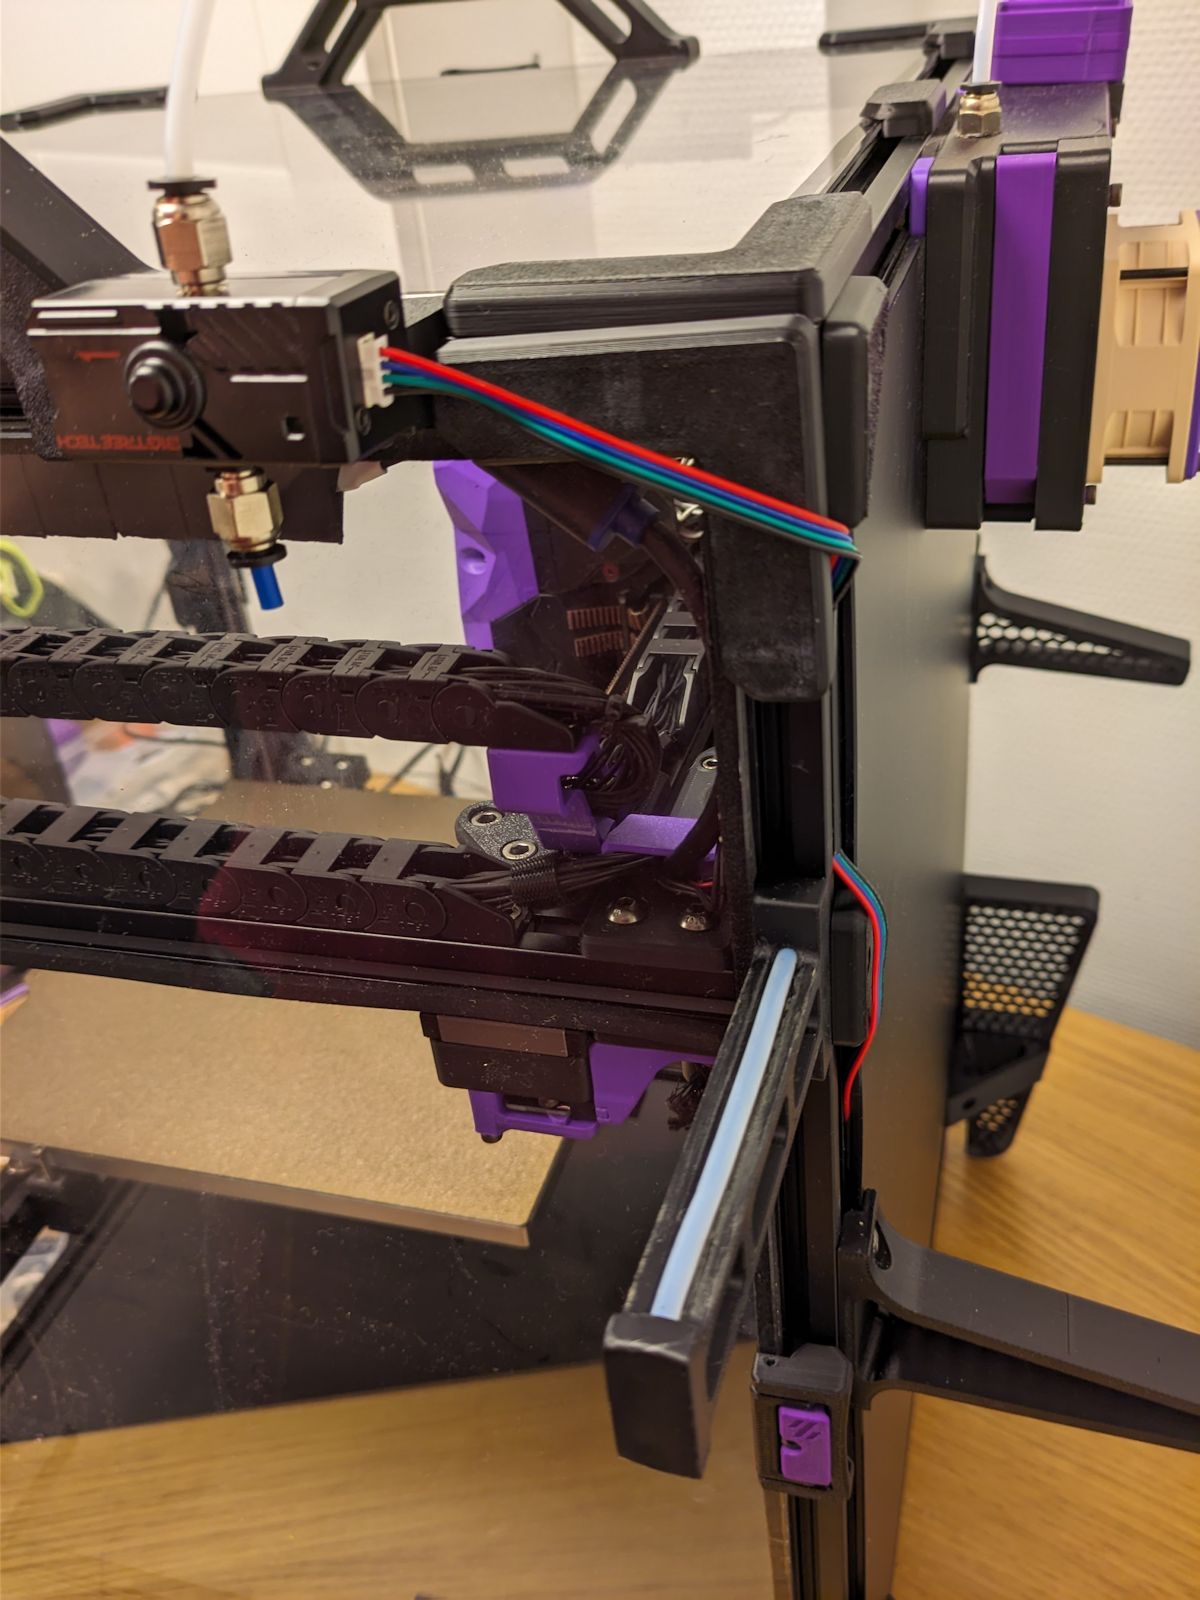
 Installation of the corner magnets.
I played around with the amazing snap latches mod to hold the panels together:
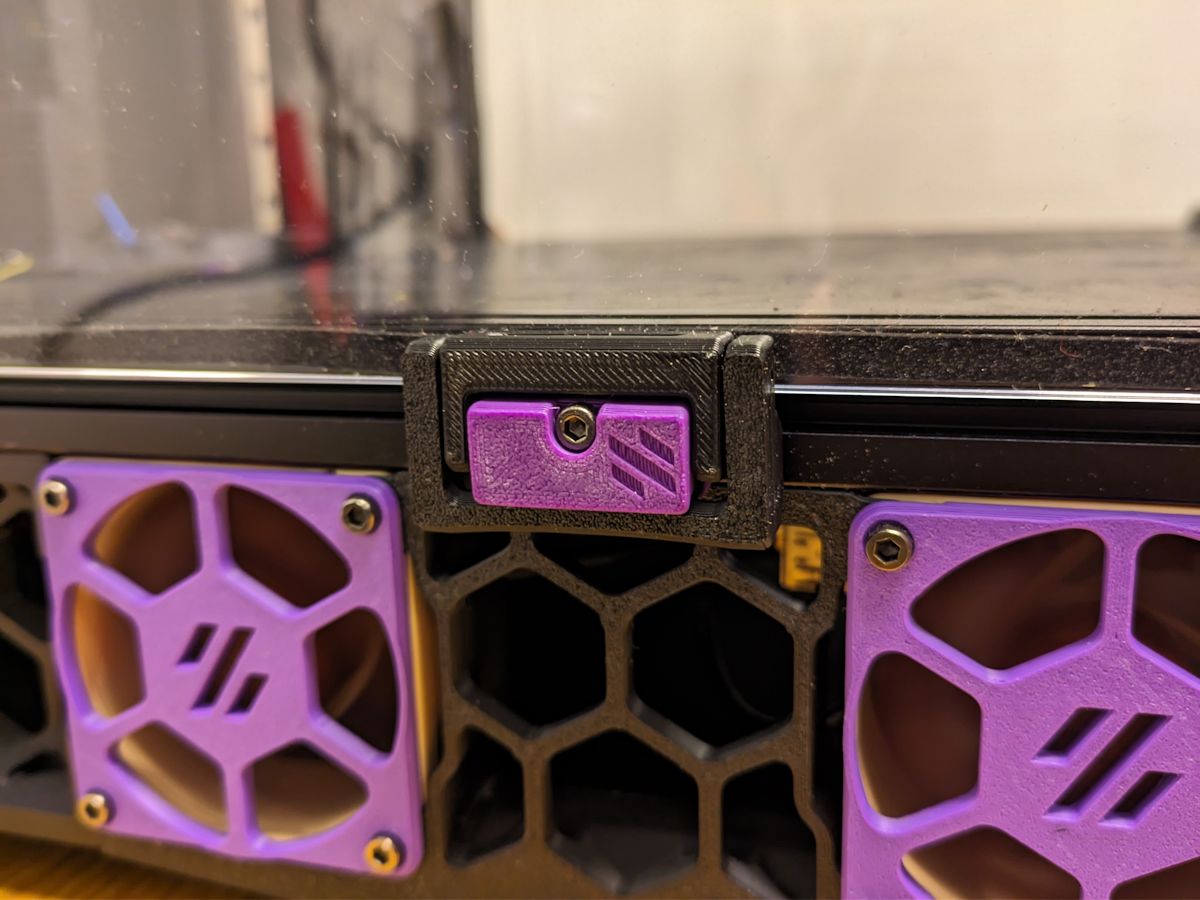 The latch closes with a very satisfying thud.
But they’re a bit cumbersome to lock and unlock, so I compromised and used the latches in the middle of the side panels and used magnets for the corners:
I also made the bottom panel magnetic using the bottom panel mag clip mod:
Necessary?No—but it feels nice.
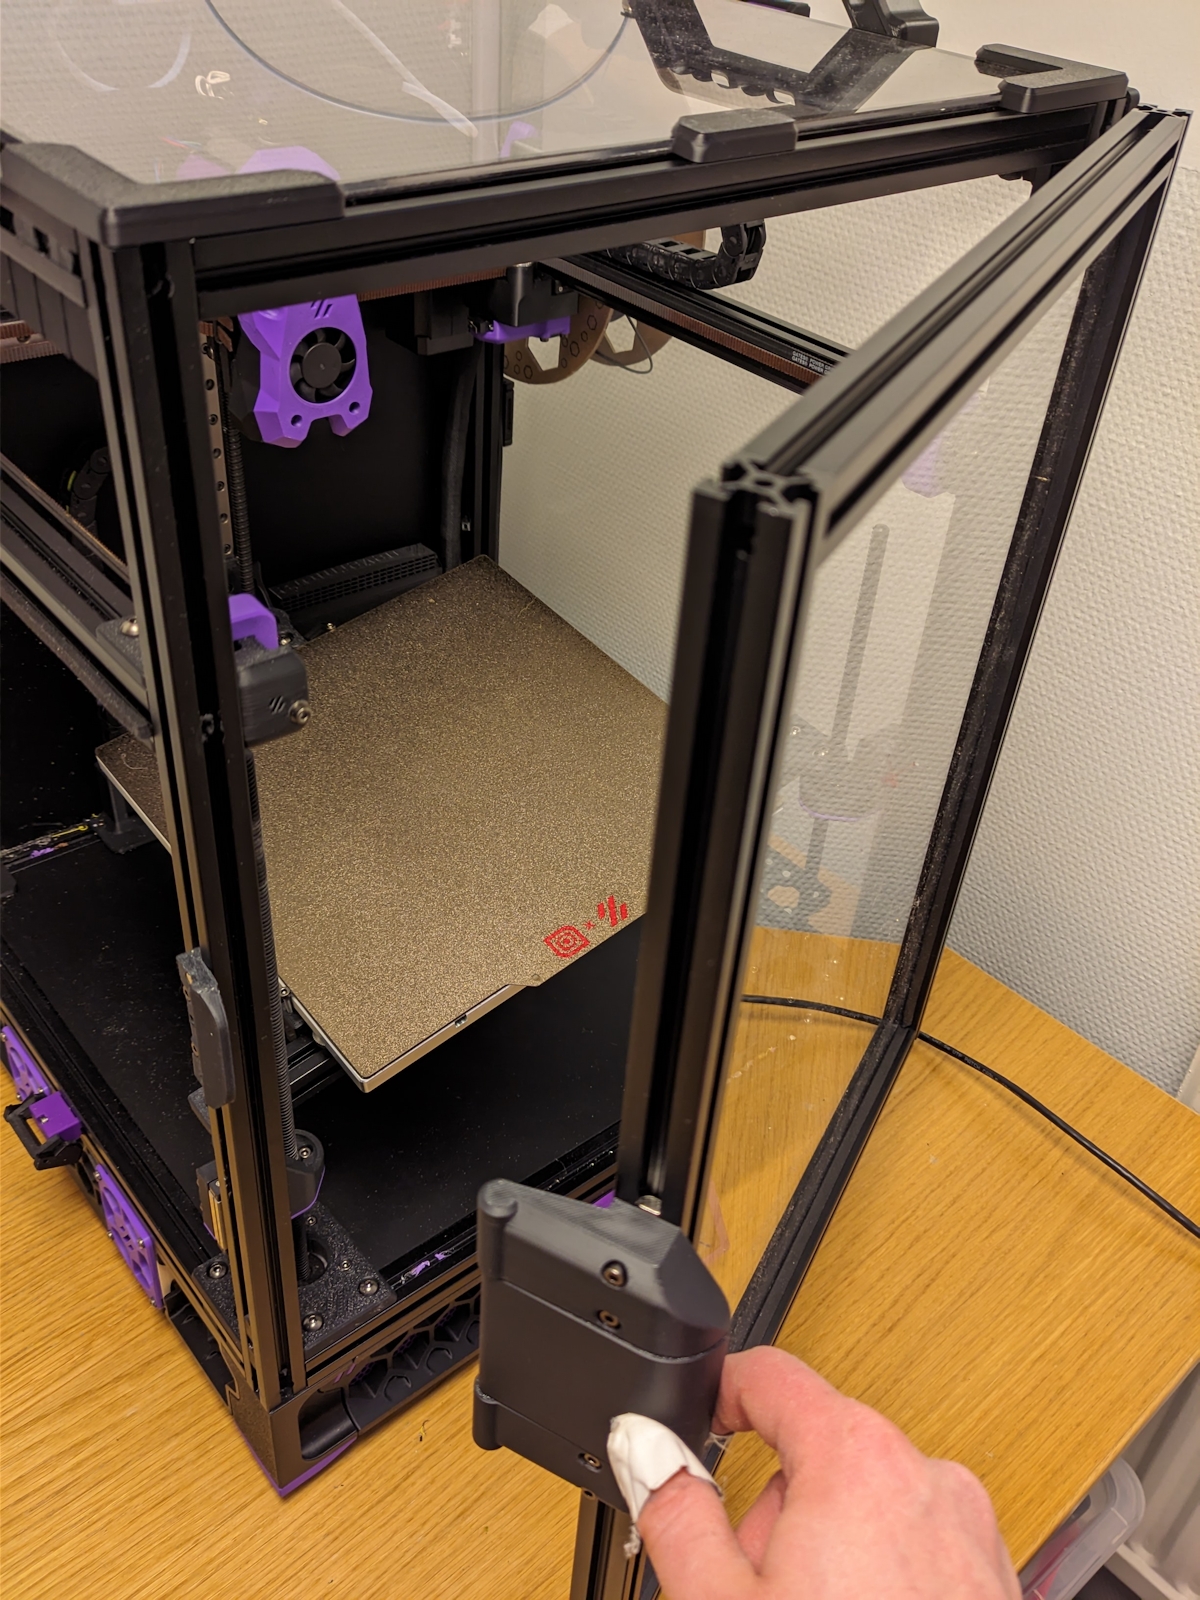
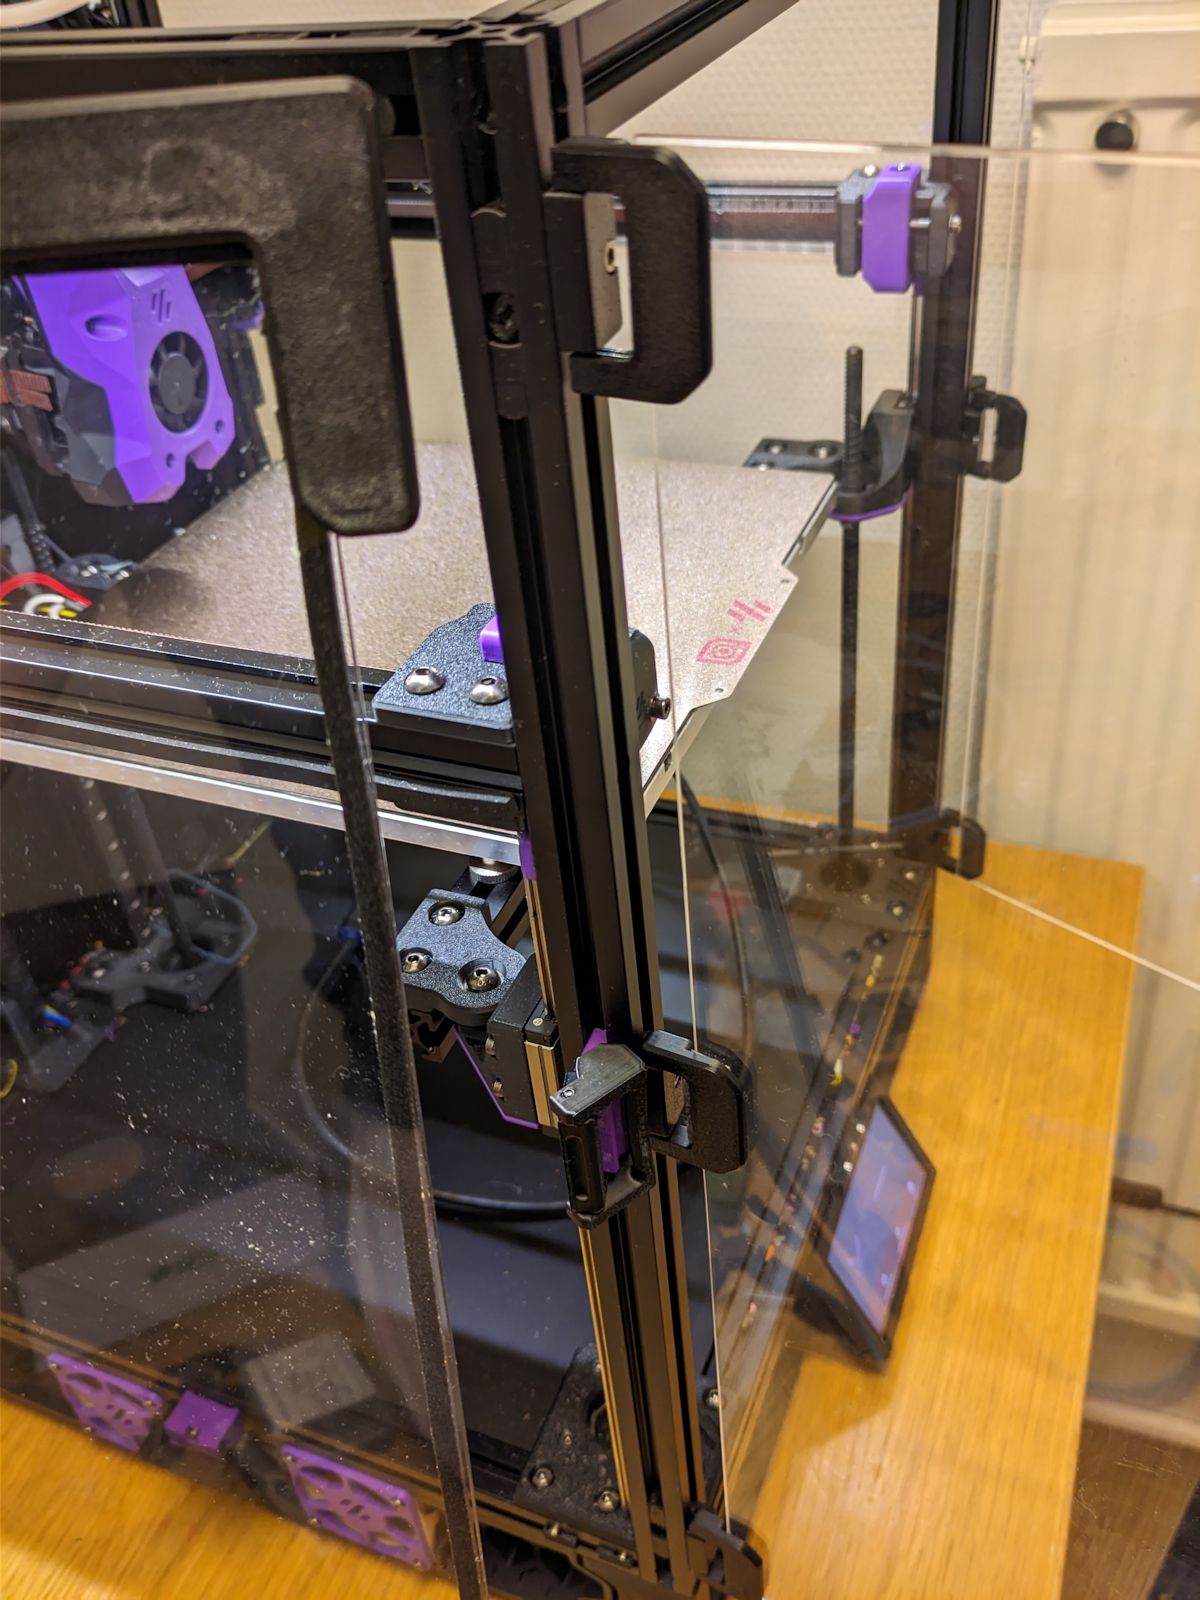
I really didn’t like the stock doors on the printer. I was planning to use the same magnetic and/or latch system for the front door, but I realized it would be very bothersome compared to a door you can swing open.
Luckily I found the Clicky-Clack Fridge Door mod that replaces the split panels with a full panel door and that can swing open, provides a better seal than the stock doors, and can easily be removed. It may not win any beauty awards, but it sure is functional.
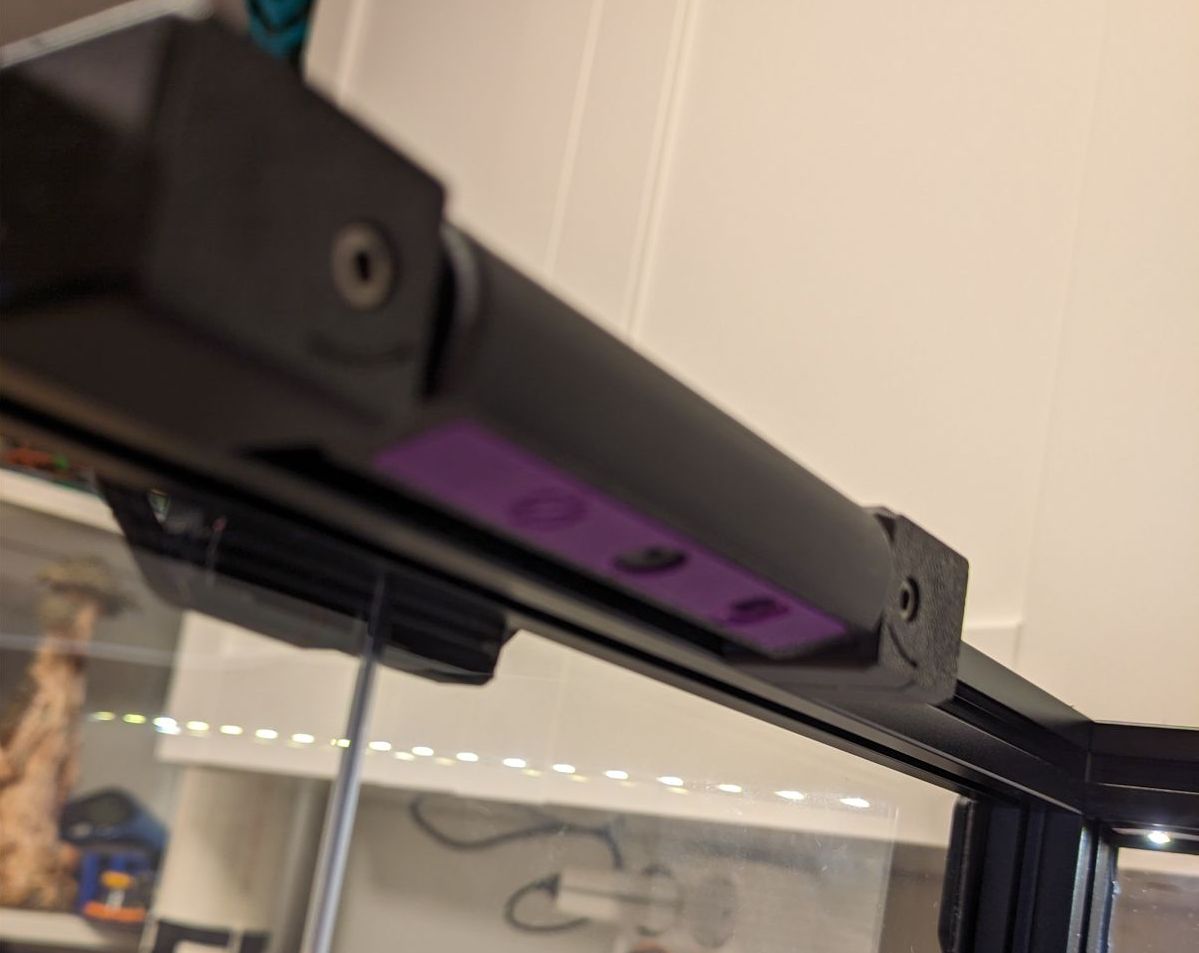
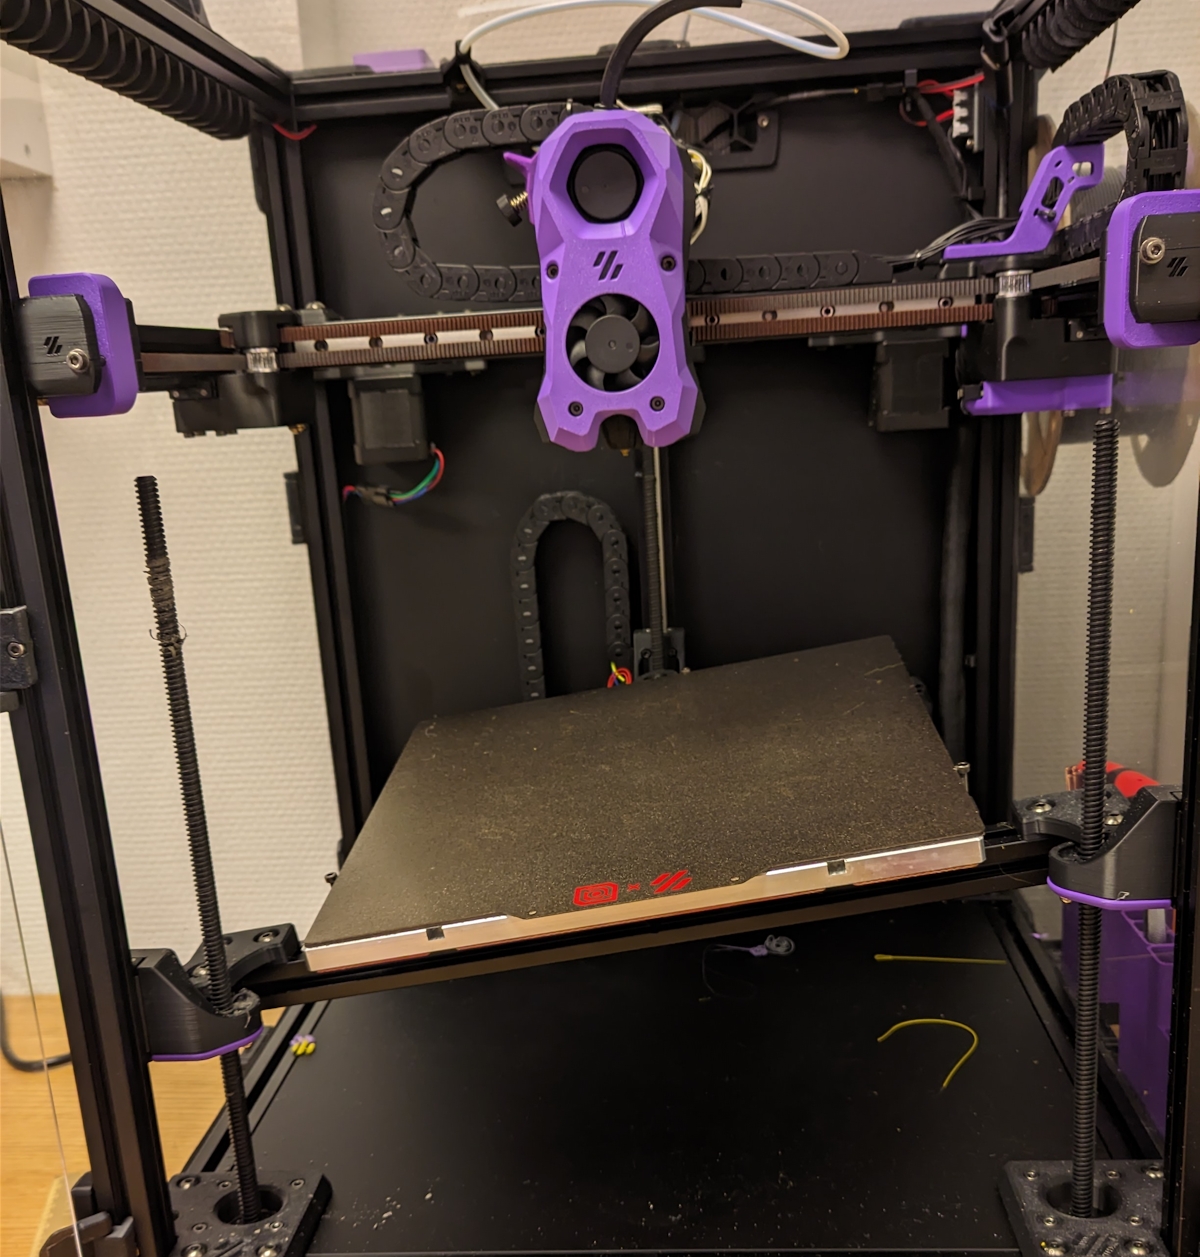
The mod I most appreciate is probably having an integrated camera. It’s great to be able to just glance at my phone to see how the print is going, instead of having to go down to the basement to check.
I used the Angry CAM USB mod to mount a small camera module in the front of the printer, above the doors.The camera itself showed up in Mainsail and to my relief it worked immediately.To configure resolution you can alter crowsnest.conf like so:
To see what resolution and fps the camera supports, you can take a look in ~/printer_data/logs/crowsnest.log.
I used the MJPEG IP Camera integration to get the feed into Home Assistant, using http://192.168.1.32/webcam/?action=stream as the URL and made a quick dashboard for the printer:
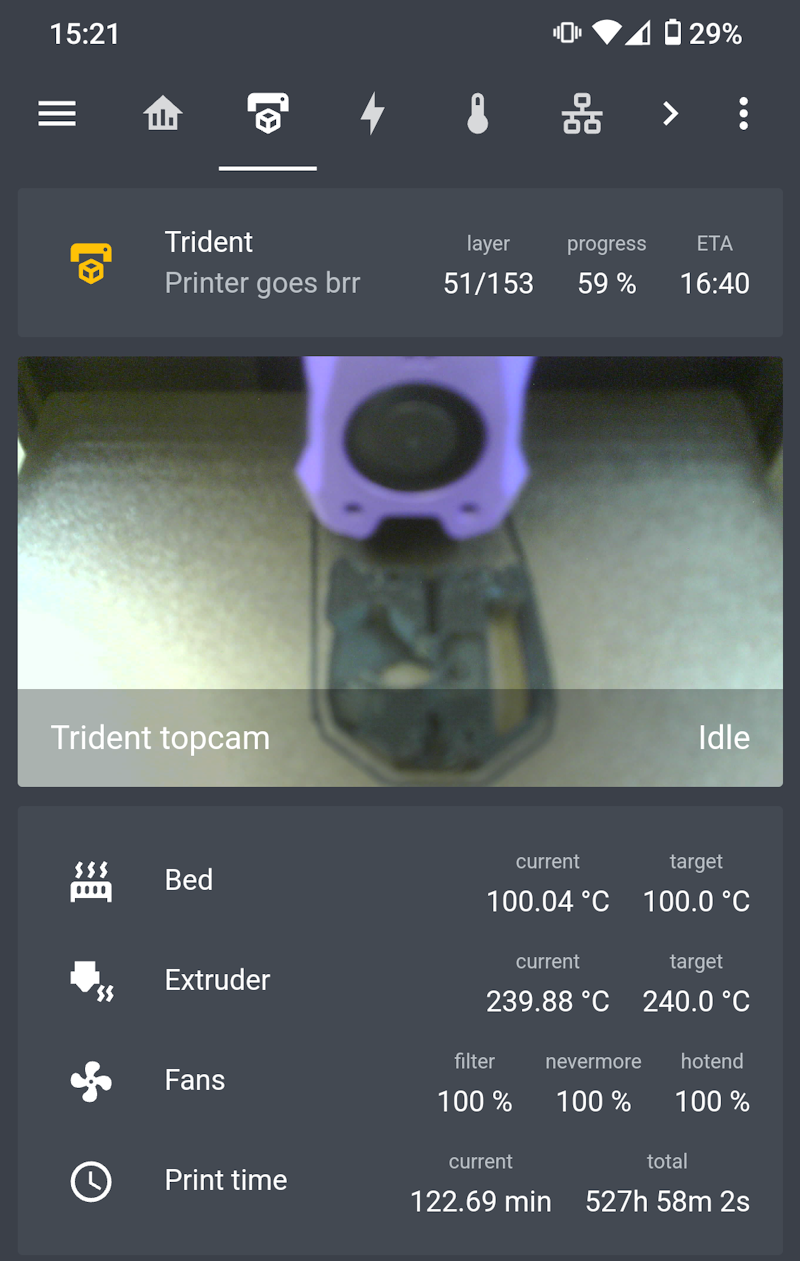
Can you smell what the rock is cooking?!
I should probably rework this and all other Home Assistant dashboards one day…
The mount works well, but the camera is far from perfect. It’s good enough for checking in on the print, but a more clear view would’ve been nice.The focus isn’t working well, the colors are off, and I don’t see the whole build plate.Worse, the toolhead often covers up the print so I can’t see if it’s still printing well.
I won’t do anything about it right now, but in the future I’ll probably try to replace it with something else.
The printer is done, but I feel one of the best part of a VORON printer is the ability to modify and personalize it. There a tons of mods you can do, and while I’ve done a few there are lots more that I’d like to do some day.
It’s a wonderful feeling to augment the printer with parts made by the printer itself.
RockNRoll
Flipping over the printer to access the electronics apartment is a huge pain. There’s a very cool inverted electronics bay mod for Trident printers, but it’s a tall ask for me to redo all the wiring at this point.
But then I found the simple RockNRoll mod that allows you to easily tilt the printer. Just having the rockers doesn’t work as the center of gravity is too high for the Trident, but with these additional stilts it works great.
Removable panels
Having to screw and unscrew the panels when modding or messing around with the toolhead got old fast. Therefore I made the panels easily removable by using magnets and snap latches.
The top is completely magnetic using the Magnetic panels with Magnet Inserts mod and is very easy to remove and replace.
I played around with the amazing snap latches mod to hold the panels together:
But they’re a bit cumbersome to lock and unlock, so I compromised and used the latches in the middle of the side panels and used magnets for the corners:
I also made the bottom panel magnetic using the bottom panel mag clip mod:
Necessary?No—but it feels nice.
Clicky-clack door
I really didn’t like the stock doors on the printer. I was planning to use the same magnetic and/or latch system for the front door, but I realized it would be very bothersome compared to a door you can swing open.
Luckily I found the Clicky-Clack Fridge Door mod that replaces the split panels with a full panel door and that can swing open, provides a better seal than the stock doors, and can easily be removed. It may not win any beauty awards, but it sure is functional.
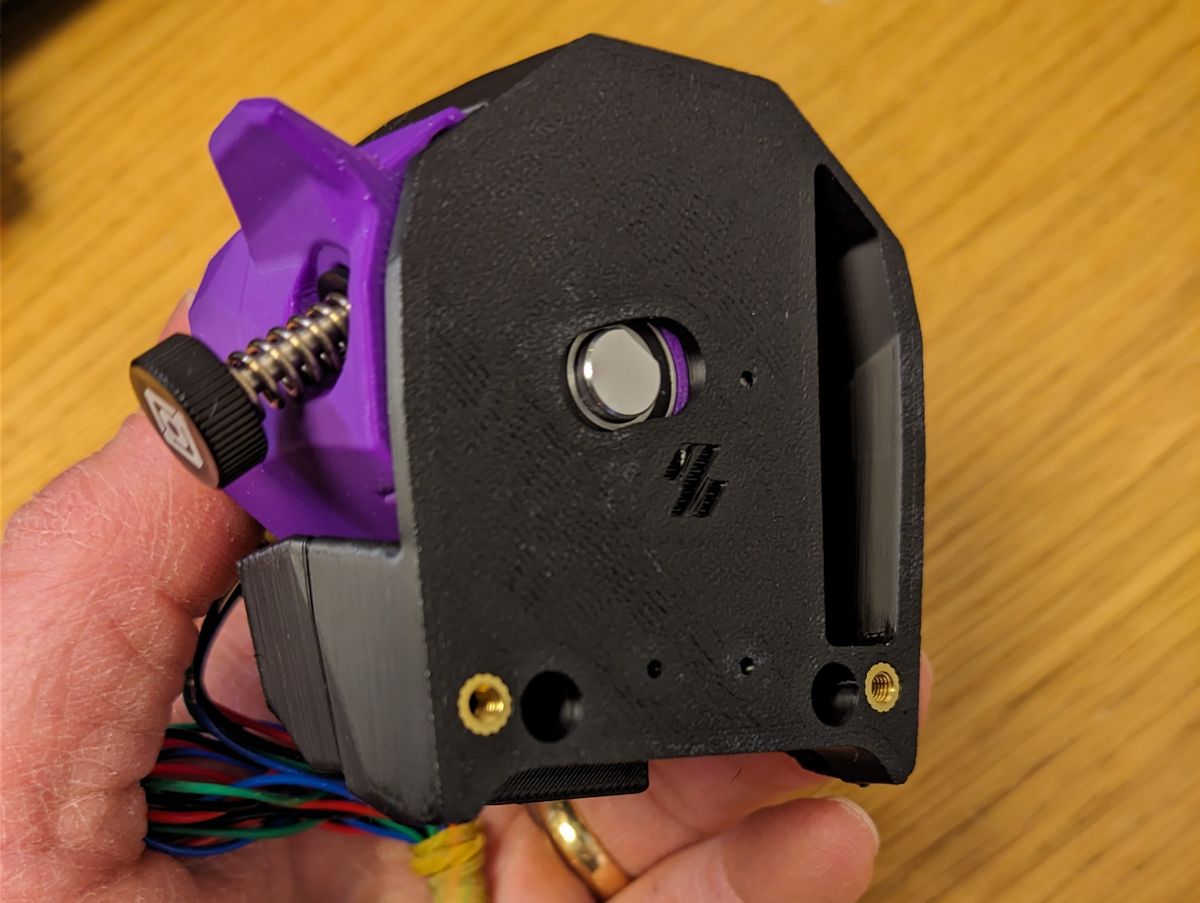
Angry cam
The mod I most appreciate is probably having an integrated camera. It’s great to be able to just glance at my phone to see how the print is going, instead of having to go down to the basement to check.
I used the Angry CAM USB mod to mount a small camera module in the front of the printer, above the doors.The camera itself showed up in Mainsail and to my relief it worked immediately.To configure resolution you can alter crowsnest.conf like so:
Code:
[cam 1]
mode: ustreamer                         # ustreamer - Provides mjpg and snapshots. (All devices)
resolution: 2592x1944                   # widthxheight format
max_fps: 15                             # If Hardware Supports this it will be forced, otherwise ignored/coerced.
To see what resolution and fps the camera supports, you can take a look in ~/printer_data/logs/crowsnest.log.
I used the MJPEG IP Camera integration to get the feed into Home Assistant, using http://192.168.1.32/webcam/?action=stream as the URL and made a quick dashboard for the printer:
Can you smell what the rock is cooking?!
I should probably rework this and all other Home Assistant dashboards one day…
The mount works well, but the camera is far from perfect. It’s good enough for checking in on the print, but a more clear view would’ve been nice.The focus isn’t working well, the colors are off, and I don’t see the whole build plate.Worse, the toolhead often covers up the print so I can’t see if it’s still printing well.
I won’t do anything about it right now, but in the future I’ll probably try to replace it with something else.