GadgetAngel
Well-known member
Today I spent trying to figure out a way to gracefully SHUTDOWN the LDO 300 kit printer and how to BOOT it back up.
Yesterday when I wanted to shutdown the printer I would have to go to the upper right corner of the Mainsail UI and select shutdown. This gracefully shutdown the raspberry pi which runs the Klipper service but it does not turn off all the power supplies.
I have 10 independent power supplies hooked up for this one printer:
1. The 24V Meanwell PSU
2. a 5.1V 3A PSU for powering the Raspberry Pi 4B
3. a 5V 2A PSU for UGREEN Powered USB Hub. I have a Samsung 870 EVO 500GB SATA 2.5" Internal Solid State Drive (SSD) that I use as the disk drive for the Raspberry Pi and it needs current to run so I had to attach the SSD to a powered USB hub or I would keep getting under voltage warnings
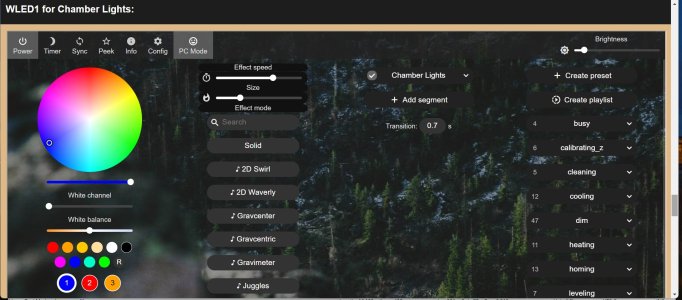
4. I have two WLED QuinUno servers attached to the printer. One WLED server drives 92 RGBW Leds that is inside the chamber enclosure. It needs 5V 15Amp power supply. The first LED is farther away than the bottom RGB light.
5. Along with a separate power supply to drive the RGBW lights I also wanted an separate power supply to power the ESP32 that is the mcu for the WLED server. This way I can turn off the LEDs without loosing the running program. This power supply is 5V 2A.
6. The second WLED QuinUno server controls the Bottom RGB lights (which is two separate strips on two different channels). Combine they only need a 5V 10Amp power supply. I could have gotten away with 10amp on the Chamber lights but I screwed up and used 24AWG wire between the strips. Next time I will know to only use 20AWG wires. I have a combo of 20AWG but for some stupid reason I used 24AWG between the 7 strips in the chamber (do not make this mistake). The Bottom RGB lights I used 20AWG only. I have 24 RGBW leds on the bed pan mod I made and another 102 RGB leds that light up the ground beneath the printer to give is a low rider look.
8. The second WLED server also needed a separate power supply to power the ESP32 mcu controlling the Lights. This is a 5V 2A psu.
9. I wanted to control the WLED servers lights with a IR remote so I had to buy an IR repeater. The PSU for the IR repeater is 5V 1A
10. I have a Humidity sensor inside the enclosed chamber that use to run off of batteries. I did not want to have to go into the printer ever month to change out two 1.5V batteries so I hooked the humidity/temp sensor up to a voltage divider and I am using a 3V 1A psu to power the sensor.
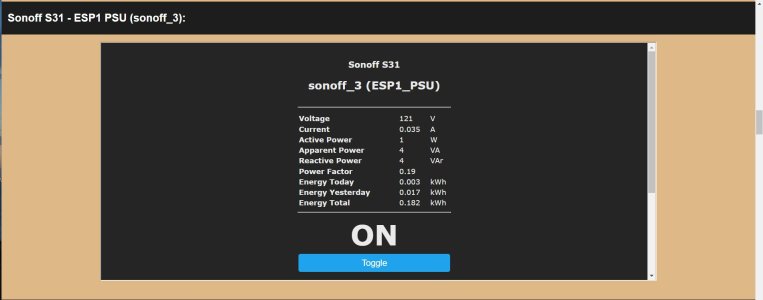
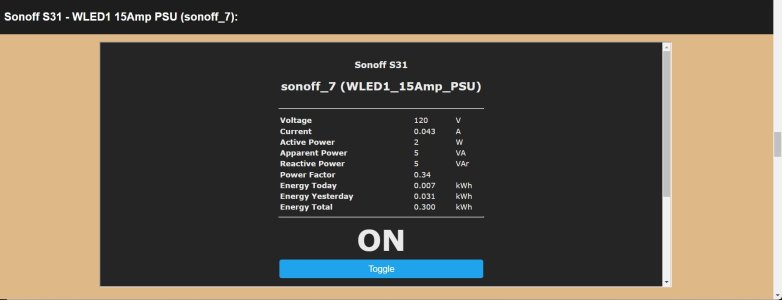
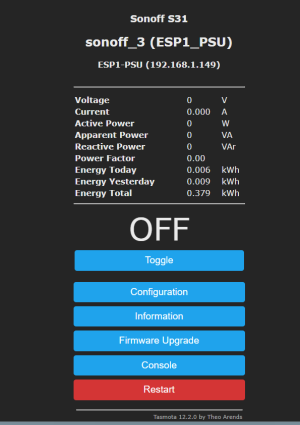
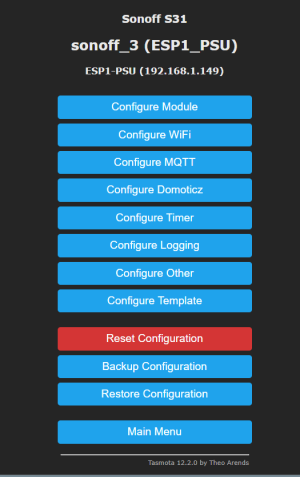
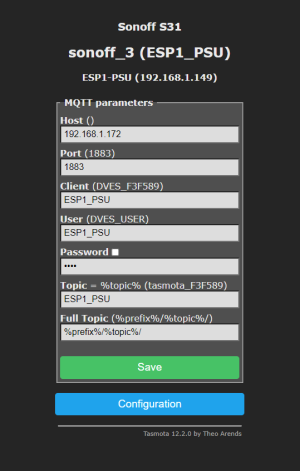
9 out of 10 of theses power supplies are hooked to Sonoff 31 smart power plugs. These Sooff 31 power plugs are running Tasmota firmware. Which means I can use HTTP commands or MQTT commands to control the plugs.
The 24V Meanwell PSU is hooked up to a BIG RED button so I can cut the power to the printer quickly. I do have a APC BX1500M UPS (1500VA UPS Battery Backup and Surge Protector) for the 24V PSU but I only want to use it for short power looses. Where I live, I loose power a couple a times a week (not for a very long time, it might only be long enough to make the lights blink once or twice). But for 3D printers, loosing power for a second will kill the print job.
So with 10 power supplies, turning off the printer means turning off 10 additional plugs! You also have to turn on 10 additional plugs to power up the printer. I wanted a one button solution!
The Tasmota firmware get me there part way. I can access the power plugs http address but now I have 9 web pages I need to visit.
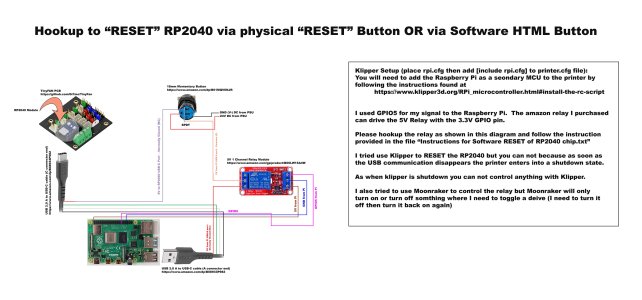
I worked on a solution for solving my RP2040 communication problem by using a web page to display a button and then behind the screens send the commands to a 5V relay to toggle the USB connection. By doing this work I learned some about AJAX, NGINX, PHP and jquery along with javascript. I endedup with one web page that contained all the other web pages. One step closer to a one button solution.
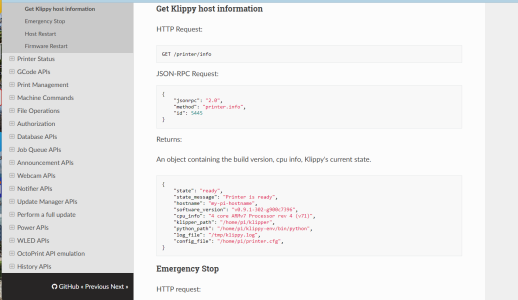
Yesterday and Today were the days I spent on finding a solution. I also needed away to send a command to Klipper to tell it to shutdown the printer. After looking through the moonraker DOCs site and reading about GET and POST calls thru moonraker to Klipper I start trying to perform the PUT calls. To execute a macro which calls moonraker to shutdown the printer you have to use the POST command. When using POST with XMLHttpRequest() call I keep getting a CORS error. So I went back and looked at my setup for NGINX. You want access to the Tasmota plugs without having the Raspberry Pi that is running Klipper for my printer booted up all the time.
So I have a second Raspberry Pi 4B in my house that I use to communicate with my smart plug but use a separate Raspberry pi for my Klipper service. So to turn off the printer I am making a CORS call (taking between two different IP address). I tried to match the header information up and even when I did get the headers to agree I ended up being stopped by the Klipper service due to a CORS issue.
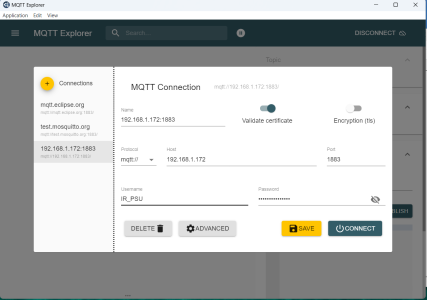
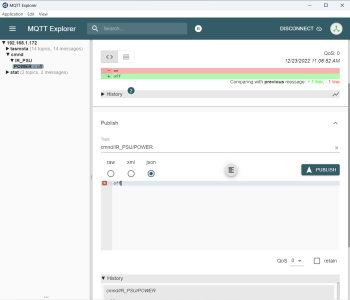
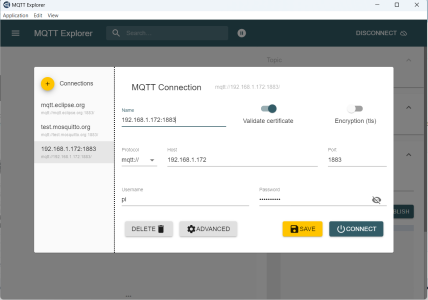
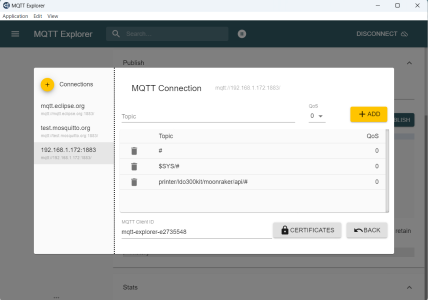
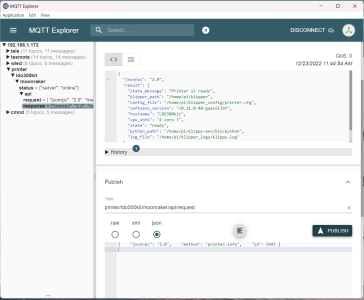
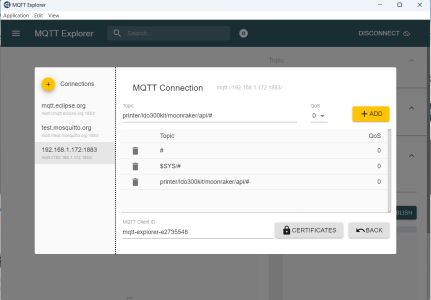
I did some more looking around and then last night it hit me that I should try using MQTT instead of the POST commands. I already had MQTT installed on a raspberry pi but up to this point I was not using MQTT for controlling the Tasmota plugs. I also wanted to control the lights being turned on and off via macros. So I started working on the light macros too.
I investigated using javascript, mqtt client and websockets. I now had the ability to click on an HTTP IP address to a .html file and have the printer turn off the lights and shutdown and wait a couple of 15 seconds before shutting down the power supply to the raspberry pi and the power usb hub.
To BOOT up the printer I wanted to turn on the printer lights and then turn on the power supplies for the powered USB hub and then the power supply for the raspberry pi. I had a HTTP IP address to a .html file that did this exactly.
The last bit took me a while to get working. I wanted a button on my LDO 300 Kit Control web page that I could click that would trigger the shutdown html page and another button that would trigger when I clicked it's button to boot up the printer. For some reason I could not get the button to work. I was using a GET with XMLHttpRequest() call and I was giving it the HTTP address to the file. But for some reason the it appeared that the button was not getting pressed. I had worked thru all the errors and I was using chromes dev console to see the errors but when I stepped thru the code I was not seeing any problems. So I took another look at my .html files that were working. I finally noticed that the .html files were really just pure javascript code. The html file did not have any text fields or data enter fields. So I decided to just call the javascript functions with the AJAX on.click(function() call. Once I did this everything worked.
So I need to learn more html and AJAX PHP and jquery with javascript. I knew it would work I just could not get the stupid button to work with the two html files I had. I suppose a GET request does not work if the file is just javascript. Lesson learned.
So in the end I ended up with two new button at the top of my LDO 300 Kit Control Web page:

Problem solved. You can see the code at
 github.com
Yesterday when I wanted to shutdown the printer I would have to go to the upper right corner of the Mainsail UI and select shutdown. This gracefully shutdown the raspberry pi which runs the Klipper service but it does not turn off all the power supplies.
I have 10 independent power supplies hooked up for this one printer:
1. The 24V Meanwell PSU
2. a 5.1V 3A PSU for powering the Raspberry Pi 4B
3. a 5V 2A PSU for UGREEN Powered USB Hub. I have a Samsung 870 EVO 500GB SATA 2.5" Internal Solid State Drive (SSD) that I use as the disk drive for the Raspberry Pi and it needs current to run so I had to attach the SSD to a powered USB hub or I would keep getting under voltage warnings
4. I have two WLED QuinUno servers attached to the printer. One WLED server drives 92 RGBW Leds that is inside the chamber enclosure. It needs 5V 15Amp power supply. The first LED is farther away than the bottom RGB light.
5. Along with a separate power supply to drive the RGBW lights I also wanted an separate power supply to power the ESP32 that is the mcu for the WLED server. This way I can turn off the LEDs without loosing the running program. This power supply is 5V 2A.
6. The second WLED QuinUno server controls the Bottom RGB lights (which is two separate strips on two different channels). Combine they only need a 5V 10Amp power supply. I could have gotten away with 10amp on the Chamber lights but I screwed up and used 24AWG wire between the strips. Next time I will know to only use 20AWG wires. I have a combo of 20AWG but for some stupid reason I used 24AWG between the 7 strips in the chamber (do not make this mistake). The Bottom RGB lights I used 20AWG only. I have 24 RGBW leds on the bed pan mod I made and another 102 RGB leds that light up the ground beneath the printer to give is a low rider look.
8. The second WLED server also needed a separate power supply to power the ESP32 mcu controlling the Lights. This is a 5V 2A psu.
9. I wanted to control the WLED servers lights with a IR remote so I had to buy an IR repeater. The PSU for the IR repeater is 5V 1A
10. I have a Humidity sensor inside the enclosed chamber that use to run off of batteries. I did not want to have to go into the printer ever month to change out two 1.5V batteries so I hooked the humidity/temp sensor up to a voltage divider and I am using a 3V 1A psu to power the sensor.
9 out of 10 of theses power supplies are hooked to Sonoff 31 smart power plugs. These Sooff 31 power plugs are running Tasmota firmware. Which means I can use HTTP commands or MQTT commands to control the plugs.
The 24V Meanwell PSU is hooked up to a BIG RED button so I can cut the power to the printer quickly. I do have a APC BX1500M UPS (1500VA UPS Battery Backup and Surge Protector) for the 24V PSU but I only want to use it for short power looses. Where I live, I loose power a couple a times a week (not for a very long time, it might only be long enough to make the lights blink once or twice). But for 3D printers, loosing power for a second will kill the print job.
So with 10 power supplies, turning off the printer means turning off 10 additional plugs! You also have to turn on 10 additional plugs to power up the printer. I wanted a one button solution!
The Tasmota firmware get me there part way. I can access the power plugs http address but now I have 9 web pages I need to visit.
I worked on a solution for solving my RP2040 communication problem by using a web page to display a button and then behind the screens send the commands to a 5V relay to toggle the USB connection. By doing this work I learned some about AJAX, NGINX, PHP and jquery along with javascript. I endedup with one web page that contained all the other web pages. One step closer to a one button solution.
Yesterday and Today were the days I spent on finding a solution. I also needed away to send a command to Klipper to tell it to shutdown the printer. After looking through the moonraker DOCs site and reading about GET and POST calls thru moonraker to Klipper I start trying to perform the PUT calls. To execute a macro which calls moonraker to shutdown the printer you have to use the POST command. When using POST with XMLHttpRequest() call I keep getting a CORS error. So I went back and looked at my setup for NGINX. You want access to the Tasmota plugs without having the Raspberry Pi that is running Klipper for my printer booted up all the time.
So I have a second Raspberry Pi 4B in my house that I use to communicate with my smart plug but use a separate Raspberry pi for my Klipper service. So to turn off the printer I am making a CORS call (taking between two different IP address). I tried to match the header information up and even when I did get the headers to agree I ended up being stopped by the Klipper service due to a CORS issue.
I did some more looking around and then last night it hit me that I should try using MQTT instead of the POST commands. I already had MQTT installed on a raspberry pi but up to this point I was not using MQTT for controlling the Tasmota plugs. I also wanted to control the lights being turned on and off via macros. So I started working on the light macros too.
I investigated using javascript, mqtt client and websockets. I now had the ability to click on an HTTP IP address to a .html file and have the printer turn off the lights and shutdown and wait a couple of 15 seconds before shutting down the power supply to the raspberry pi and the power usb hub.
To BOOT up the printer I wanted to turn on the printer lights and then turn on the power supplies for the powered USB hub and then the power supply for the raspberry pi. I had a HTTP IP address to a .html file that did this exactly.
The last bit took me a while to get working. I wanted a button on my LDO 300 Kit Control web page that I could click that would trigger the shutdown html page and another button that would trigger when I clicked it's button to boot up the printer. For some reason I could not get the button to work. I was using a GET with XMLHttpRequest() call and I was giving it the HTTP address to the file. But for some reason the it appeared that the button was not getting pressed. I had worked thru all the errors and I was using chromes dev console to see the errors but when I stepped thru the code I was not seeing any problems. So I took another look at my .html files that were working. I finally noticed that the .html files were really just pure javascript code. The html file did not have any text fields or data enter fields. So I decided to just call the javascript functions with the AJAX on.click(function() call. Once I did this everything worked.
So I need to learn more html and AJAX PHP and jquery with javascript. I knew it would work I just could not get the stupid button to work with the two html files I had. I suppose a GET request does not work if the file is just javascript. Lesson learned.
So in the end I ended up with two new button at the top of my LDO 300 Kit Control Web page:

Problem solved. You can see the code at
Klipperbackup_Mosquito_Broker/ldo300kit.html at master · GadgetAngel/Klipperbackup_Mosquito_Broker
Backup for configuration file for Mosquito Broker and webserver - Klipperbackup_Mosquito_Broker/ldo300kit.html at master · GadgetAngel/Klipperbackup_Mosquito_Broker


