What's new
VORON Design

Register a free account today to become a member! Once signed in, you'll be able to participate on this site by adding your own topics and posts, as well as connect with other members!

Outsider's Formbot 2.4r2 350 kit build

I got most of the wiring done last night. Just got to make something for the bay fans, 2-into-1. May just splice them as when it comes to replacing them they’ll be done as a pair. I suppose I could use a spare fan port on the Octopus? 🤔
Also had a cable left over, I must’ve missed it in the manual. Thinks it’s the Stealthburner LEDs.
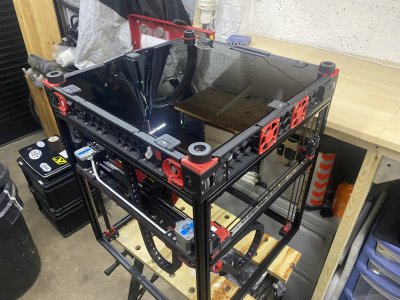
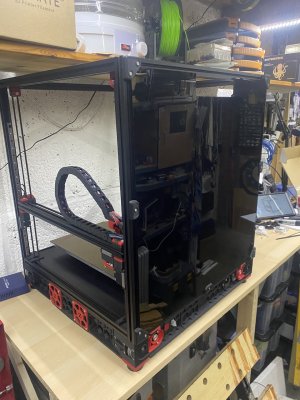
My warped skirts and hideous fan guards all went on too, as did the controller/UI.
I tidied up the wiring a bit. This is probably as good as it will ever get.
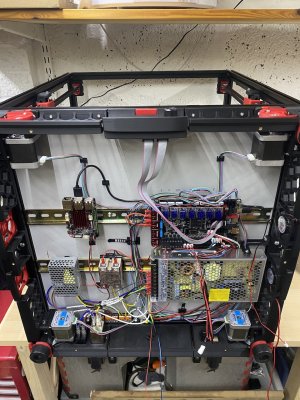
IMG_8816.jpeg
 
I seemed to have an extra fan cable, so I chopped the end off to make a 2-into-1 adaptor for the electronics bay fans. I later realised it was the extension cable for the exhaust fan :rolleyes:. I'll need to fix that.

While I'm still short on some minor printed parts, I thought I'd start on software installation. First of all, no magic smoke escaped when powering on, I did go over the connections for a sanity check. I got a BTT-Pi, aka Biqu-CB1, in the kit from Formbot and, following the BTT instructions, the OS went on and was configured with no drama. BTT Octopus firmware was next and should have been dead-easy, if I'd been paying attention (it was late, ok). I'd selected the wrong processor and copied the resulting binary to the µSD card, which then tried to load the firmware and ended up corrupting the bootloader ( :rolleyes: again ). No response in DFU mode either. So I had to download the STMCube software and follow helpful guides by people more intelligent than me to reflash the bootloader. Once I recreated the firmware with the correct info, all was well.

My printer was alive and I could start doing some of the initial config!
 
I fitted the four deck corner belts covers, the bottom and back covers. Then I started on the exhaust filter and fan, realising that I was missing some parts. Could’ve sworn I printed those!

IMG_8842.jpegIMG_8843.jpeg
 
It's kind of a thing and a running joke on his streams. I have my bottom panel mounted, though I did use the magnetic clips mod which makes removal and attachment really easy and convenient. I prefer to keep it on to help direct airflow and keep the dust bunnies in.
 
It's kind of a thing and a running joke on his streams. I have my bottom panel mounted, though I did use the magnetic clips mod which makes removal and attachment really easy and convenient. I prefer to keep it on to help direct airflow and keep the dust bunnies in.
I was putting on the top and sides last night and I'm already thinking either snap-latches or magnets of some sort would be good.
Do the magnetic clips hold well? Having panels fall of when bumped wouldn't be useful. I'll have a look for that mod (y)
 
Last edited:
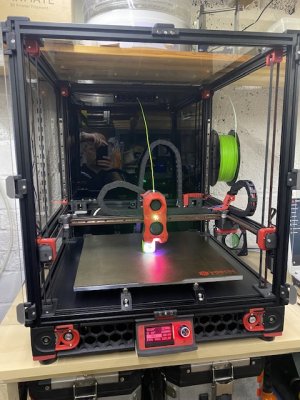
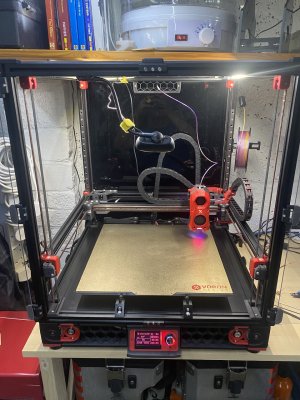
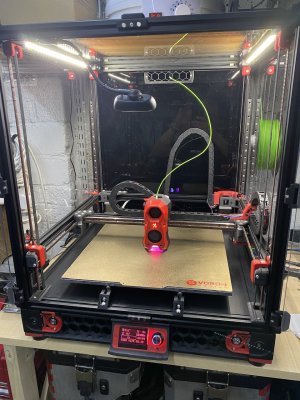
Kinda done! With the initial assembly anyway. Front doors are on. Did some more Klipper configuration tweaks and printed another test cube. Wound it up to 500% to see what would happen 🙂

IMG_8849.jpeg

I still have the exhaust fan and Daylight LEDs to wire up and few others bits to do but I’m very happy with this monster of a machine. But it’s bloody heavy to lift on and off of my high bench!

Though I’m not going to be chasing maximum performance, I want to do the thing with the accelerometer, Input Shaping. Never had that on my crude old i3 clone! More learning to be done 😃
 
I was putting on the top and sides last night and I'm already thinking either snap-latches or magnets of some sort would be good.
Do the magnetic clips hold well? Having panels fall of when bumped wouldn't be useful. I'll have a look for that mod (y)
Yep, the magnets hold quite well, the panel only comes off when I pull it off.
 
IMG_8856.jpeg

Side panels are off at the mo, as I fitted the Daylights LEDs and wired them directly to the 24V PSU. While I was there I fitted a spare thermistor I had and configured it for chamber temperature, and finally hooked up the exhaust fan. I plan on setting it up so the fan is only on when printing PLA and when chamber temperature is above a certain threshold for ABS and similar. I believe the parameters can be read from the slicer/gcode but need to do some more reading. Before that, I need to do a better job with that webcam. The cable routing is a bodge and I’ll need to add a USB extension to do it neatly.
I’ve got an ADXL345 somewhere but not sure where. Might just order one, then figure out how to do the IS thing. I’d like to optimise speed a bit.
 
I noticed that my front right XY-belt was moving vertically when doing QGL. Upon inspection I realised it was running on the wrong side of the Z-belt. Took a few minutes to re run the Z-belt to fix it. There is signs of slight wear on both belts that I’ll keep an eye on.

I tidied up the camera cable and added a second camera at a different angle. May swap things around once I find what’s most useful.

I found my ADXL345 too, though it’s on a different style PCB that might just be a pain to use. I did find when reading deeper that the MPU6050 can also be used, and I have a few of those.

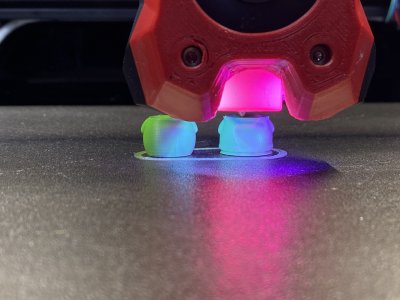
I’ve been making some small changes to my config files and getting how I want them. Still need to tweak the SB RGB LEDs to give me colours that make sense. This isn’t a priority though.

IMG_8896.jpeg

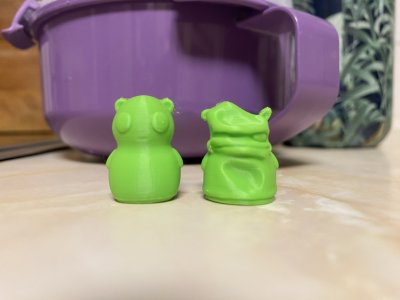
Been printing test pieces and bits for family. I did install KAMP last night but not had chance to try it. I was printing these pair…

71632837573__9875AACF-E918-47B2-83A8-6612AC313696.jpegIMG_8897.jpeg

For my youngest. Kuchi-kopi from Bob’s Burgers. She wanted small ones and to maybe paint the eyes and make into earrings. The one on the right is supposed to look like that 🙂
 
Last edited:
Top