rabidporpoise
New member
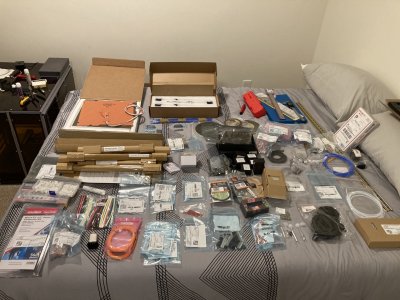
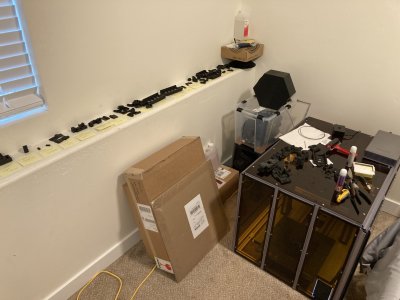
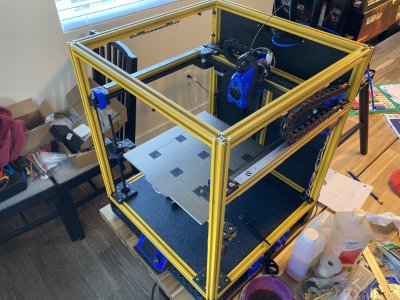
More of a calibration and tuning log, since I've already completed the bulk of the work, but I'm nearing "completion" of my first-ever Voron printer, a Trident.
Being my first build, I've tried to stay close to stock while incorporating minimal mods that make sense. Specifically, this printer has:
- Pins for all bearings and pulleys
- Tap probe
- Titanium backers for the X and Y extrusions
- CANbus between the main MCU and the toolhead
I know that a lot of people recommend against jumping into a CAN setup from the start, but while I'm new to building printers, I've had plenty of experience with CANbus from my BMWs. Actually, I found the CAN setup process to be pretty painless by following Klipper's instructions.
I know that one of the goals of the Voron project is "bang for the buck", but I aimed for a "premium" build here to see what kind of quality I can ultimately get. To that end, I've incorporated the following:
- Genuine MISUMI extrusions and roll-in nuts
- Oriental Motors PKP245MD15A2 steppers for the A and B drives
- HIWIN linear guides for all axes
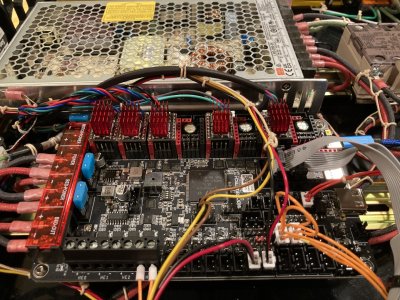
- TMC5160T Pro drivers
- Octopus Pro board with BTT EBB42 tool head CAN board
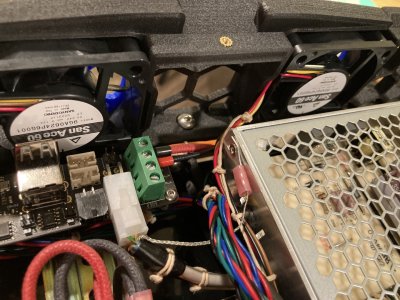
- Sanyo-Denki SanAce fans for all applications
- Alpha Therm thermal fuses
- Mandala Rose Works ultra-flat magnetic bed
- EZO bearings for the F695 applications
- PTI GE5EC spherical plan bearings
- Genuine Gates pulleys, idlers, and belt
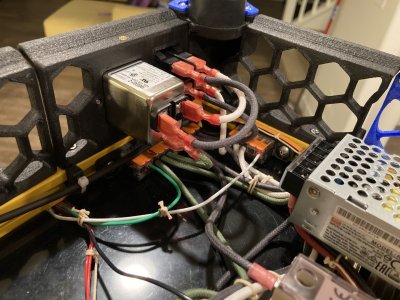
- TE/Tyco, Mean Well, and Omron for all electronics
- Igus drag chains, and ChainFlex cable for power
- SAB SD200CTP shielded, twisted pair flex cable for CAN lines
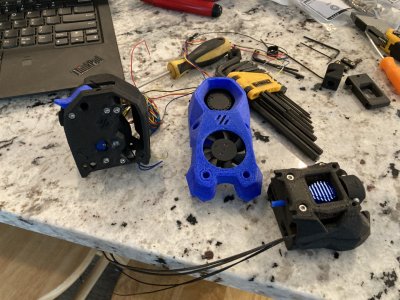
- Bondtech LGX Lite extruder
- Slice Engineering Mosquito hotend
- fibtip non-stick ceramic-coated nozzle
- Lots more
How much has this all cost? Shhhh....
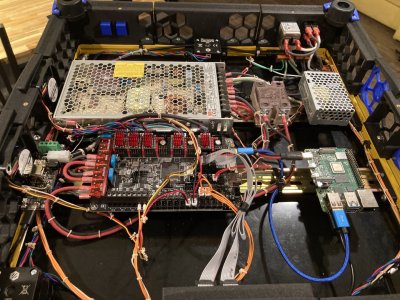
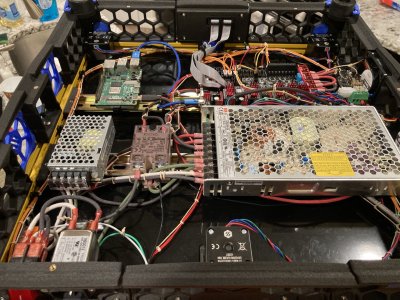
Anyway, I'm using USB to serial for the connection to the Octopus Pro MCU, and the Raspberry Pi is hooked up to a BTT U2C for its end of the CAN connection. As noted, the CAN cabling is shielded twisted pair, with a drain at the U2C end. Everyone has their own opinion, but I'm leaving the EBB end floating for now, and I haven't seen any dropped frames so far. Once you get past BTT's spotty docs, and bad firmware for the U2C, the CAN implementation has really been rock-solid. I couldn't find any cables with the conductors needed and a tight enough bend radius, so I'm using one from SAB for signal, and one from Igus for power. The two easily fit neatly in the chains side-by-side.
I've decided to go with chains because my previous printer, a Snapmaker A350T, has a CAN implementation with an umbilical and it's always getting snagged. It's never really inspired confidence, so I like the idea of guided and controlled motion. None of the mods I've seen for umbilical management really grabbed me, and the Trident has so little space above the tool head anyway. If the cables wear through, it's not that hard to replace them.
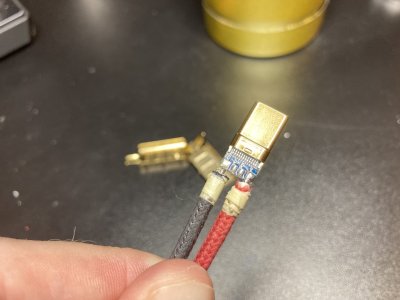
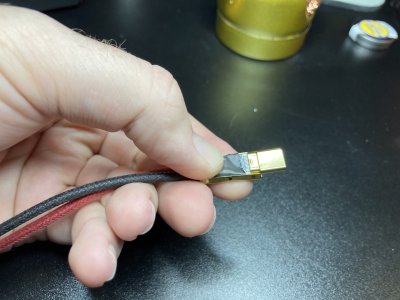
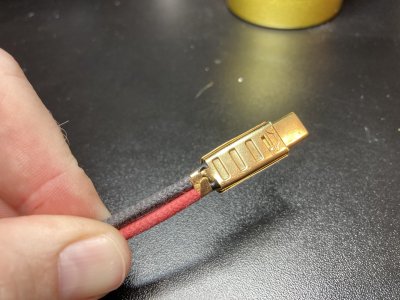
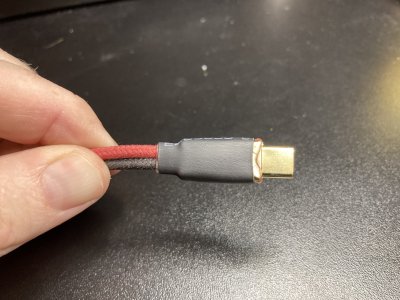
I've done all the sourcing myself, and therefore all of the wiring has been made by me. Just for fun, the static wiring in the electronics bay is all cotton-covered for a vintage look, but with PTFE insulation underneath. I also decided to try cable lacing per the NASA workmanship standards, so harness that are bundled are held by waxed twine lacing. I definitely got better at it as I went along, so some look better than others. The Pi is powered by a custom USB cable to leave the header free for any potential future hats or other additions.
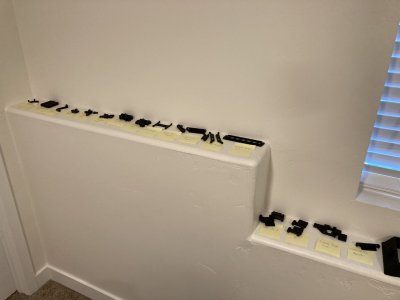
The main filament used to print parts is 3DXTECH CarbonX PA12+CF, a PA12 nylon with carbon fiber. The accent parts are printed from MatterHackers NylonG, a PA12 nylon filled with glass fibers. All metal fasteners going into metal have been secured with LOCTITE 243 to prevent loosening over time. Assembly has been slow as I've only had the odd hour or two to work on it, but it's been fun.


