What's new
VORON Design

Register a free account today to become a member! Once signed in, you'll be able to participate on this site by adding your own topics and posts, as well as connect with other members!

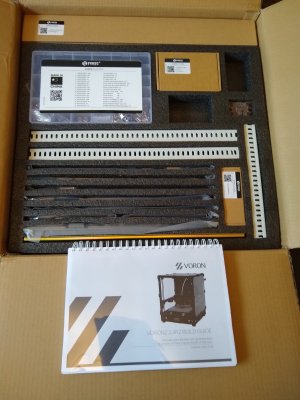
FYSETC 2.4 R2 Pro + CNC upgrade

PaulUK

Member
"Build your own 3D printer!" Yeah I can do that. Hmmm time for a reality check:

Physically build the thing? Confidence is high.
Wire up the electronics without a) blowing something or b) electrocuting myself? Confidence is reasonably high.
Flashing firmware/software/can-bus/config files/macros? Confidence leaking away.

Am I too old to learn this stuff? Time will tell.
 

Attachments

  • Voron - 2.jpg
    Voron - 2.jpg
    853.8 KB · Views: 33
I started building Vorons at age 45 so you can do this too. If you get stuck, there are lots of us here to assist.
 
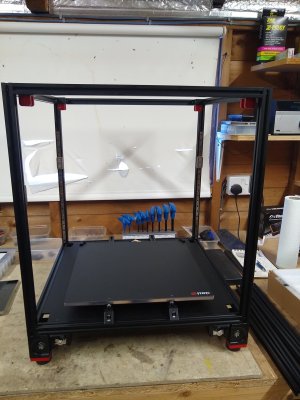
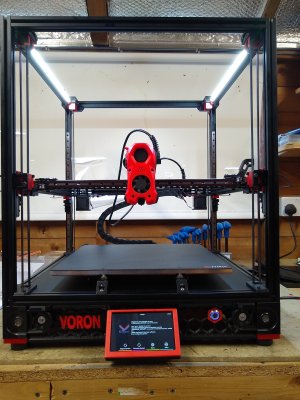
Coming along nicely, taking my time to enjoy the build, and putting off the day I have to deal with the electronics…

First off thanks to “claytono” for designing these brilliant little jigs to clamp the extrusions firmly in place when assembling the frame, I printed 4 off @ 98% making them a snap on fit, result was an almost perfectly aligned frame:
https://mods.vorondesign.com/details/SSoHrEC3VElDLwDLw2GA5Q

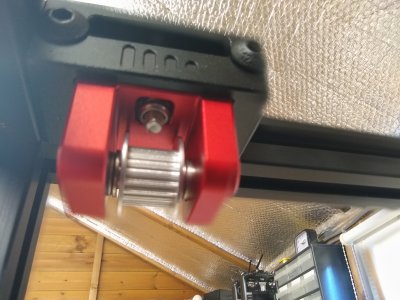
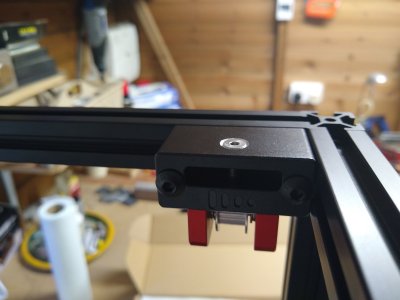
I modded the Z idlers to use countersunk screw with nyloc nuts so can be adjusted easily from the outside, and won’t vibrate loose.
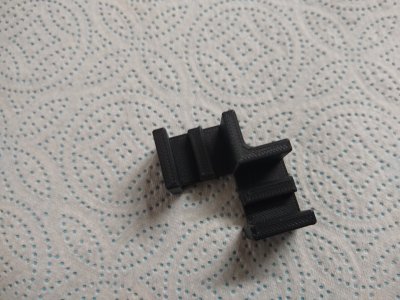
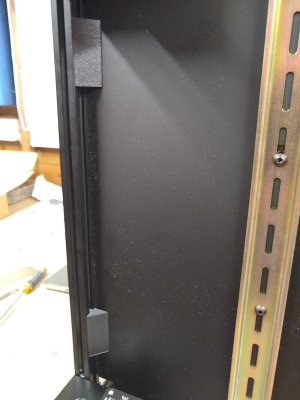
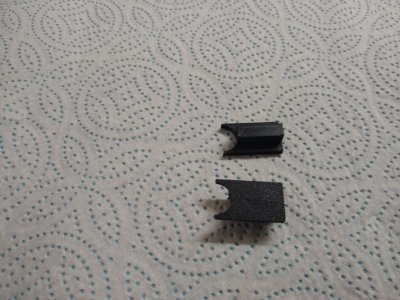
The plastic bottom sheet below bed not supported along the sides so knocked up some simple wedge supports that clip tightly into the extrusions.
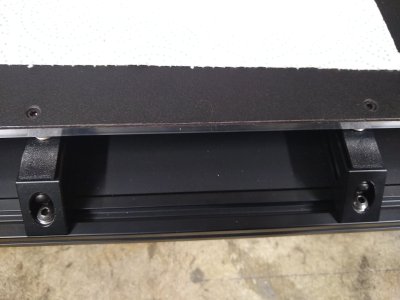
Also made some simple jigs that allow me to locate the bed accurately.

Overall I’m very impressed with this FYSTEC kit so far, it certainly isn’t a Cheap Chinese Clone.
 

Attachments

  • V1.jpg
    V1.jpg
    975.4 KB · Views: 19
  • V2.jpg
    V2.jpg
    952.7 KB · Views: 18
  • V3.jpg
    V3.jpg
    922.3 KB · Views: 18
  • V4.jpg
    V4.jpg
    724.1 KB · Views: 17
  • V6.jpg
    V6.jpg
    1,009 KB · Views: 16
  • V5.jpg
    V5.jpg
    983.1 KB · Views: 16
  • V7.jpg
    V7.jpg
    777.9 KB · Views: 23
Last edited:
Stealthburner; here I need help as FYSETC don't appear to do a manual specific to their version, and as there are numerous revisions/options I'm confused as to what parts I do/don't need to print off, anyone advise please?
 
I am pretty sure there is no version specific to FYSEC. Just print the latest one from the Voron repo.
 
Dude I am in my 50’s! You got this. I completed my v2.4 350mm back in August 2024. Never worked with anything powered by AC 120v.

Not sure of your skill level with electronics but don’t skip any testing of your wires. If you don’t have one, get a multimeter, around $30 bucks should do.

This forum is great for researching issues but also open a Discord account.

Finally don’t be afraid of rolling back your build to redo sections. In the end, it will haunt you if that may be the cause of an issue.
Thanx for the motivational speech! My main hobby is RC Helicopters, so building a printer is pretty much the same, belts & pulleys, electric motors, setting up electronics, accurate alignment etc. I do have a multi meter and know my way around basic electronics, what I wasn't aware of, and where I have little experience, is with the software side; creating/editing config files, firmware, macros, all of which is unfamiliar territory for me.
I find Discord & GitHub complicated to navigate, the info is in there, just often hidden away amongst a mountain of irrelevant (to me) details. Had I known of these complications a few weeks ago, I probably would have thought twice about ordering a kit, having now committed a large sum of money in this project it will get completed :)
 

Attachments

  • Screenshot from 2025-03-16 20-43-33.png
    Screenshot from 2025-03-16 20-43-33.png
    105.5 KB · Views: 9
  • Screenshot from 2025-03-16 20-42-18.png
    Screenshot from 2025-03-16 20-42-18.png
    168.8 KB · Views: 10
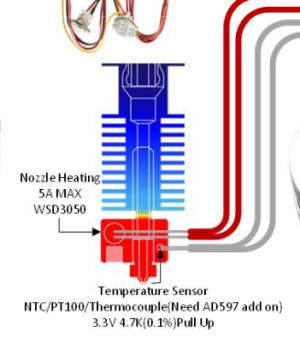
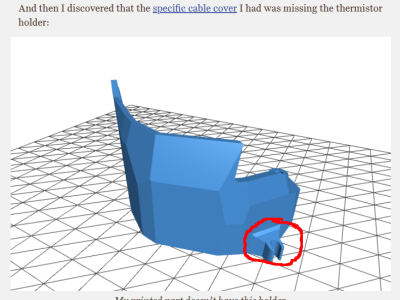
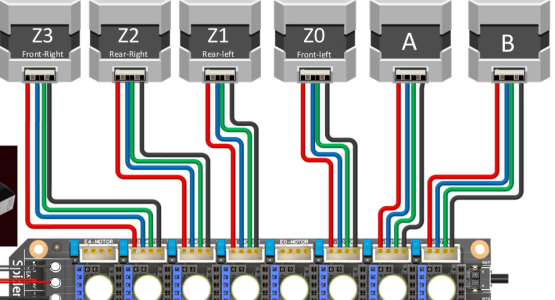
Assembling the Stealthburner I'm slightly confused by a cryptic note on Spider wiring diagram "Need AD597 add on", plus came across a build thread where the author intends to use an external thermistor with special mount on the hinged cable cover for one? https://www.jonashietala.se/blog/2023/10/18/lets_build_a_voron_toolhead/
Unsure which port on the Spider you are referencing. The system will have multiple thermistors. The one from the hotend reports it's temp and if it doesn't see an increase after a certain amount of time, klipper will crash itself to make sure it's not overheating due to a bad thermistor. This is called "Thermal Runaway".

The one that sits on the cover is the chamber thermistor. I don't use it in any of my macros but it will report the chamber's temp. You should have one on the bed as well. Same rules as the hotend.

The Chamber and Hotend thermistors should be plugged into the toolhead PCB. The bed and any other will go to the Spider (MCU).
 
Unsure which port on the Spider you are referencing.
It's not on the actual Spider the note is on the above pic of Sailfish at the bottom referring to needing a "AD597 add on"?
Just completed putting the Stealthburner together, tough job trying to (gently) squeeze the wires in, plus discovered that the plugs for filament feed motor and the RBG LED's were both wired incorrectly, need to check other wiring carefully.
 
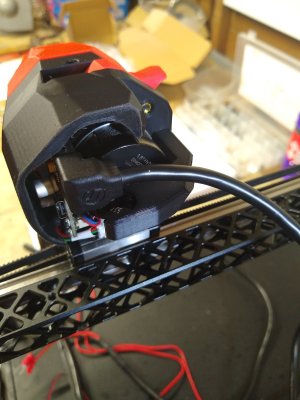
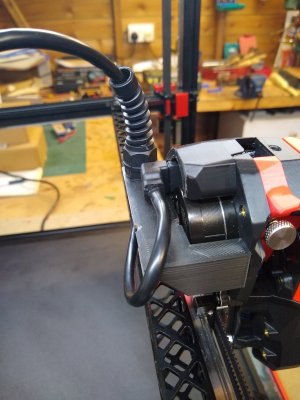
Have reached a bit of an impasse; this kit is sold as umbilical version with parts to suit, however the CAN plug on SB passes over the umbilical mount making it impossible to use an umbilical. I've emailed FYSETC but have yet to receive a reply.
 

Attachments

  • IMG_20250329_163735891.jpg
    IMG_20250329_163735891.jpg
    1,008.5 KB · Views: 4
Top