What's new
VORON Design

Register a free account today to become a member! Once signed in, you'll be able to participate on this site by adding your own topics and posts, as well as connect with other members!

My First Voron 2.4 R2 Formbot 350 X 350 X 350mm - Dragon High Flow

Did you contact them in regards to the screws? If yes, did they provide the proper ones? I'm curious on how their customer service is. Things I should have checked out before placing an order but I failed to. Thanks for the heads-up about the rails. I'll check them all out before assembly.

I hope you build goes well.(y)
No because I didn't want to wait so I just bought some at the hardware store. I would guess if something is wrong or missing they would fix it but who wants to wait? I did contact them when I placed the order because I wasn't getting any kind of shipping confirmation. It took them a couple days to respond and at that point I had already gotten the info. I ordered expecting no support from formbot. You gotta remember there is a big time difference and also we are buying a box of parts packed together and shipped for cheaper than you can get them individually. Not going to get a lot of support when they make a tiny profit.
 
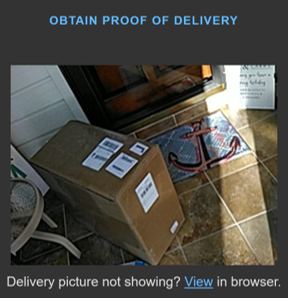
I'm a happy Voron to be builder. Fedx just dropped off my Formbot 2.4 kit, Dec 5, 2022, 4:30PM. I haven't opened yet. I'll save that for tomorrow morning when my head is clear and I have some cameras setup. I want to inventory and see if there is anything missing that I need to complete.Fedx Delivery 2.png
 
Last edited:
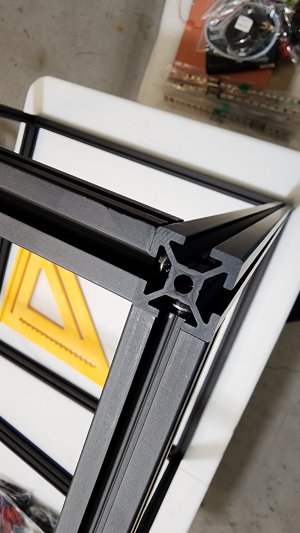
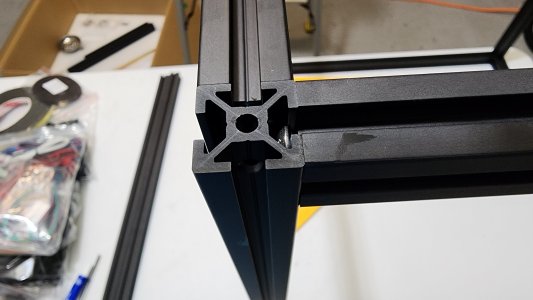
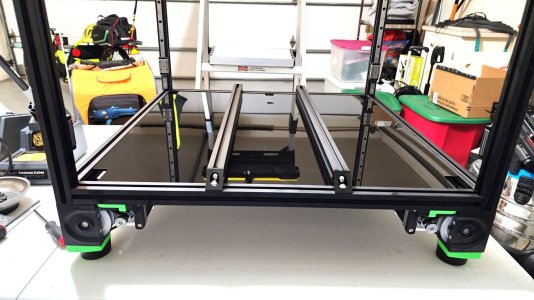
I'll have photos and videos to post in the next few days. I have started to build my Formbot Voron. So far I am very impressed with the components. The frame was easy to build and it came out nice and square. I have all of the Z axes rails installed and the bottom panel. The rails were Clean and very smooth. Voron Frame Corner 1.jpgVoron Frame Corner 2.jpg
 
Slowly making progress. I am still impressed with the Formbot components and the 3D printed parts by Simon3DPrints on Etsy. Both products have been exceeding my expectations. Now, if I can only keep the builder from making mistakes, this printer will be built and running.

Bedplate assembly is next.
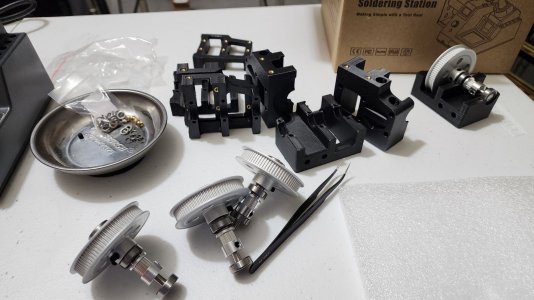
Z-axes Drives Voron 22-12-07 4 S.jpg
 
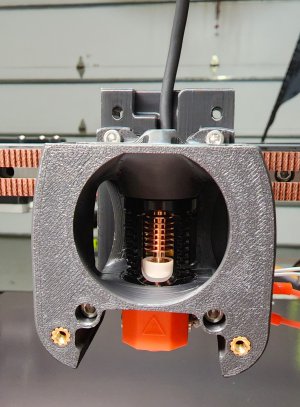
Today I received my Dragon High Flow hotend that was shipped from China. It came well packaged and it looks good. I'll be glad once I'm at the point of filament coming out of it.

I'm making progress on the Voron build. I took a run to Home Depot to purchase high temp RTV, lube for my rails, and Scochbrite pads for prepping the bedplate for the magnet and heatpad install. The bedplate is completed including the thermal fuse and ground wires installed. I opted to RTV the fuse to the bottom of the heat pad in place of screwed to the bedplate.

Currently working on gantry parts while I wait for the RTV to setup.
 
Last edited:
My formbot kit came from the USA and was got it in a week. They shipped fedex. I ordered from formbot3d.com. I got mine in October.
Same story. I've ordered 4 v0.1s and two 2.4 350s from them. Shipping was under a week. voronkits.com was the same, but they are just another dropship reseller of formbot kits so...but they sell fully constructed vorons, though I don't know how well they operate. But you are guaranteed to get it shipped from the states from them, at least that's what they say and I have nothing to counter that statement.

Fysetc was the same, from their site not AE. And they did ship from China.

I'll order from their respective, actual, web sites from now on. They are quick and I don't have to deal with Mr. Ali, or Mr. Amzn.


Liking the build @LoadMaster7, exciting to get close to the end.

I might start some logs for my other vorons, but man I don't like taking side steps to just take pictures and edit it all.

forgot to add: the only real grip I have against the formbot kit is that the screws are not stainless. They are magnetic. Might not be much of an issue now, but we get humidity here, and all the different metals touching together...with more ferrous metal in there...might cause some concern. Or maybe not. I just know how different metals touching together isn't really ideal without some sort of anti-corrosion treatment.
 
Last edited:
Same story. I've ordered 4 v0.1s and two 2.4 350s from them. Shipping was under a week. voronkits.com was the same, but they are just another dropship reseller of formbot kits so...but they sell fully constructed vorons, though I don't know how well they operate. But you are guaranteed to get it shipped from the states from them, at least that's what they say and I have nothing to counter that statement.

Fysetc was the same, from their site not AE. And they did ship from China.

I'll order from their respective, actual, web sites from now on. They are quick and I don't have to deal with Mr. Ali, or Mr. Amzn.


Liking the build @LoadMaster7, exciting to get close to the end.

I might start some logs for my other vorons, but man I don't like taking side steps to just take pictures and edit it all.

forgot to add: the only real grip I have against the formbot kit is that the screws are not stainless. They are magnetic. Might not be much of an issue now, but we get humidity here, and all the different metals touching together...with more ferrous metal in there...might cause some concern. Or maybe not. I just know how different metals touching together isn't really ideal without some sort of anti-corrosion treatment.
So far, I am very happy with the Formbot kit I received. The screws in my kit are stainless and are not magnetic. I am taking photos and I had plans to do videos, but, I am enjoying the build process and can't seem to stop long enough to setup the cameras.

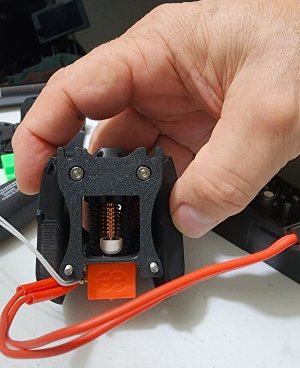
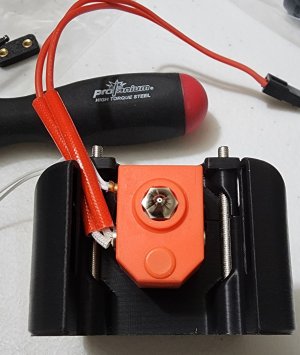
I have the gantry in and all belts connected. Currently working on the Afterburner assembly.

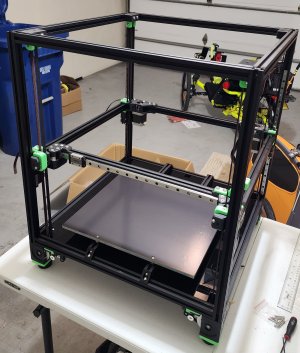
My biggest grip is the guy doing the assembly. I'm not as good as I once was. I made some stupid mistakes along the way, that I was frustrated at. Nothing damaging, but for example, the gantry ends require one 5mm and one 3mm nut plate, I missed that and installed two 5mm. So, I ended up back-tracking and taking things apart to correct my mistake. Other than that, I am enjoying the assembly process. I'll be happy to be at the point of turning the printer on. Gantry Installed.jpg
 
My biggest grip is the guy doing the assembly.
This is my only issue as well. I am in the process, well while I am building my v0.1s, of tearing my 2.4 down and rebuilding. My gantry needs some tuning as the directions seemingly gloss of having the same gap up front by the idlers. I was wondering why I couldn't access the left-most section of my bed and it's because I have about 2-3mm of left side gantry tucked into the braces. Hard to explain, but I pushed the back part of the gantry too far in and now the belts slightly glance against the idlers. Nothing has rubbed away, yet, but I need to fix it so that alleviates any point of concern going forward.

There are tons of little things that could get missed, and jumping around the internet to find that specific fix is time-consuming - which is more a function of the change in search engines prioritizing money over results than the information not actually being there. I'm glad this site got made to help centralize the information. Though there are so many forks and custom builds that the chamber does echo a lot.
 
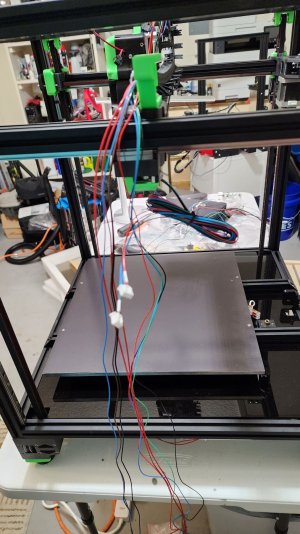
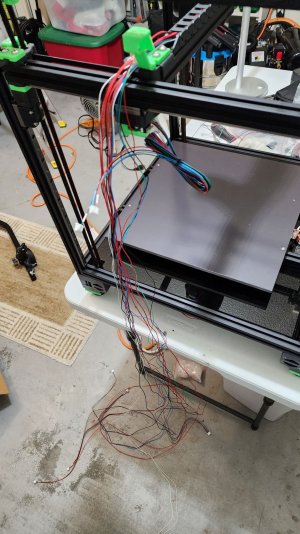
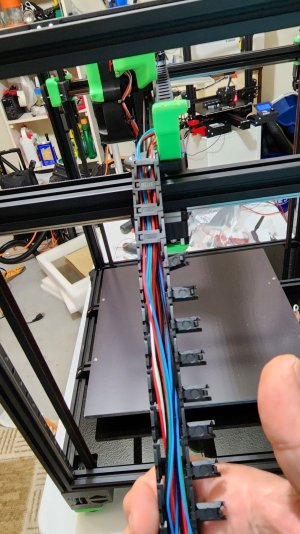
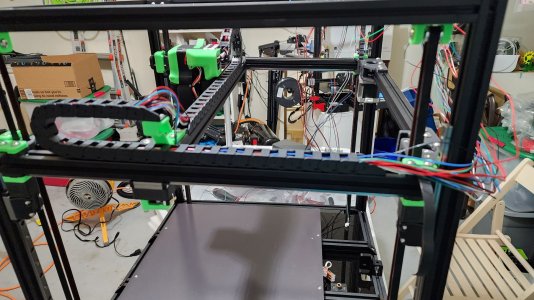
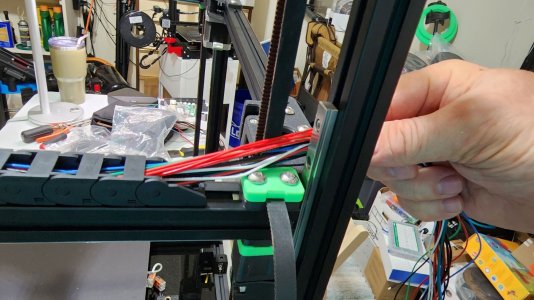
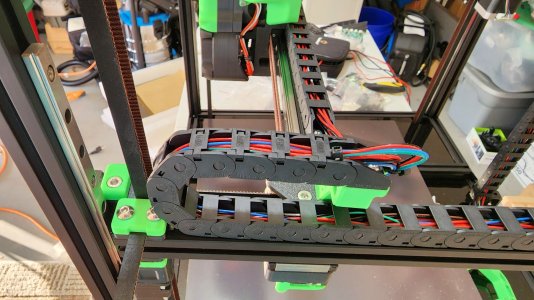
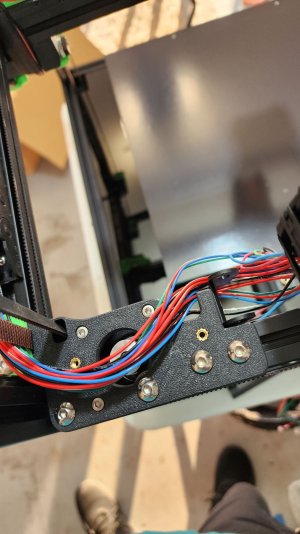
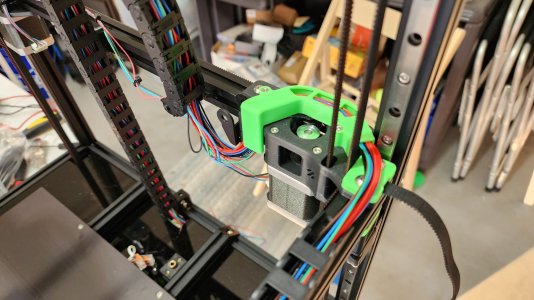
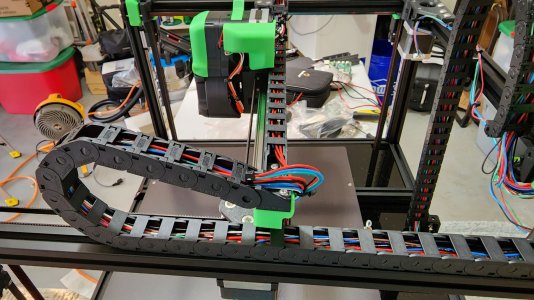
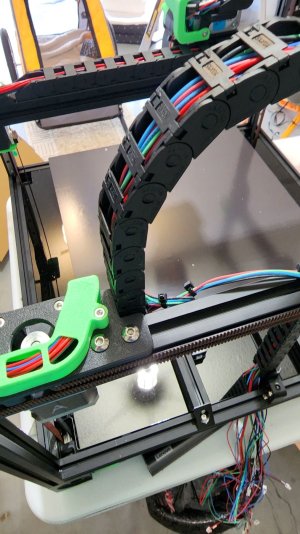
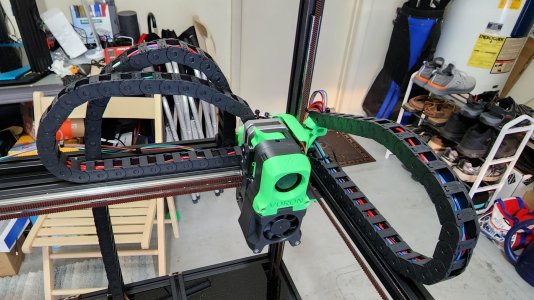
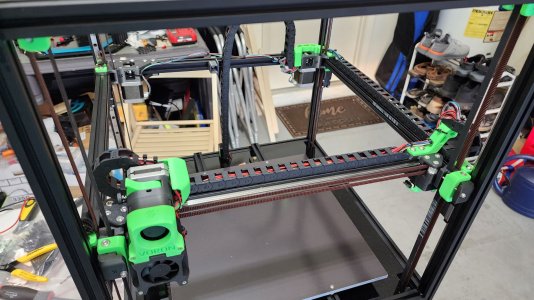
I had some anxiety about starting the wiring of my Voron 2.4 R2. I haven’t used cable chains before, and I didn’t like the idea of starting with the rear cable chain as the manual implies.

I couldn’t find details on this, so I did my own thing. It worked for me…I think. I’ll know for sure once the power goes on and I don’t see smoke!

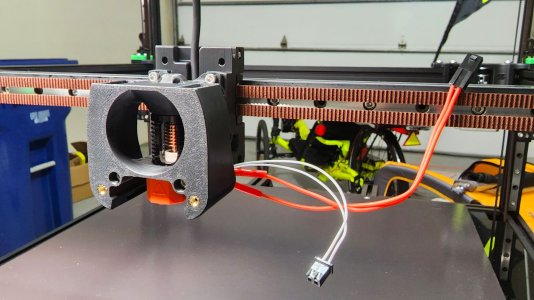
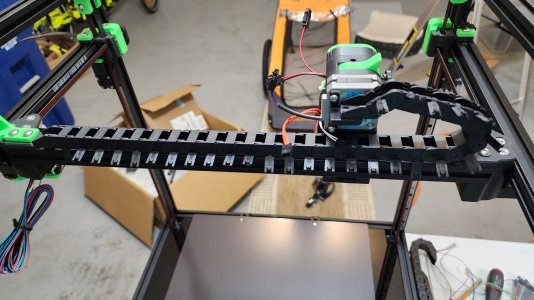
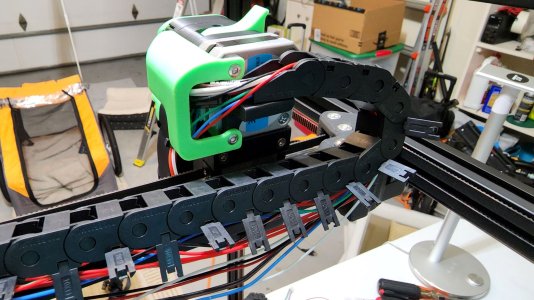
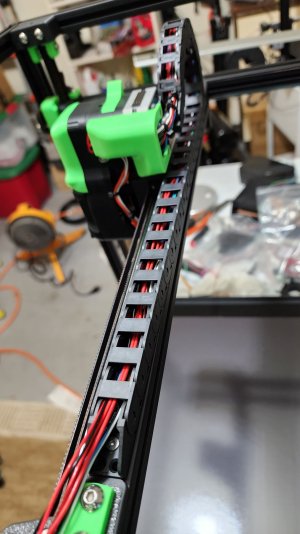
I started at the toolhead and started connecting the wires. Once I had all the wires, I started clipping the cable chain around them.

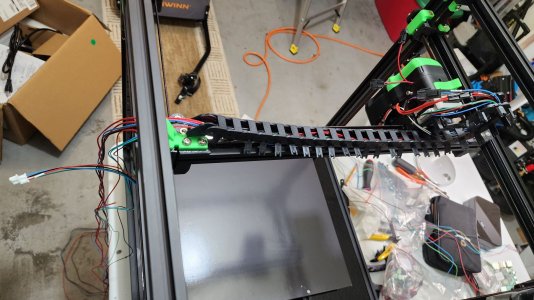
When I made it to the end of the cable chain, I added the X & Y end stop cable and started feeding the cables into the second cable chain.

At this point, I added the A and B motor cables and started clipping them all into the larger Z cable chain.

This process allowed me to adjust the wire length and positions before making the cable chain attachments.

I’m ready to start making all of the connections to the control board. I’ll start that tomorrow morning when my mind is a little fresher. I’m feeling pretty good about how it is turning out.

My Formbot kit was short on the number of flat head 3 x 10mm screws used to attach the chain cables.20221212_111303.jpg20221212_112427.jpg20221212_112434.jpg20221212_115516.jpg20221212_121056.jpg20221212_121107.jpg20221212_121947.jpg20221212_122933.jpg20221212_151813.jpg20221212_164417.jpg
 
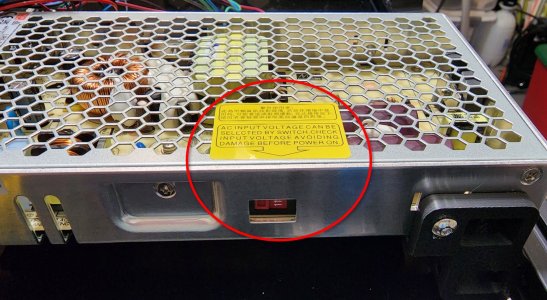
I want to share my mistake of the day! This is such a rookie thing to do. I know better. So, I start checking all of my connections. Making sure I have polarities correct. Before connecting power to the controller or the Pi, I fire up the power supplies and measure their output. The Pi 5 volt supply shows 5.1 volts. The 24 volt power supply shows zero! I double check the input, 122 volts a/c, zero on the output. I start thinking to myself, bum supply right out of the box! Frustrated, I start removing the unit from the printer. While removing it, I see the BIG YELLOW label! Yeah, I forgot to switch it to 115 from the 220 volt setting it came with! It works fine now! :cautious:
PS Power Voltage Switch 4.jpg
 
Last edited:
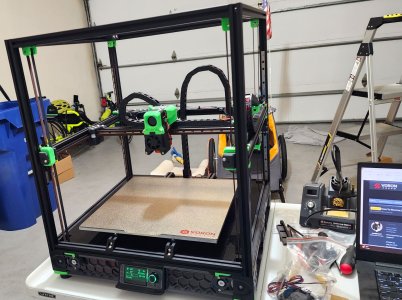
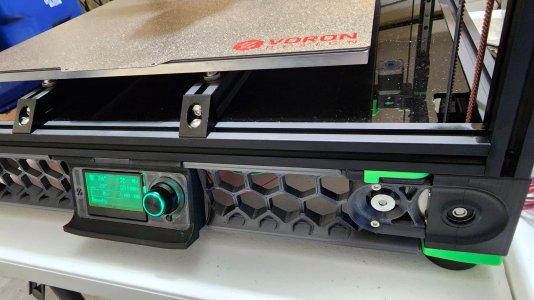
It's Alive! 8 days in to my build. It is up and working. Ready for the first print. However, when I send a file over, I can see it in Klipper, however, it errors with it can't open the file. Not sure why. It is right there and I can open the gcode in the editor, but the printer errors when it tries to open. Another thing to sort out tomorrow when my brain is working.Power on Voron 2R2 22-12-14 2S.jpgPower on Voron 2R2 22-12-14S.jpg
 
Very cool!
What controllerboard is in that kit? And did they ship it with a rasberry pi? I've seen lately kits where they don't include them currently due to the situation.
 
Very cool!
What controllerboard is in that kit? And did they ship it with a rasberry pi? I've seen lately kits where they don't include them currently due to the situation.
It comes with a Big Tree Tech Octopus controller, with TMC2209 drivers. No raspberry Pi with the kit. I had a Pi 4B on hand that I was using for Octoprint with my other printers.
 
Top