LoadMaster7
Well-known member
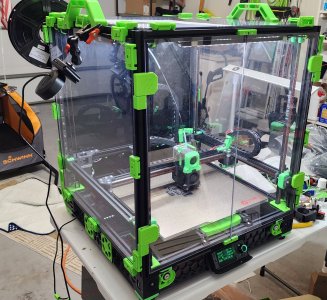
Nevermore built and installed.


It's good to hear that works. I was under the impression octoeverywhere didn't work with klipper.I switched over to Octoprint/Klipper. My primary reason, I have OctoEverywhere that allows me to control the printer no matter where I am as long as I have an internet connection. I can live stream my print jobs. It is a bit boring I guess, but still fun to play with. At least my wife calls it boring when I display a print job on our TV!

LIVE - Watch Me Make Things
Live stream your 3D printed creations to your friends or the world with a live webcam stream, real-time print stats, and more.octoeverywhere.com
Yeah, it works well. I'm not as much of a fan of Octoprint with Klipper. It has its good points, large selection of add-ons, but the built in editor leaves a lot to desire, or maybe I am missing something. I can't find anyway to search a word with the editor.It's good to hear that works. I was under the impression octoeverywhere didn't work with klipper.


You would think that you would get the software error before the fuse would blow. Is there something that needs to configured differently maybe?Interesting. I am printing PLA parts at 60° C bedplate temp and I had a a shutdown. Not for overtemp, but not responding as expected. The bedplate's thermo fuse opened. I had a spare and that corrected the issue. I don't understand why the original one opened. I placed an order right away as I have no more spares.
Anyone else have their bedplate fuse fail? I'm wondering if I could of had a bad one or if there is something else going on. Time will tell.
View attachment 1263
I generally just purchase from a verified source. Sparta3D, West3D, vendors who carry the Nevermore branded stuff...It warns to only use acid-free carbon. I'm not sure how you tell if the carbon is acid-free. None of the source I've looked at say.
Yeah, I agree that I expected software error first, but that is not what happened. I have a guess, but nothing for sure. I recently upped the bed max from 60% to 70%. During my build, I took the suggestion to rtv the fuse to the bottom of the heating pad. This was suggested as a safety in case the heat pad came loose from the plate. Thinking back on it, that may have been a bad suggestion. I have never seen a heat pad separate from where it is attached. For the replacement fuse, it is installed with a screw to the original bedplate location. So far, no issue.You would think that you would get the software error before the fuse would blow. Is there something that needs to configured differently maybe?


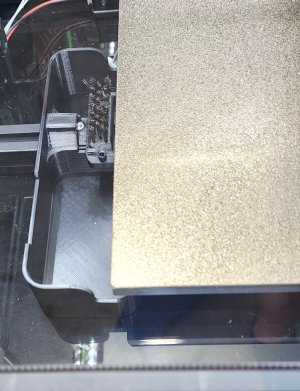
I can understand how it could be a challenge to see. I try and start with a known good profile and run a few test, like printing a benchy or a cube. If these come out well, I save the profile with all of the details for the given filament and how I used it. I sometimes mark the reel of filament with a profile names, if it is a filament I don't use regularly.Benchy looks nice. I personally do not like transparent filament. I was trying to print some transparent blue the last few days and I can't see if the first layer is good, but maybe its just my old eyes.


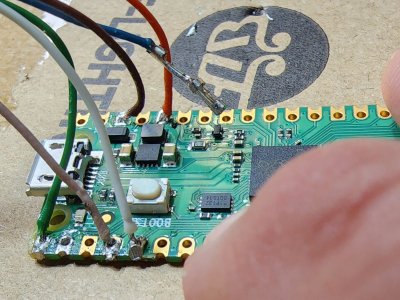
I use this mostly as a learning platform. These little micro processorsLooks like you built your machine well and have it on a nice stable platform.