themasterofunlocking
Member
Hey all. I am Jordan. I am a head chef and kitchen manager.
I got into 3d printing right before the pandemic hit with a FlashForge Adventurer 3. I wanted more out of my printer so I decided to upgrade to what all the mainstream peeps were into: the Ender 3. I learned a lot about 3d printing, and of course the struggles that come along with cheap, neglected printers. Then around sometime in 2021 I discovered voron design.
Initially I was intrigued by the 2.4. I wanted to build one so bad, but it was a bit out of my budget. I did a little bit of further digging and found the Voron v0.1 model. Done! That's the one I'm going to build. I printed the pieces on my ender 3, open air with abs and...Fuck. This ender 3 fucking sucks for this without an enclosure, huh? 3 attempts, and two or three spools of filament later I had my parts for my 0.1. I waited about 8 months, bought a kit and put it together and fell in love even more with this little machine.
That's when I realized, as we all do at some point, I need BIGGER. I need BETTER. I NEED TRIDENT.
So here we go! It's nice to virtually meet you.
This time around I chose to build a 300x300 kit by Fysetc.
Primary Colors:
Black - Hatchbox ABS
Black - Polymaker ABS
Secondary Colors:
Light Blue - Polymaker ABS [Hex Code: #5bc2e7]
Vendor: Fysetc 300x300 Trident Kit
Day 1:
Package Arrived at my brother's house. I got off work late and took a trip to pick it up. Sorted through all the parts to ensure any quality issues, missing parts, or extras. Spent a little bit of time organizing extrusion sizes and getting a space clear for the build. Went to sleep.
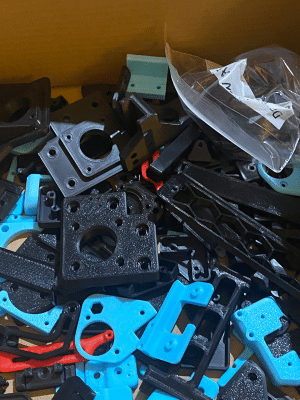
A lot of stuff to sort through.
Day 2:
I started to assemble components. (i.e. Motor assemblies, hotend parts, heatsets, etc.
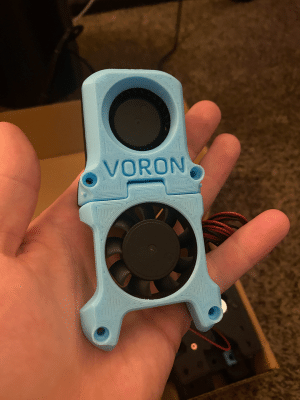
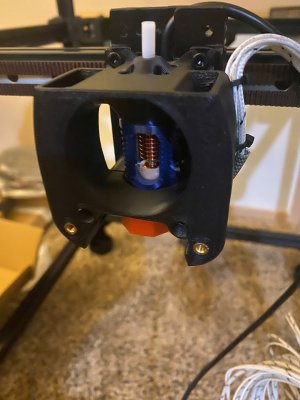
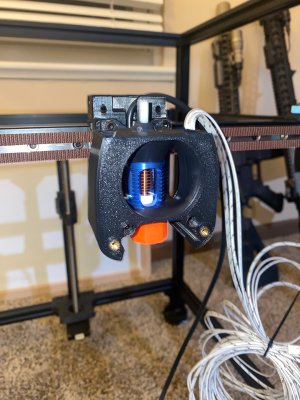
It wasn't until I was putting pieces together for the hotend I noticed I didn't do a very good job printing this. I am going to put it together, and reprint a new fan shroud once finished.
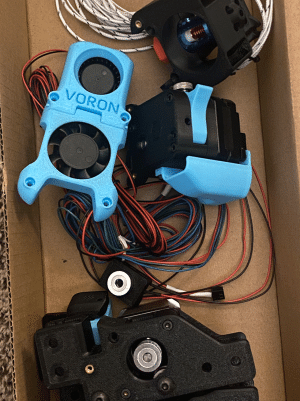
Getting the components prepped.
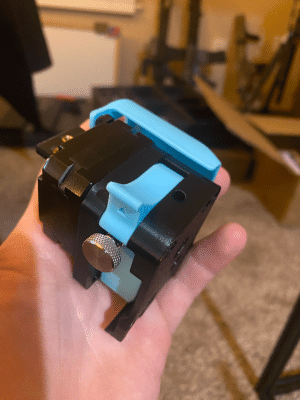
The clockwork 1 extruder is truly a sight to behold.
Day 3
This is when I was going to assemble the front idlers. This is where I ran into my first real snag. The bearings and/or the m5x40 shcs weren't sized correctly and I couldn't get the bearings to fit into these particular set of m5 screws. I did a sanity check with all other applicable m5 screws to my disposal and they fit ALL of them but these particular m5 shcs's.
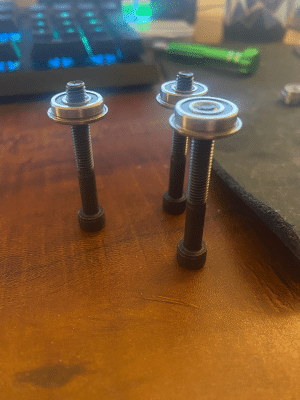
They won't fit
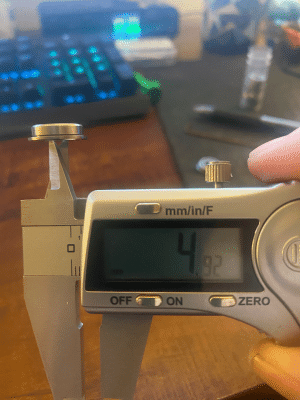
The bearings
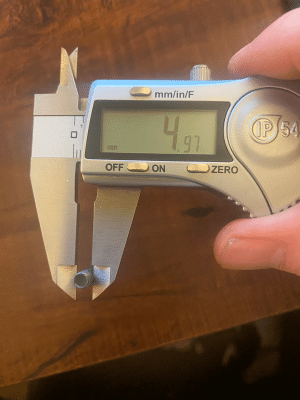
The m5x40 SHCS in question. None of them would fit the bearings.
No worries, I guess. I ordered some new m5x40 shcs and they'll be arriving on saturday. Hopefully I'll be able to get the idlers finished!
Day 4:
I decided to move on from component prep and started to assemble the printer. I got much of the frame finished, the z-motors installed and some various components. I didn't run into any issues here, and everything went smoothly. The only thing I skipped over was installing the idlers. I'll do that once I can finish them due to the above issue.
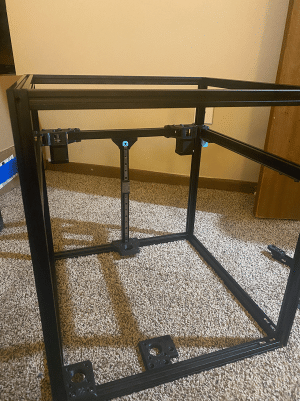
Getting the frame and some various things prepared!
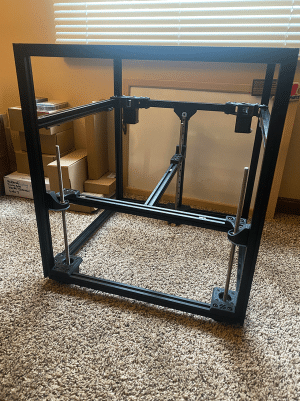
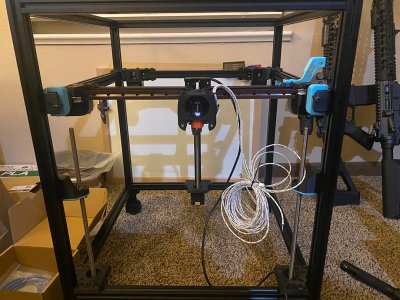
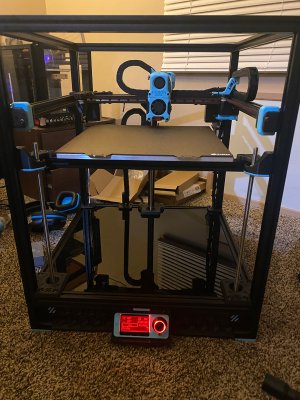
and here is where we are at! The frame for the bed isn't actually on or anything yet. I just set it there to get an idea of the look! Things are coming together smoothly from here!
And that's where I've left off so far! It's starting to look like a printer!
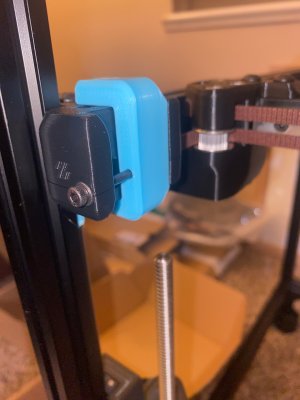
I have some titanium backers from DFH on the way. Going to get those installed for extra "security." But to be honest, I'm doing it because it's fucking cool.
To be continued!
I got into 3d printing right before the pandemic hit with a FlashForge Adventurer 3. I wanted more out of my printer so I decided to upgrade to what all the mainstream peeps were into: the Ender 3. I learned a lot about 3d printing, and of course the struggles that come along with cheap, neglected printers. Then around sometime in 2021 I discovered voron design.
Initially I was intrigued by the 2.4. I wanted to build one so bad, but it was a bit out of my budget. I did a little bit of further digging and found the Voron v0.1 model. Done! That's the one I'm going to build. I printed the pieces on my ender 3, open air with abs and...Fuck. This ender 3 fucking sucks for this without an enclosure, huh? 3 attempts, and two or three spools of filament later I had my parts for my 0.1. I waited about 8 months, bought a kit and put it together and fell in love even more with this little machine.
That's when I realized, as we all do at some point, I need BIGGER. I need BETTER. I NEED TRIDENT.
So here we go! It's nice to virtually meet you.
This time around I chose to build a 300x300 kit by Fysetc.
Primary Colors:
Black - Hatchbox ABS
Black - Polymaker ABS
Secondary Colors:
Light Blue - Polymaker ABS [Hex Code: #5bc2e7]
Vendor: Fysetc 300x300 Trident Kit
Day 1:
Package Arrived at my brother's house. I got off work late and took a trip to pick it up. Sorted through all the parts to ensure any quality issues, missing parts, or extras. Spent a little bit of time organizing extrusion sizes and getting a space clear for the build. Went to sleep.

A lot of stuff to sort through.
Day 2:
I started to assemble components. (i.e. Motor assemblies, hotend parts, heatsets, etc.

It wasn't until I was putting pieces together for the hotend I noticed I didn't do a very good job printing this. I am going to put it together, and reprint a new fan shroud once finished.

Getting the components prepped.

The clockwork 1 extruder is truly a sight to behold.
Day 3
This is when I was going to assemble the front idlers. This is where I ran into my first real snag. The bearings and/or the m5x40 shcs weren't sized correctly and I couldn't get the bearings to fit into these particular set of m5 screws. I did a sanity check with all other applicable m5 screws to my disposal and they fit ALL of them but these particular m5 shcs's.

They won't fit

The bearings

The m5x40 SHCS in question. None of them would fit the bearings.
No worries, I guess. I ordered some new m5x40 shcs and they'll be arriving on saturday. Hopefully I'll be able to get the idlers finished!
Day 4:
I decided to move on from component prep and started to assemble the printer. I got much of the frame finished, the z-motors installed and some various components. I didn't run into any issues here, and everything went smoothly. The only thing I skipped over was installing the idlers. I'll do that once I can finish them due to the above issue.

Getting the frame and some various things prepared!

and here is where we are at! The frame for the bed isn't actually on or anything yet. I just set it there to get an idea of the look! Things are coming together smoothly from here!
And that's where I've left off so far! It's starting to look like a printer!
I have some titanium backers from DFH on the way. Going to get those installed for extra "security." But to be honest, I'm doing it because it's fucking cool.
To be continued!


