What's new
VORON Design

Register a free account today to become a member! Once signed in, you'll be able to participate on this site by adding your own topics and posts, as well as connect with other members!

250x250 No Kit/Self Sourced Voron 2.4

Christian

Well-known member
Hi,

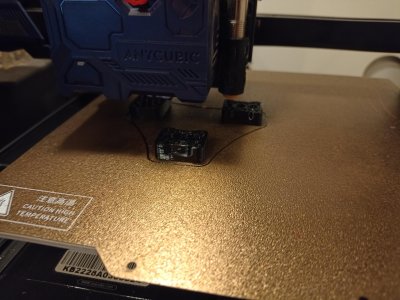
two month ago I baught a cheap Anycubic Kobra, which since i got hooked is running nearly all day and night. Two weeks ago I read a bit more about the Voron design an builds. Totally fascinated I'm throwing me into the advanture of building one. Probably with huge lacks in knowledge, but the gaps I will fill on the way. If I fail along the way, that's fine. I will fail forward. I do this as education.
I sourced the material myself from different vendors, which ship to germany. The Kobra is printing non-stop the parts in PETG. The Toolhead will be in a non-flammable PETG. I think for the beginning it will hold up. At least to use the printer then to print more heat resistant filament.
signal-2022-12-06-143050.jpeg

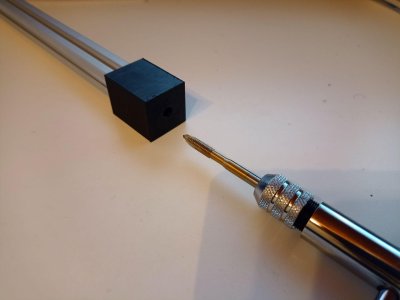
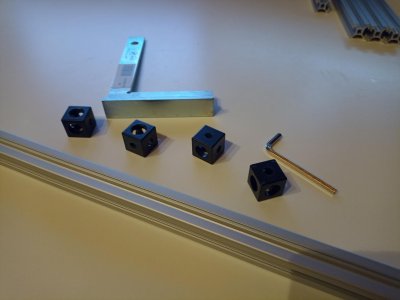
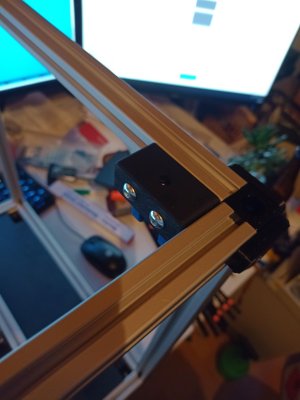
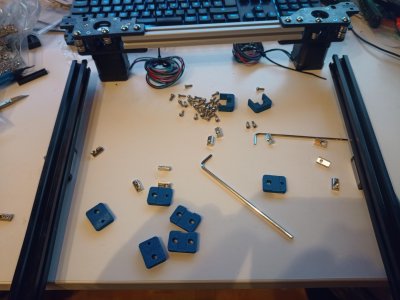
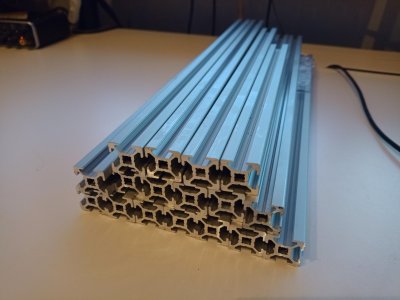
First step is preparing the frameparts. I ordered them precut with the dimensions from the BOM, without tabs. So first step for today will be cutting threads. Since I have no experience in working with these profiles and also dont have a drillpress, I choosed the corner cube variant.
signal-2022-12-06-141301_002.jpegsignal-2022-12-06-141658_002.jpeg

Since it is also the first time that I cut threads, I printed a Jig for M6 holes from ThingiVerse (the profiles are 2020 with M6, rather than M5) .
I post updates as soon as I got a step further. I don't expect to get this finished this year.

Have a great day.
 
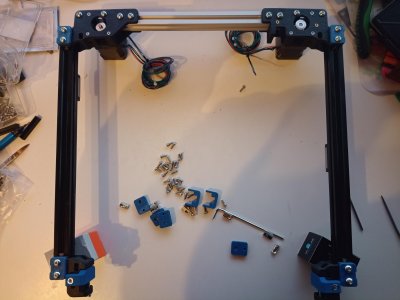
Every thread has been cut, so it was time to assemble the frame.
signal-2022-12-06-192757_002.jpeg

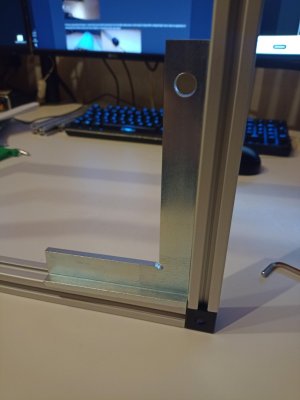
Squaring everything up:
signal-2022-12-06-192757_004.jpeg
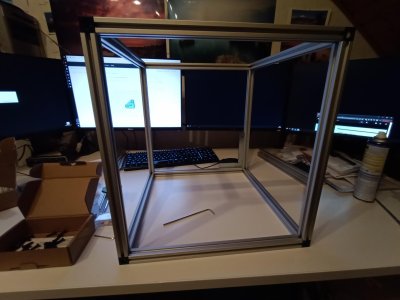
And things getting real :D
signal-2022-12-06-192757_003.jpeg

If there is a next time, I will probably then also choose the blind joints. Just realised during the build, that the corner cubes have 8 more axis where profiles can rotate than with blind joints. It feels stiff enough, but the next time I will not build a samll one again. Maybe I'm going to print the corner panel mounts over night and attach them already without the panels to get the frame a bit more secure during the build.
 
Every thread has been cut, so it was time to assemble the frame.
View attachment 768

Squaring everything up:
View attachment 769
And things getting real :D
View attachment 770

If there is a next time, I will probably then also choose the blind joints. Just realised during the build, that the corner cubes have 8 more axis where profiles can rotate than with blind joints. It feels stiff enough, but the next time I will not build a samll one again. Maybe I'm going to print the corner panel mounts over night and attach them already without the panels to get the frame a bit more secure during the build.
Not too late for the blind joints is it?
 
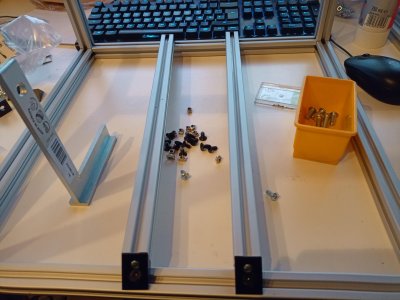
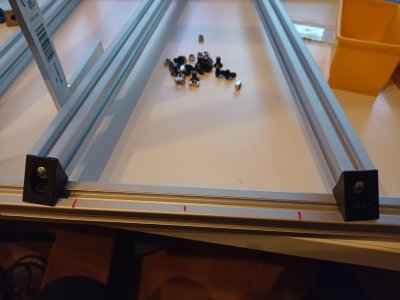
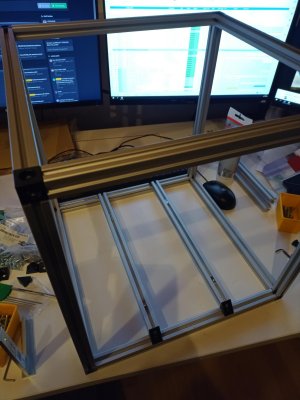
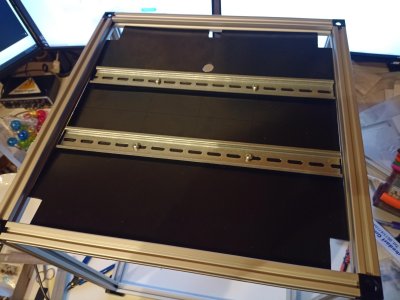
Continued the build today and installed the rails for the bed.
signal-2022-12-07-215433_009.jpegsignal-2022-12-07-215433_005.jpegsignal-2022-12-07-215433_003.jpeg
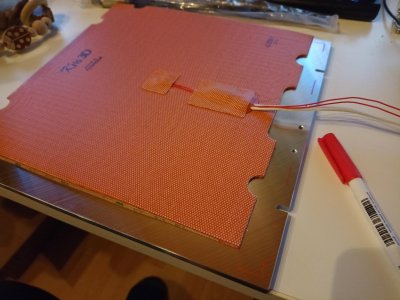
Installing the heating pad.

signal-2022-12-07-215433_006.jpegsignal-2022-12-07-215433_007.jpeg

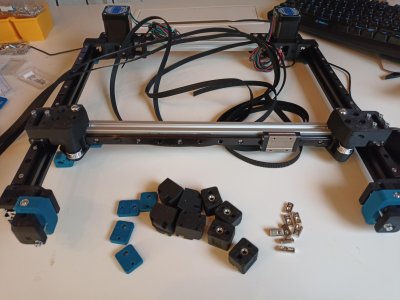
Since not all parts are printed yet and still waiting for many parts for the motion system, I did some preapartions on the parts I already have.


signal-2022-12-07-215433_002.jpegsignal-2022-12-07-215433_008.jpeg
 
I didn't think petg parts were any good regardless of if your building to print using abs or not
I think PETG parts are not that bad, but probably are to flexible for the gantry even in low temperature. Since I'm wating for parts to be shipped, I researched yesterday a bit deeper in materials.
For the Z-Drive it makes not that lot of a difference I think.
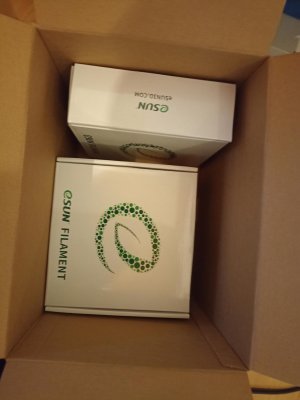
Parts of the gantry I probably will reprint in eSUN ABS+, the Kobra should be able to handle it.
But even if parts fail, it will be okay, then I can learn something and see how it fails.

Do you have any experience with failing parts?
 
PETG is, at a minimum, going to creep on you (you'll never keep your hardware tight for very long). If you enclose it, you will see those parts inside the build chamber getting melty. If you can't get ABS or ASA to print on your Kobra reliably, the first thing I'd print on your Voron is all of the parts for inside the build chamber in ABS.

Exterior parts can be done in pretty much any filament you like. I know one of the folks on the Voron team was recently still rocking panel clips in PLA on a very old printer. (Not sure if he's changed them out for something else or not)
 
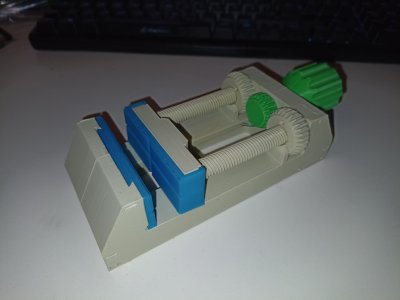
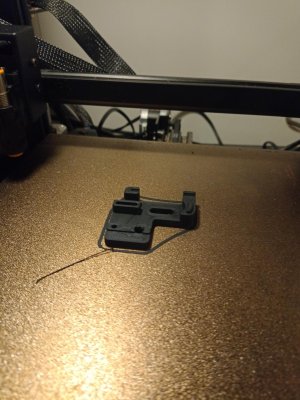
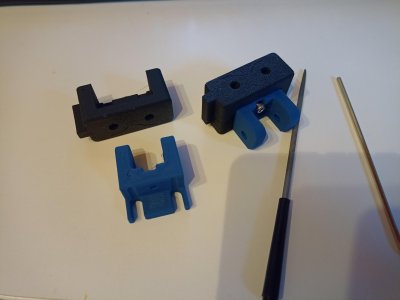
I'm still waiting for critical parts of the motion system to continue, and while waiting for the ABS filament I printed a helper tool:
signal-2022-12-10-123044_005.jpeg

Model source: https://www.printables.com/model/51074-fast-operation-vise

The jaw paltes I've printed in TPU.


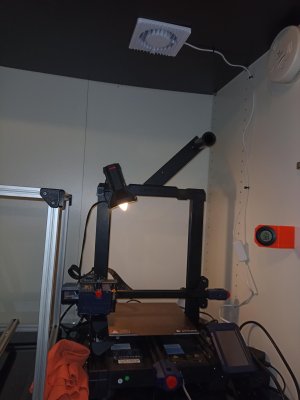
And while the Kobra was printing the tool I did prepartions to print ABS. Cut several holes untill I could fit a plastic pipe to the outside and installed a very cheap and low airflow fan. Just enough so the fumes don't stay in the house.
signal-2022-12-10-123044_006.jpeg

I'm quite impressed with the result, already the second try worked out and the part sticked to the plate. Seems that the eSUN ABS+ is indeed a good recommandation to start with ABS. Printed it with 240°C nozzle temp, 100°C bed temp. and the ambient temp in the cabient was around 24°C
signal-2022-12-10-123044_002.jpeg

So I don't have to reprint the critical parts later and can print them right away.
 
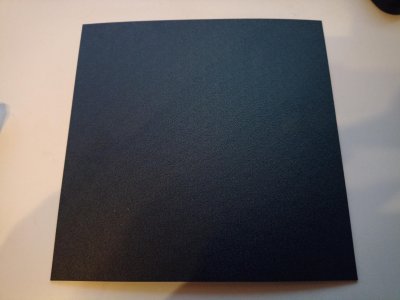
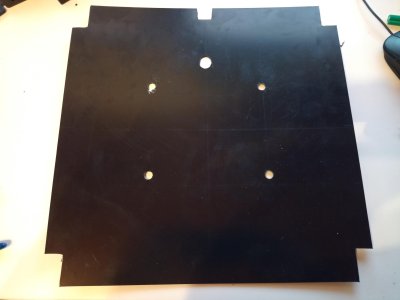
Today the ABS sheet for the Deck Panel arrived.
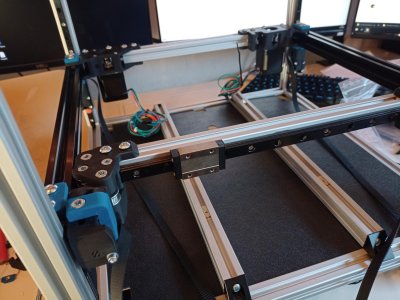
signal-2022-12-12-162832_005.jpeg

Hand cut doesn't look that clean as the precut panels, but since alle the cuts will be covered up anyway I could save a bit on this.
signal-2022-12-12-162832_004.jpeg

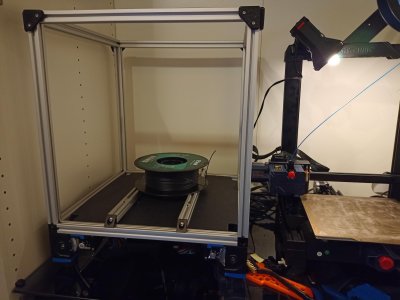
And finally some progress on the frame.
signal-2022-12-12-162832_002.jpeg

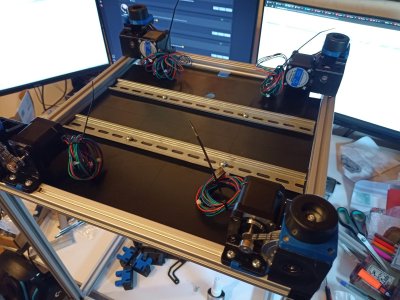
Next will be mounting the Z-Drives
 
Since the Kobra prints the eSUN ABS very good and reliable (gluestick on the PEI sheet works nearly all the time) I ordered some more colors and started printing the alternate colored parts for the build chamber.
signal-2022-12-14-134340_004.jpeg

signal-2022-12-14-134551_002.jpeg

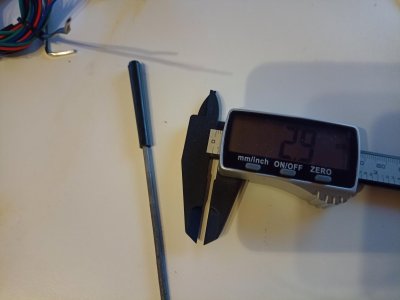
In my set of files is a round one with a diameter of 2,9mm, which is perfect to get the M3 holes smooth.

signal-2022-12-14-134340_002.jpeg
 
Z Eyedlers installed :)

signal-2022-12-14-200516_018.jpeg

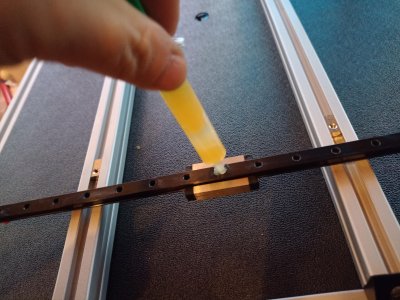
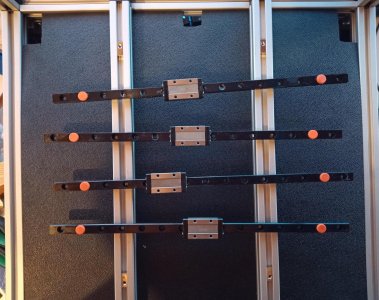
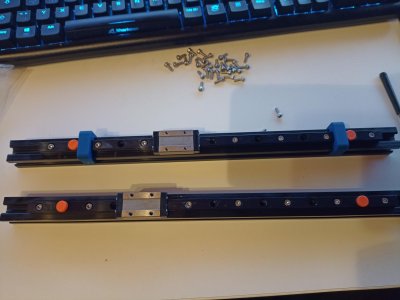
Today finally the linear rails arrived. Time to prepare them for installtion. I followed the LDO Rail Grease Guide (https://docs.ldomotors.com/en/guides/rail_grease_guide)
signal-2022-12-14-200516_015.jpeg

Ready for mounting
signal-2022-12-14-200516_017.jpeg

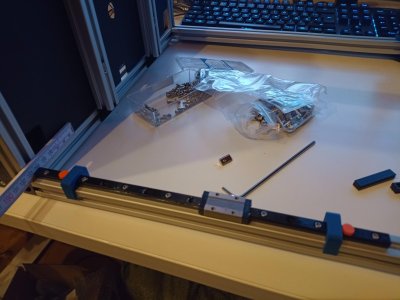
My folding meter has a thickness of 3 mm, which is quite convenient :D
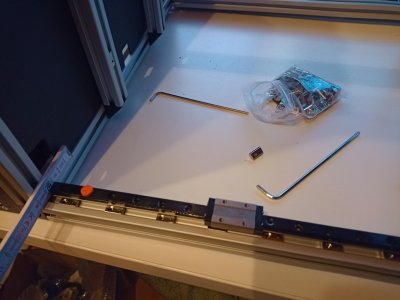
signal-2022-12-14-200516_013.jpegsignal-2022-12-14-200516_011.jpeg

Double chekcing everything. I'm sure there will be enough erros left in the build before I get a clean print xD
signal-2022-12-14-200516_010.jpeg

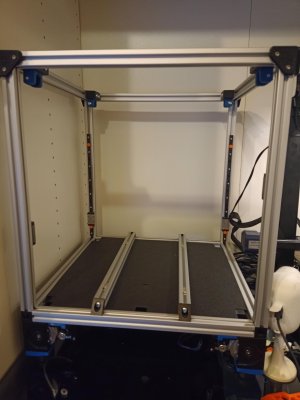
It starts looking like a machine
signal-2022-12-14-200516_006.jpeg
 
You are making great progress! I'm having fun with mine. Nice to be at the point of making things with it!
I'll expect that it will take a while untill I get a clean print out of mine. But that is what I signed on, when decided to self sourcing every part. At least it is a lot of fun to be the project manager of a little engeneering project, the part sourcing alone tokk over for weeks.
When the little Voron then finally is running I have to keep track how long it takes untill the urge to build another one is too big to ignore :cool:
 
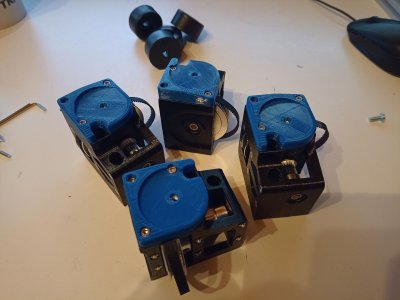
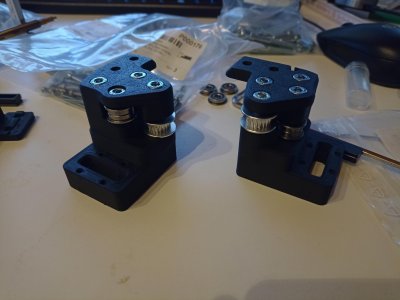
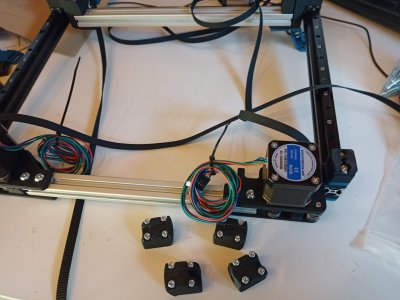
Cut the belts (I measured a thousand times, to no not cut them too short) and getting the parts for the gantry mounting together:
signal-2022-12-16-202002_002.jpeg

Z-Belts attached to the gantry:
signal-2022-12-16-202002_004.jpeg

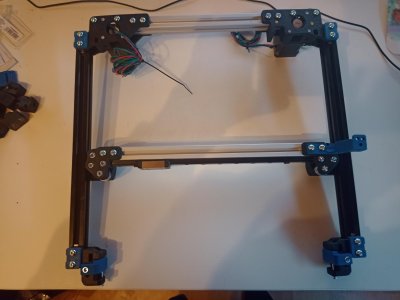
Mounting in the frame and getting it square and close the belts:
signal-2022-12-16-202002_006.jpeg

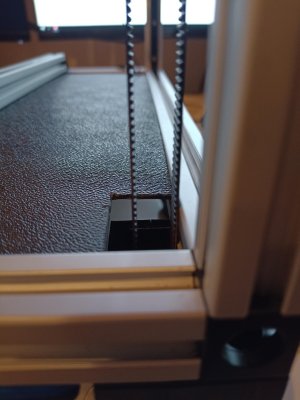
Had to realign two Z-Drives, so that the belt doesn't rub on the frame like on this photo:
signal-2022-12-16-202002_011.jpeg

Now is the gantry in the frame, next step is the A/B belt and toolhead. Still a lot to do.
 
I'm already thinking about what the next one will be. Actually, I'm thinking of rebuilding my Tevo Little Monster Delta printer. What I have learned from the Voron build, I believe would allow me to make big improvements on this big delta.

I cranked the speed up on the Voron 2.4 R2 to near max for a 4 hour print. I found some issues that I will need to take my gantry rail mounts apart. Ether I missed some of the M5 nuts for the bolt that attach the gantry to the linear rails on two corners. As soon as the current print is complete I'll take the joints apart and see why the M5 bolts are falling out. I didn't lock-tite them...maybe I need too.
 
Top