VORON Design
You are using an out of date browser. It may not display this or other websites correctly.
You should upgrade or use an alternative browser.
You should upgrade or use an alternative browser.
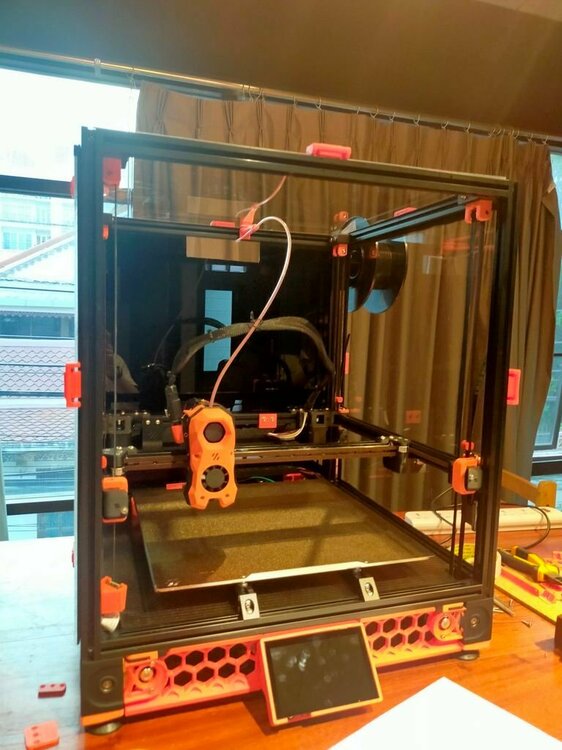
My 1st 3d printer with 350 V 2.4 R2
- Thread starter Pradit
- Start date
Pradit
Well-known member
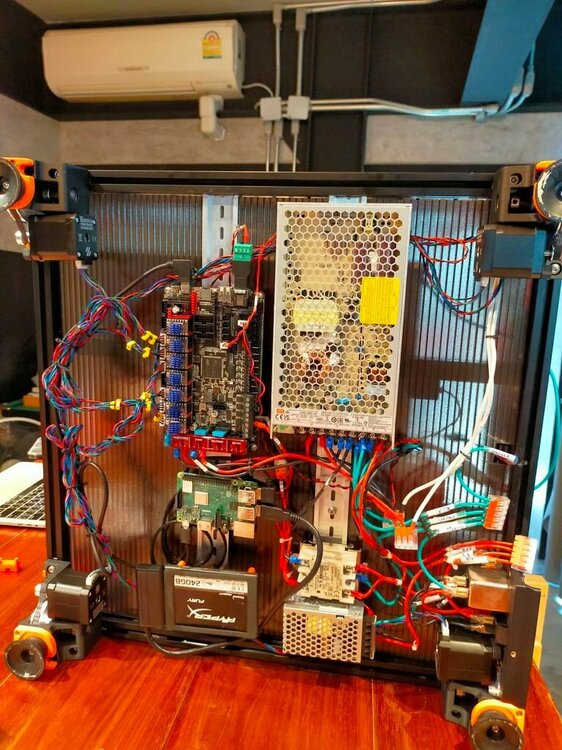
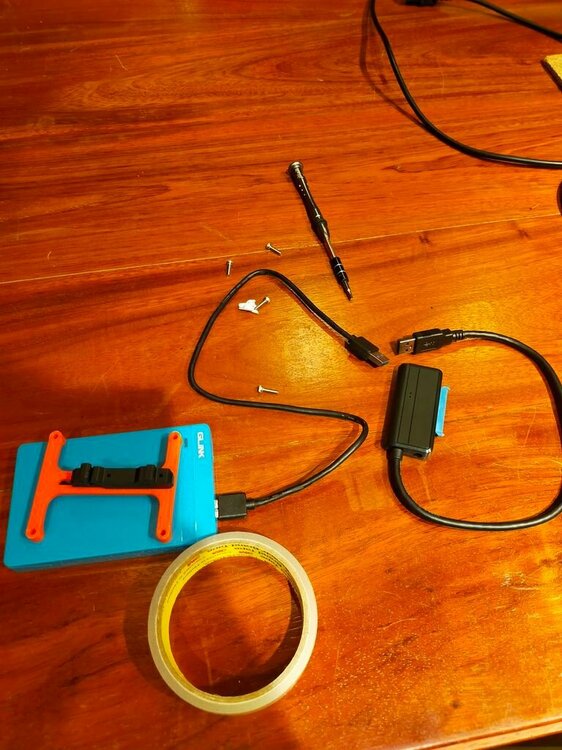
SSD mount. I bought the SATA connector so I could take the SSD out of my old enclosure.
And mount it to the rail.
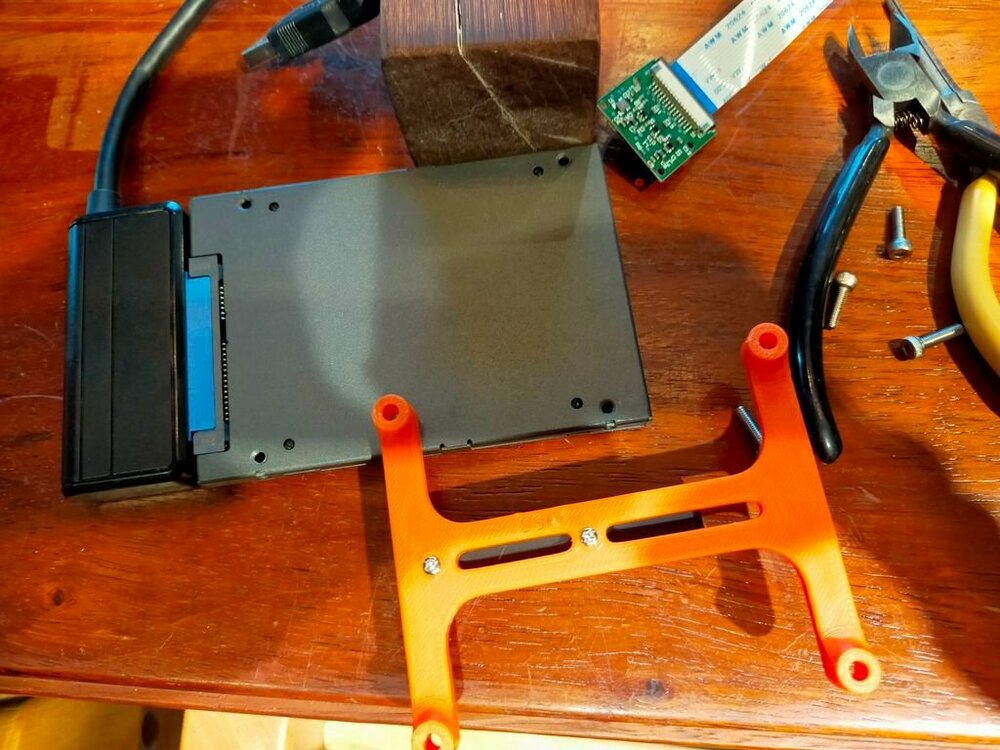
It couldn't boot. The LED light on the connector was on, RPI only red LED.
It seems couldn't see the HDD. I don't know why.
So I went back to the old enclosure and hack it with the tape.
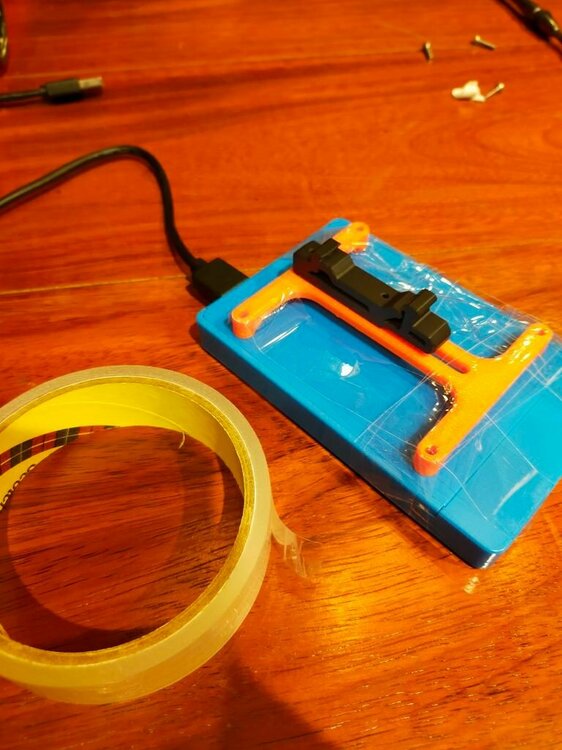
Here is RPI mount. Its time for RPI sits on the rail... finally.
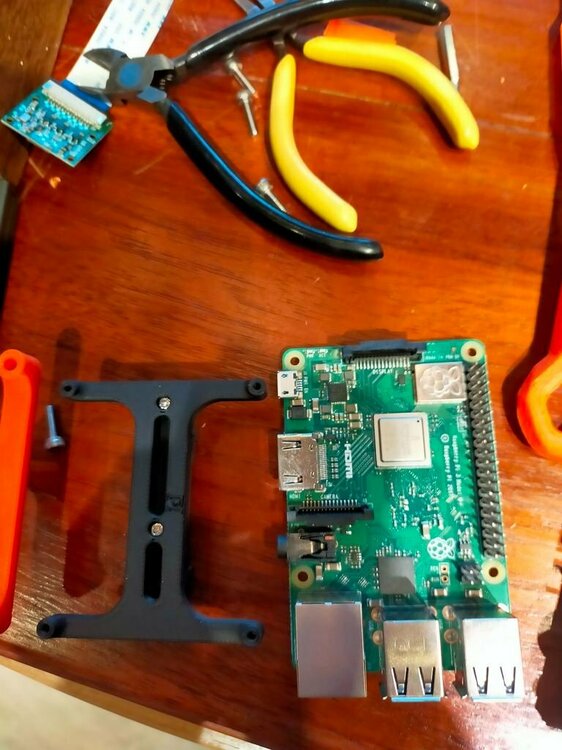
And mount it to the rail.

It couldn't boot. The LED light on the connector was on, RPI only red LED.
It seems couldn't see the HDD. I don't know why.
So I went back to the old enclosure and hack it with the tape.


Here is RPI mount. Its time for RPI sits on the rail... finally.

Pradit
Well-known member
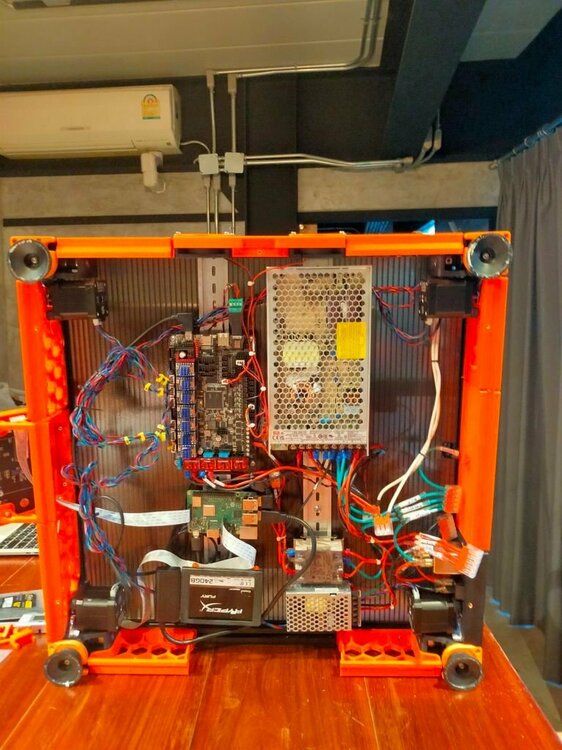
After I put together skirts, re-cable and wire, panel and stuff.
The printer behaves strangely. I also had some octoprint plugins enabled too though.
ie: Arc welder, thermal runaway, better graph, better time lapse, etc.
Just to test the boot time that I had a problem with before. And this time only activate them one by one.
Just to see if it didn't affect the boot time.
1. The print couldn't finish. It prints a few min and stops and moves away just a little mm and hold.
Then klipper alert error like too many requests or something.
I had been scratching my head for hours til I realized it may be the timelapse that caused it.
So I turned it off and now it can finish printing the 1st layer calibration.
2. MCU shutdown M112. What ta heck...
While I'm trying to fix the 1st layer issue after I solve the above so I can finish the print.
Klipper just shut down randomly...
Another long scratching head.....
Til I turned off the thermal runaway.
Coz during the fixing I have a filament extrude issue. I have to run heat the hotend to test.
Or run QGL, etc.. But it keeps shutting down.
3. Purge bucket won't purge instead retract the filament out of the toolhead.
I have been printing all the skirts and everything was fine before.
With my print_start that includes the purge line then prime then actual print.
It works perfectly until this.
So I don't wanna scratch more of my head getting bald. I just comment on the purge bucket for now.
Keep only prime.
4. Nozzle clog.
While investigating what happened with the above (3) issue I thought something wrong with the CW2 extrusion.
So I tried many ways to prove it. Manually push the filament, with the heat on, adjust the gear, etc...
I don't know what I've done it clogs the nozzle.
I realize this when I used the needle to push through the hole while hot for a long time till I got the big clog off.
It's just like your ear wax hahaha.
After all this mess I decided to take this opportunity to move my bed forward 5mm.
So my Z endstop and brush could move forward a bit. This gave me peace of mind when Z home or brushed the nozzle.
Previously it was just too close to the edge of sexbolt.
Redo the sensorless homing XY once again to make sure nothing is off.
Now I think I need to relax and had some fun.
So I decided to go for Benchy!!!
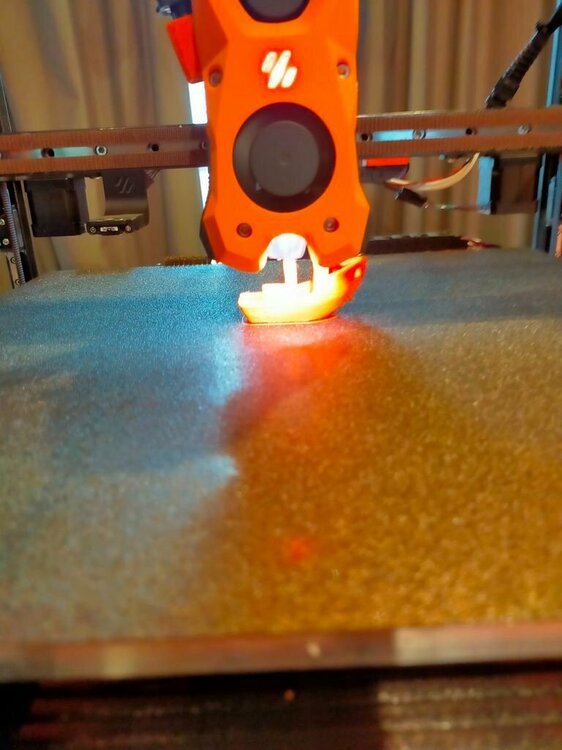
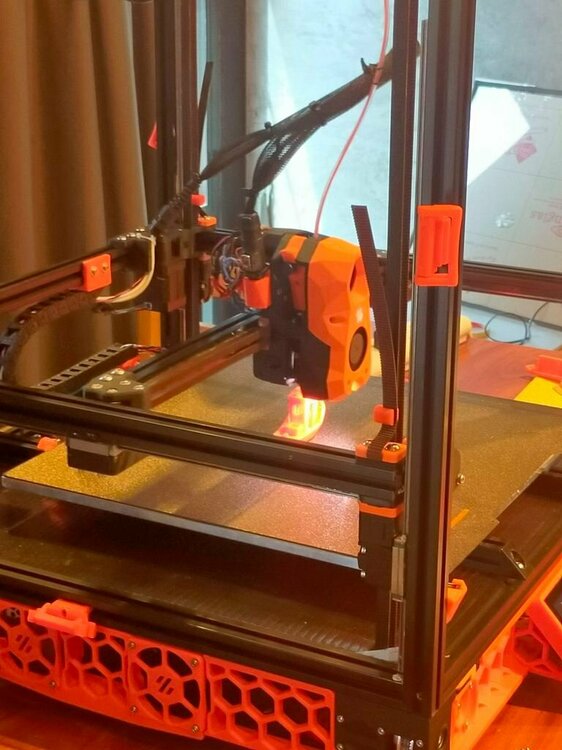
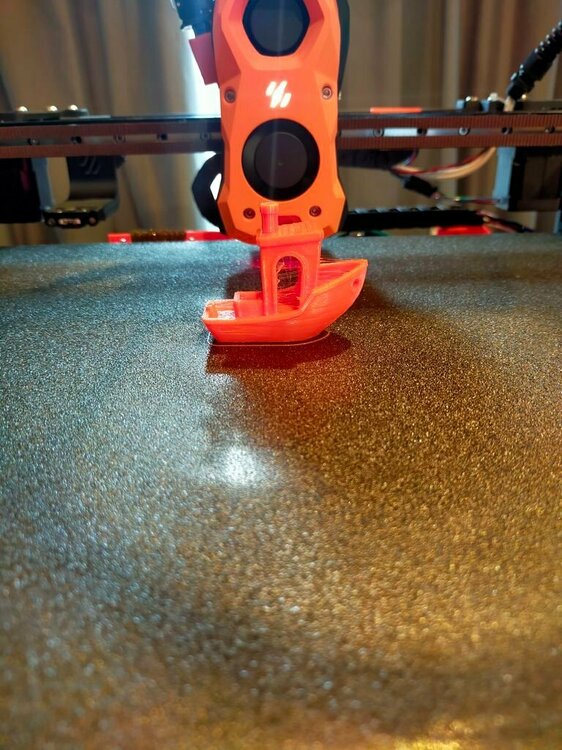
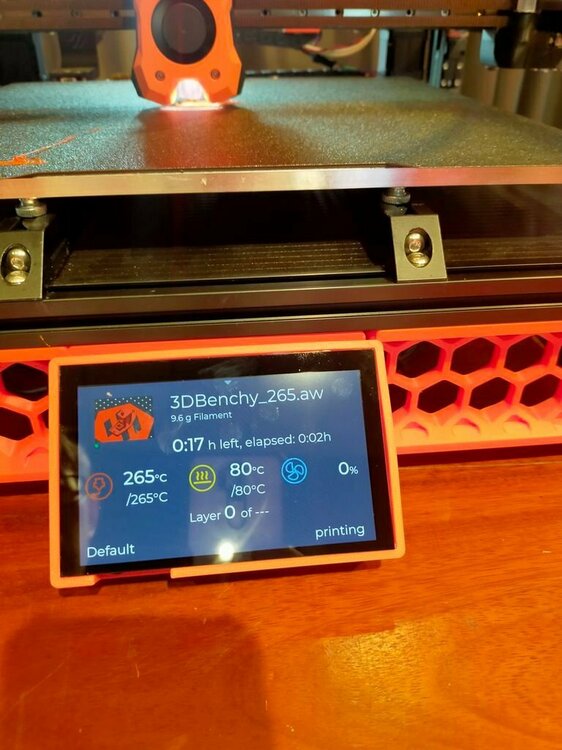
My 1st try with normal temp I use with normal speed. It failed.
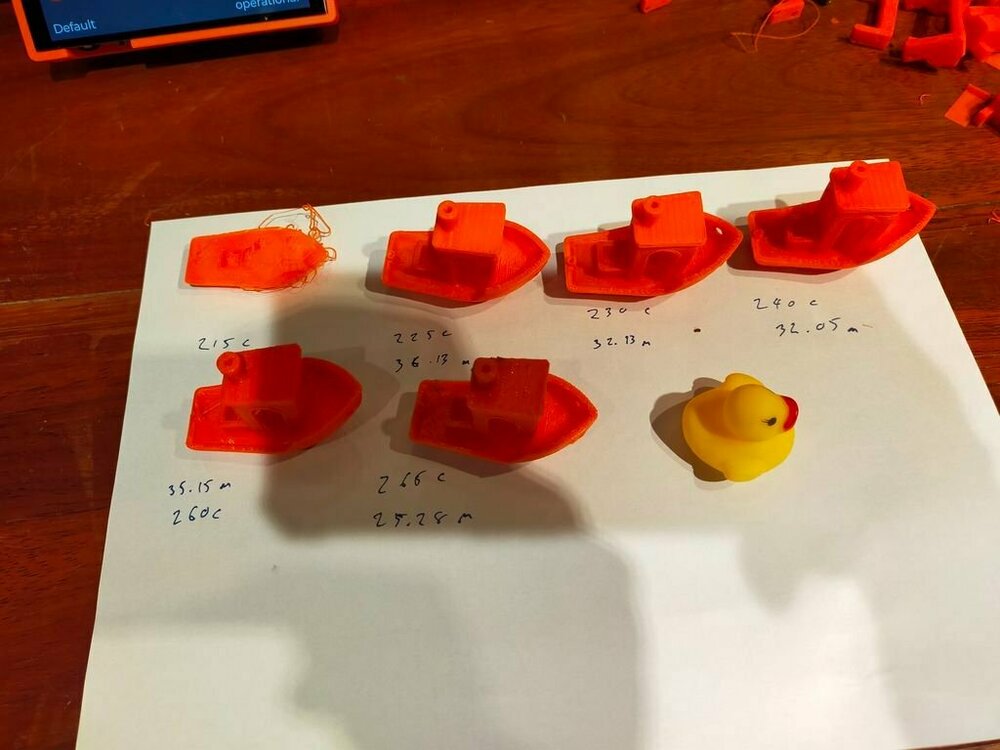
Then try 225C I thought It was very fast moving already. But it is still 36 min including heating time.
The print quality was not very good. I really admire those under 10mins and produce better quality.
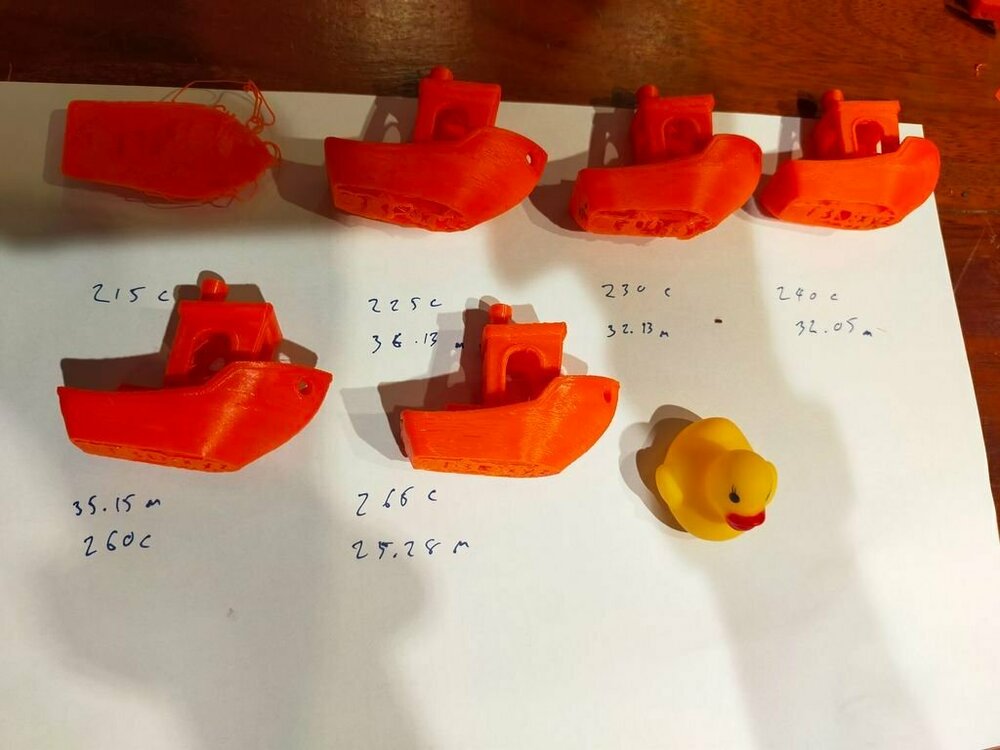
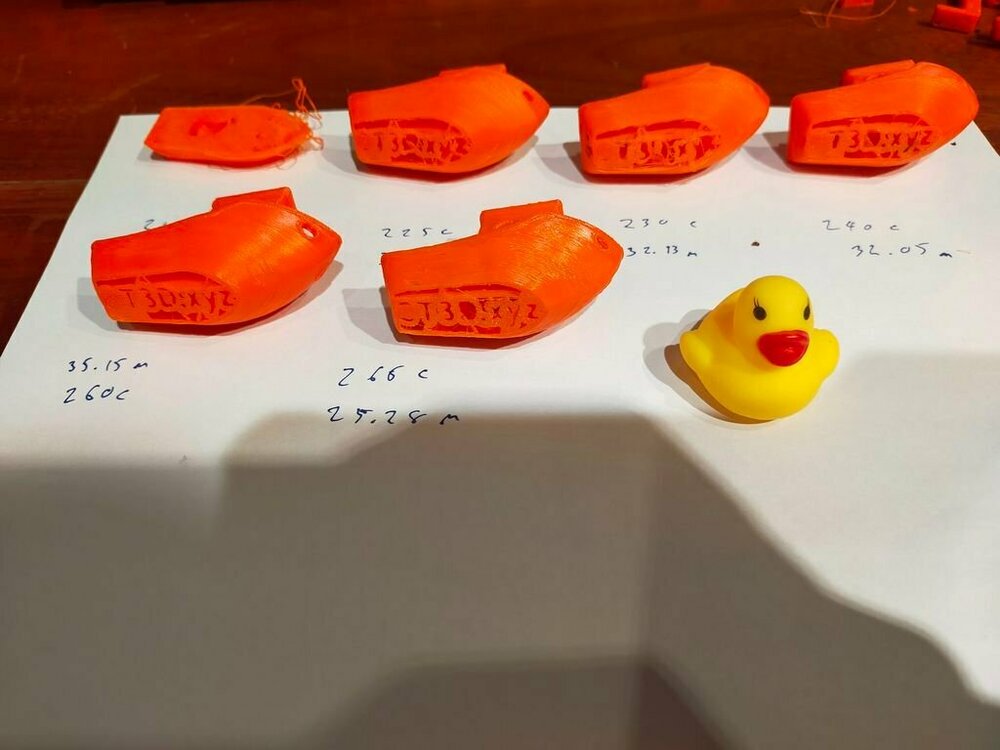
My last try for the day at 265C and crank some speed and acceleration.
And had everything heated up and ready before print. 25+ min.
Hahaha that's fun and my daughter has more toys to play. She was also happy.
The printer behaves strangely. I also had some octoprint plugins enabled too though.
ie: Arc welder, thermal runaway, better graph, better time lapse, etc.
Just to test the boot time that I had a problem with before. And this time only activate them one by one.
Just to see if it didn't affect the boot time.
1. The print couldn't finish. It prints a few min and stops and moves away just a little mm and hold.
Then klipper alert error like too many requests or something.
I had been scratching my head for hours til I realized it may be the timelapse that caused it.
So I turned it off and now it can finish printing the 1st layer calibration.
2. MCU shutdown M112. What ta heck...
While I'm trying to fix the 1st layer issue after I solve the above so I can finish the print.
Klipper just shut down randomly...
Another long scratching head.....
Til I turned off the thermal runaway.
Coz during the fixing I have a filament extrude issue. I have to run heat the hotend to test.
Or run QGL, etc.. But it keeps shutting down.
3. Purge bucket won't purge instead retract the filament out of the toolhead.
I have been printing all the skirts and everything was fine before.
With my print_start that includes the purge line then prime then actual print.
It works perfectly until this.
So I don't wanna scratch more of my head getting bald. I just comment on the purge bucket for now.
Keep only prime.
4. Nozzle clog.
While investigating what happened with the above (3) issue I thought something wrong with the CW2 extrusion.
So I tried many ways to prove it. Manually push the filament, with the heat on, adjust the gear, etc...
I don't know what I've done it clogs the nozzle.
I realize this when I used the needle to push through the hole while hot for a long time till I got the big clog off.
It's just like your ear wax hahaha.
After all this mess I decided to take this opportunity to move my bed forward 5mm.
So my Z endstop and brush could move forward a bit. This gave me peace of mind when Z home or brushed the nozzle.
Previously it was just too close to the edge of sexbolt.
Redo the sensorless homing XY once again to make sure nothing is off.
Now I think I need to relax and had some fun.
So I decided to go for Benchy!!!


My 1st try with normal temp I use with normal speed. It failed.
Then try 225C I thought It was very fast moving already. But it is still 36 min including heating time.
The print quality was not very good. I really admire those under 10mins and produce better quality.


My last try for the day at 265C and crank some speed and acceleration.
And had everything heated up and ready before print. 25+ min.
Hahaha that's fun and my daughter has more toys to play. She was also happy.

Pradit
Well-known member
# VPN Remote access.
Thanks to a discord user to introduce Zerotier to me.
https://www.zerotier.com/
Now I could access it anywhere. Great.
Thanks to a discord user to introduce Zerotier to me.
https://www.zerotier.com/
Now I could access it anywhere. Great.
Pradit
Well-known member
Despite a bad quality new PLA I got.
I had an opportunity to learn from all the mistakes and people helping me.
I learned that I need to heat soak the bed for almost an hour before running QGL.
Each brand PLA temp is different and have different behavior. Yet I doubt with the same
brand differ spool or color act different too?
Now with this PLA (Black) I had many prints fail unlike previous Orange PLA +
Same brand but ordered from a different shop.
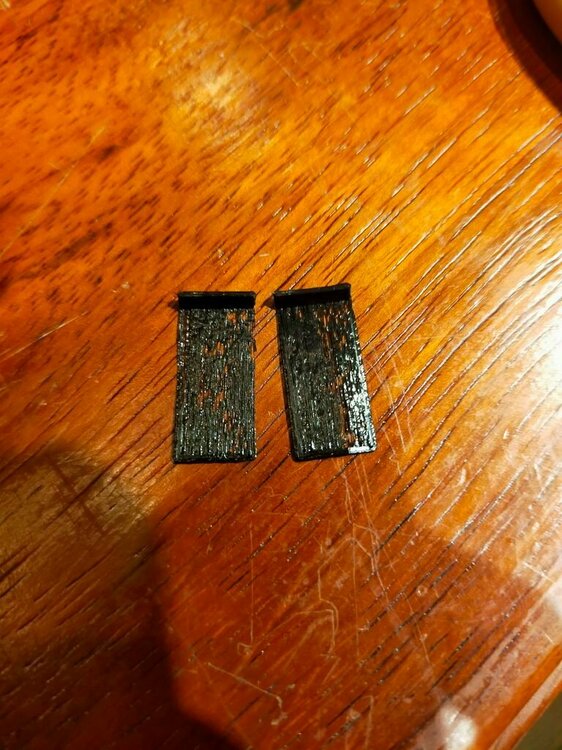
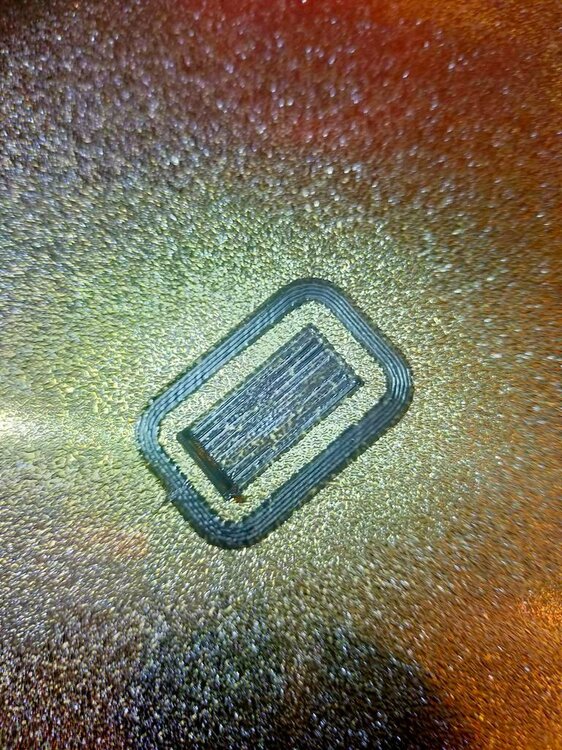
This PLA create a lot of ooze or strings.
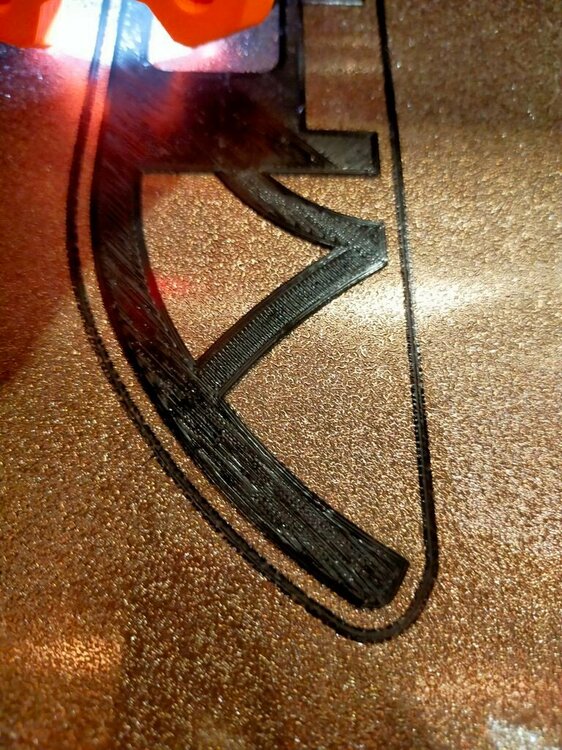
I had to increased bed temp to 70c to be able to stick the 1st layer.
These all 55-60c bed temp and all non-stick.
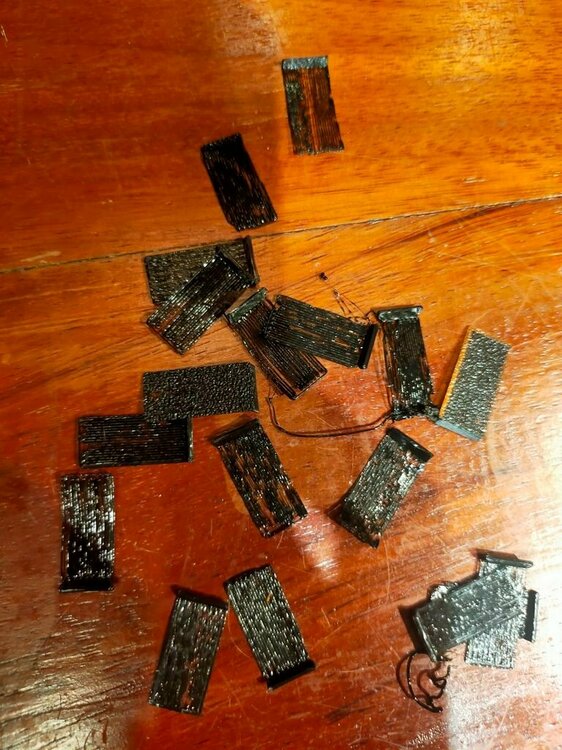
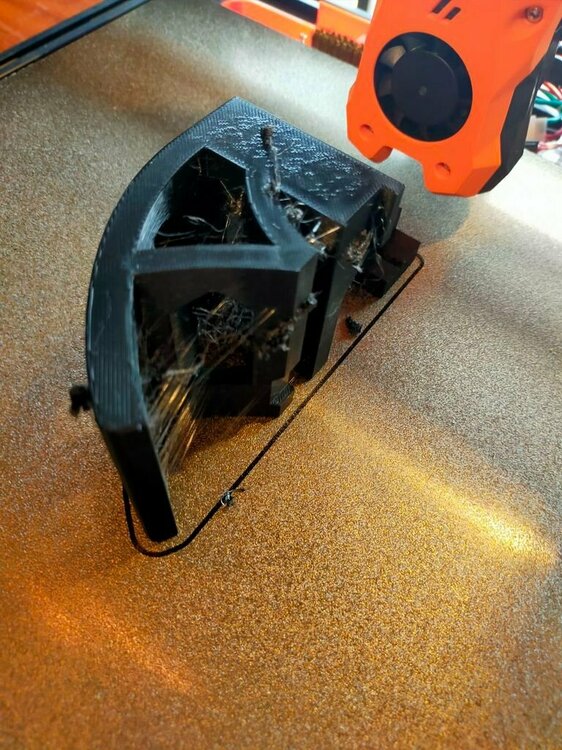
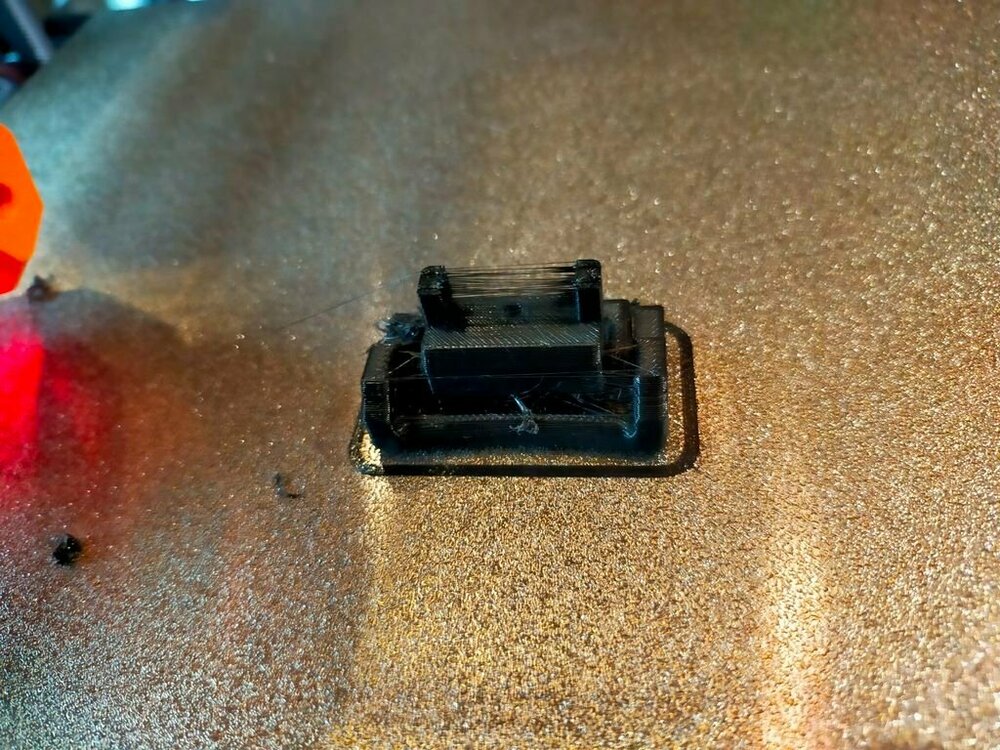
I could never success the temp tower. But I currently use 190c-210c.
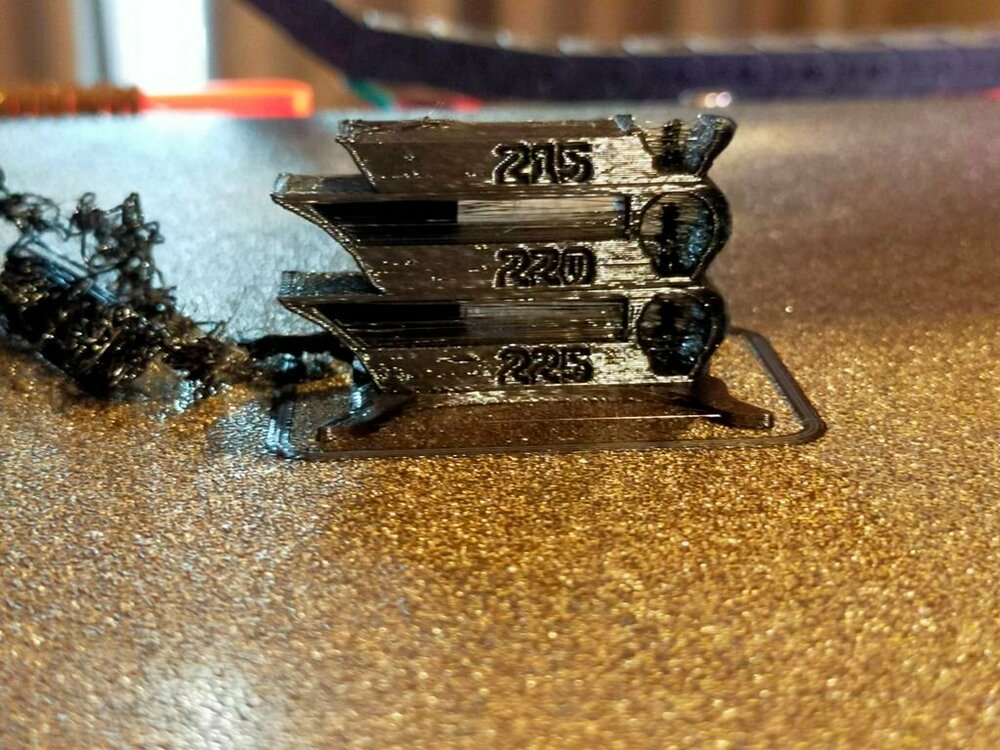
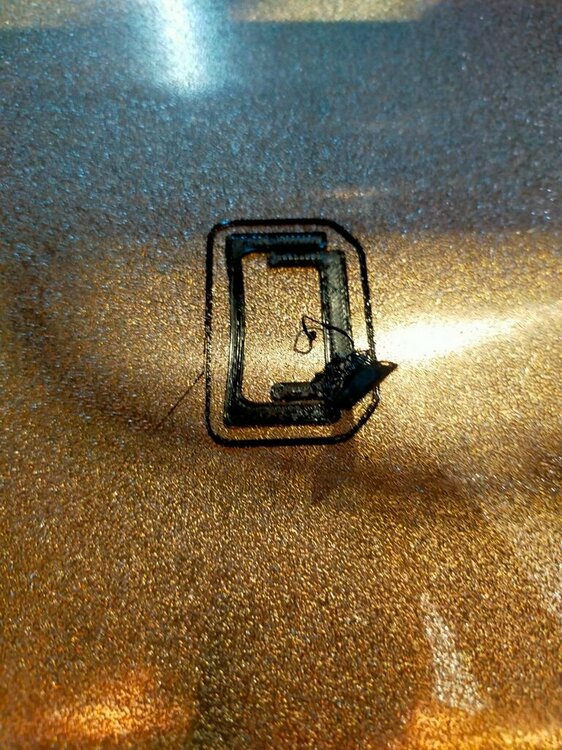
Without proper heat soak or QGL while heating or some screw are loose or the belt not tighten.
It leads to this problem klicky not click.
I had an opportunity to learn from all the mistakes and people helping me.
I learned that I need to heat soak the bed for almost an hour before running QGL.
Each brand PLA temp is different and have different behavior. Yet I doubt with the same
brand differ spool or color act different too?
Now with this PLA (Black) I had many prints fail unlike previous Orange PLA +
Same brand but ordered from a different shop.


This PLA create a lot of ooze or strings.

I had to increased bed temp to 70c to be able to stick the 1st layer.
These all 55-60c bed temp and all non-stick.


I could never success the temp tower. But I currently use 190c-210c.


Without proper heat soak or QGL while heating or some screw are loose or the belt not tighten.
It leads to this problem klicky not click.
Last edited:
Pradit
Well-known member
# Mod
LED... It makes you print faster!!!
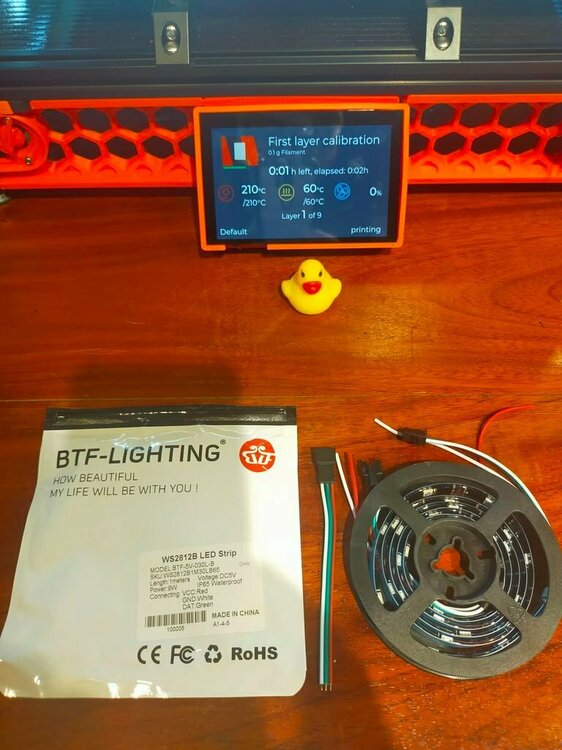
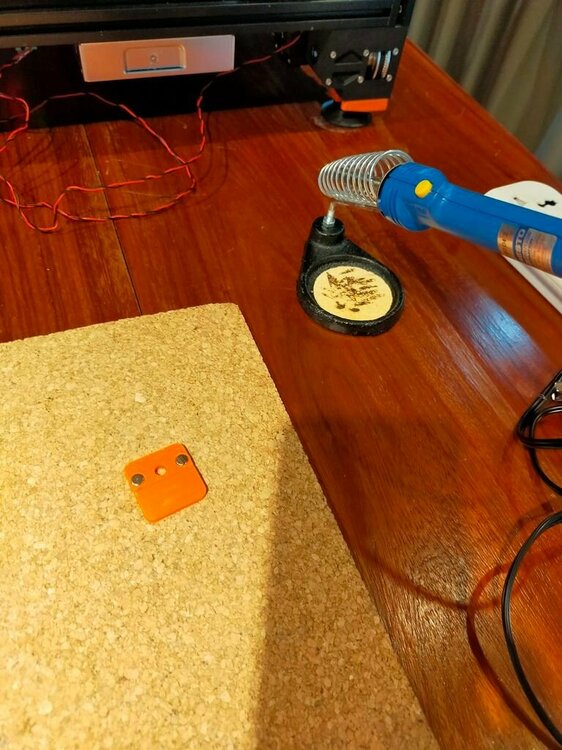
LED mount.
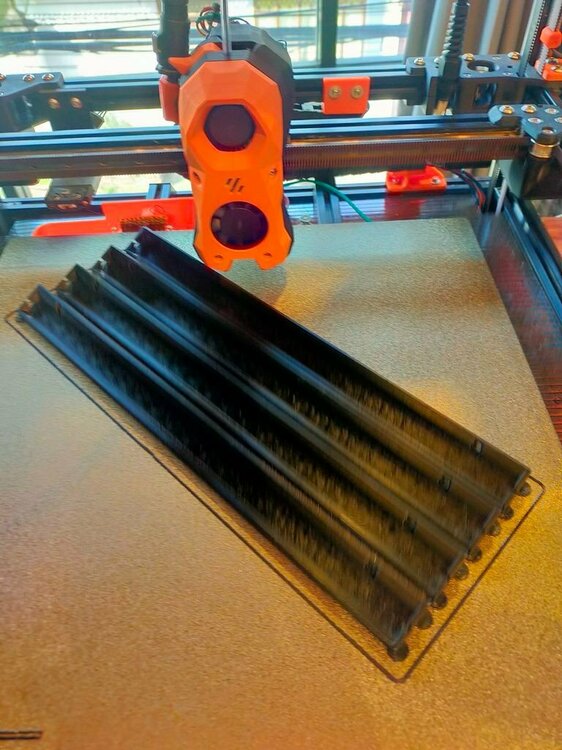
Continuity check.
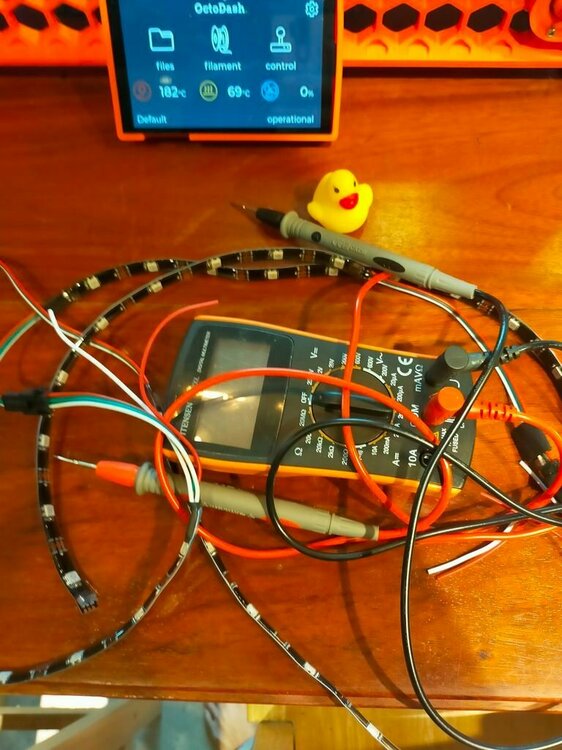
I'm getting a little bit better in soldering.

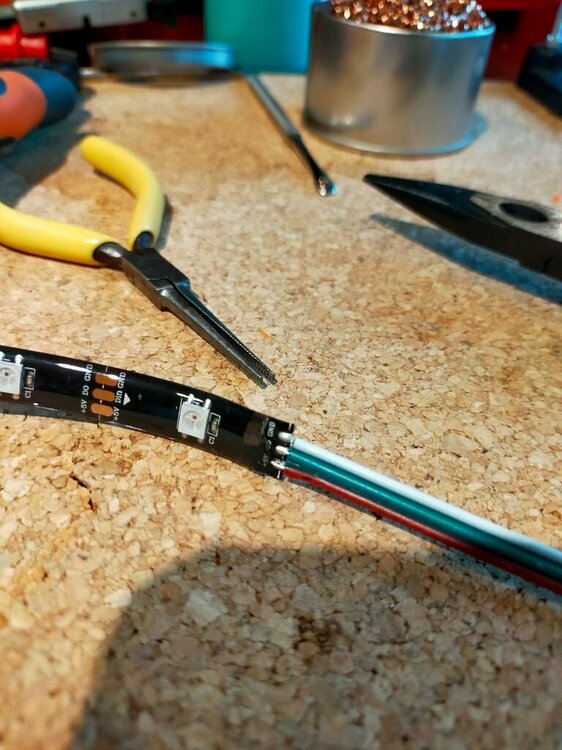
It is quite confusing about RGB, WGRB, GRB, GRBW, LGBT....
How would we know what we are???
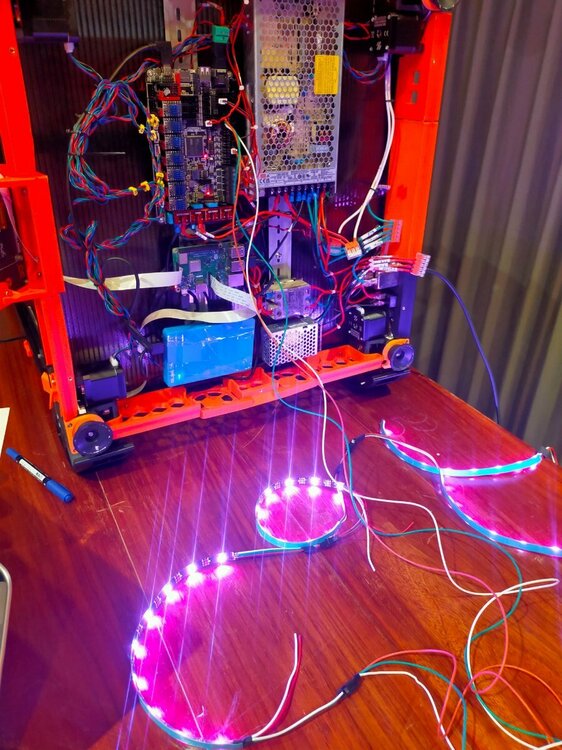
Finally with a good guide here: https://www.teamfdm.com/forums/topic/1014-a-good-tutorial-for-installing-chamber-lights/
Let there be light!!!
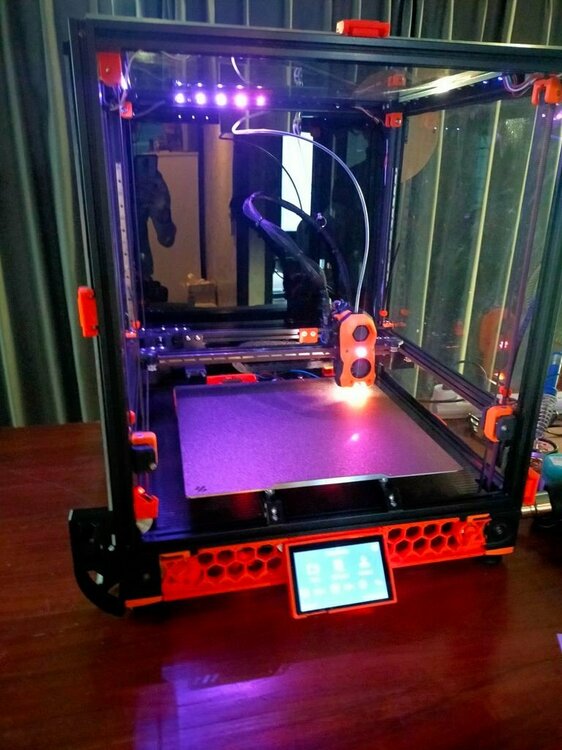
LED... It makes you print faster!!!

LED mount.

Continuity check.

I'm getting a little bit better in soldering.


It is quite confusing about RGB, WGRB, GRB, GRBW, LGBT....
How would we know what we are???

Finally with a good guide here: https://www.teamfdm.com/forums/topic/1014-a-good-tutorial-for-installing-chamber-lights/
Let there be light!!!

Pradit
Well-known member
# Mod
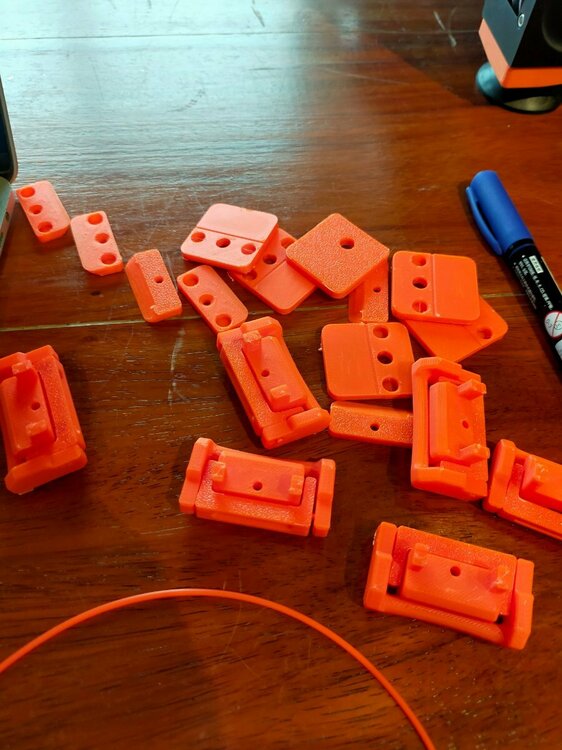
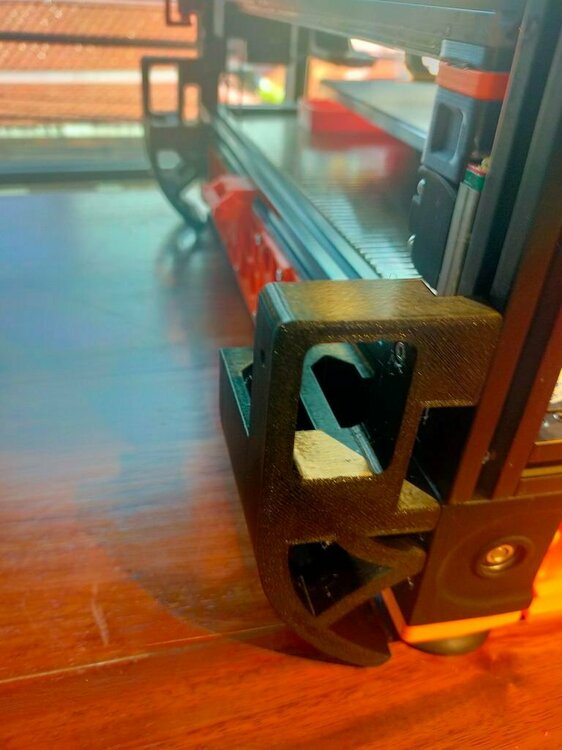
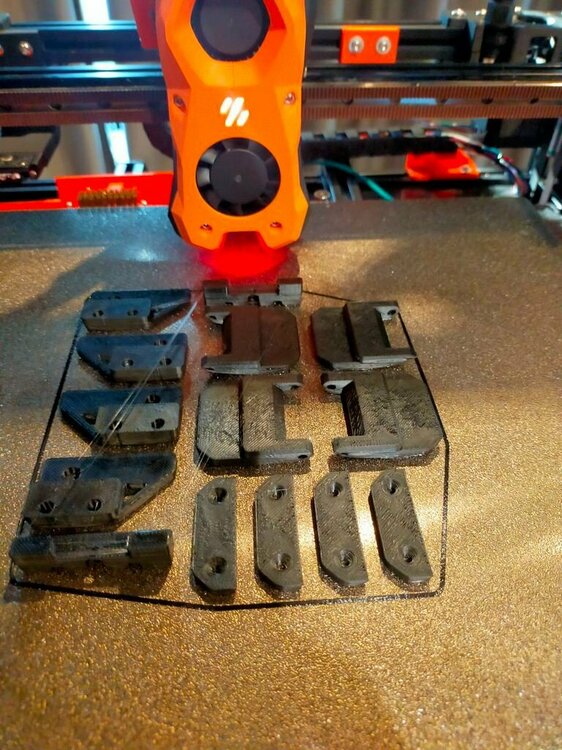
More removable latch. I realize I need 5.5mm not the 6mm one.
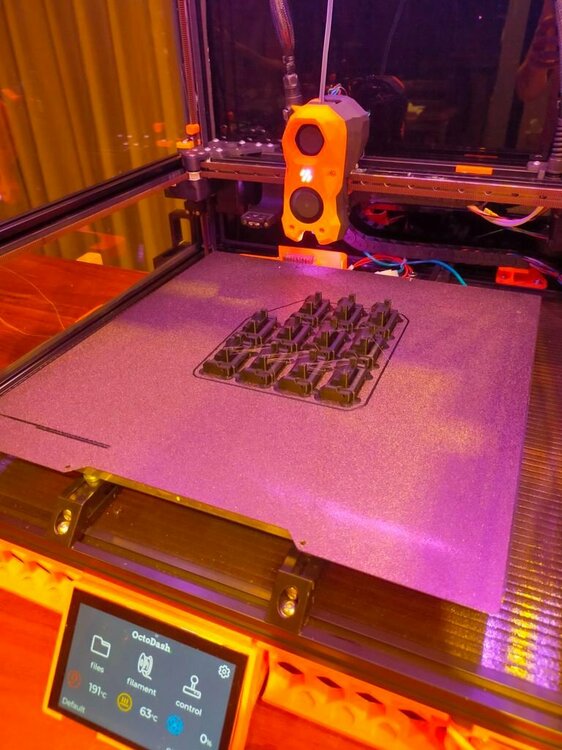
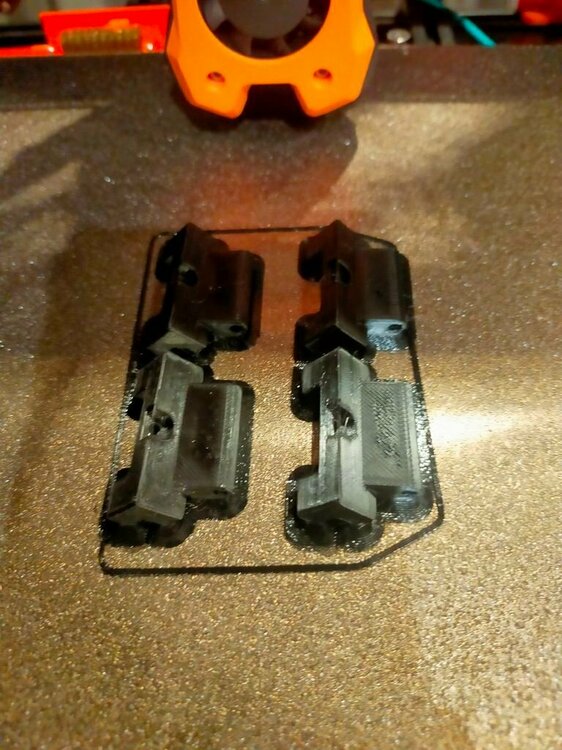
Yet another canbus cable mount. I was on a journey to find holly grail.
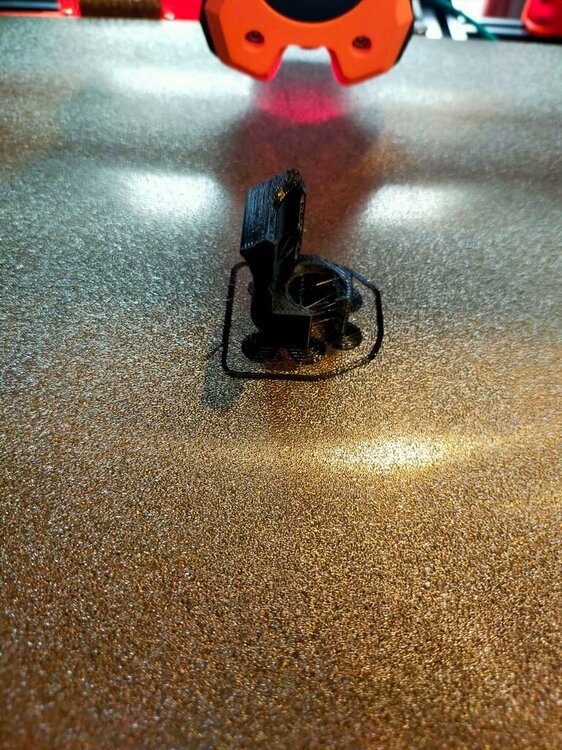
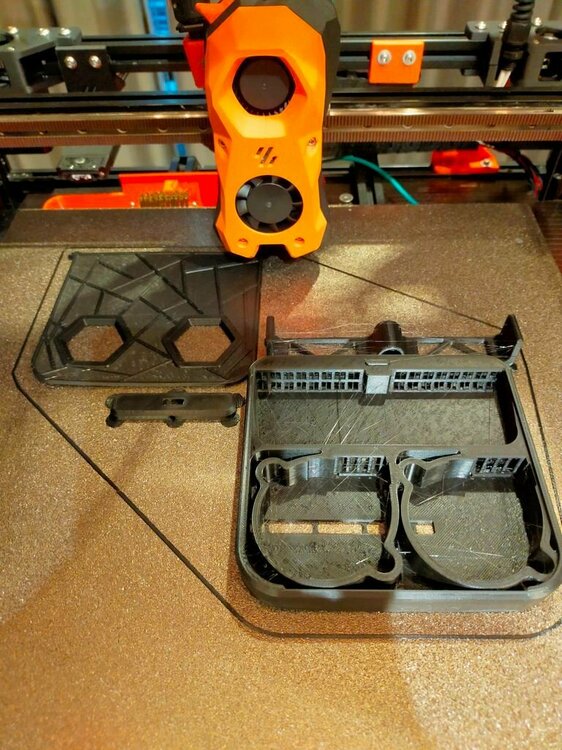
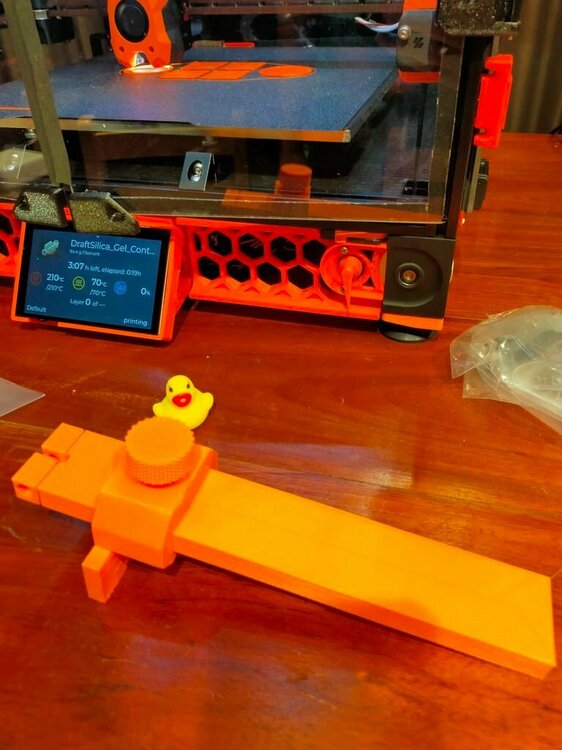
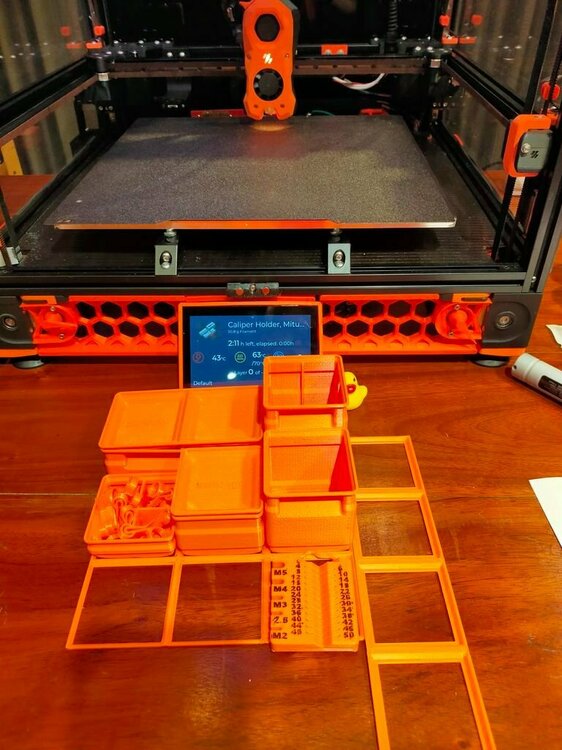
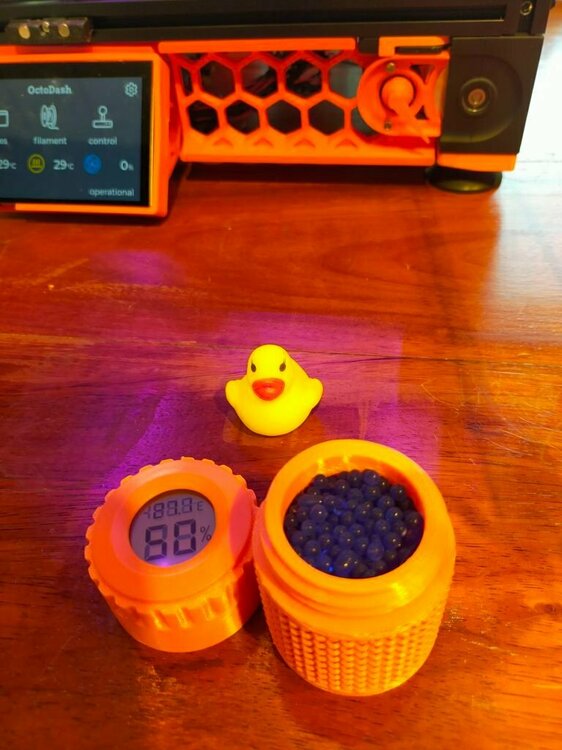
Silica gel container.
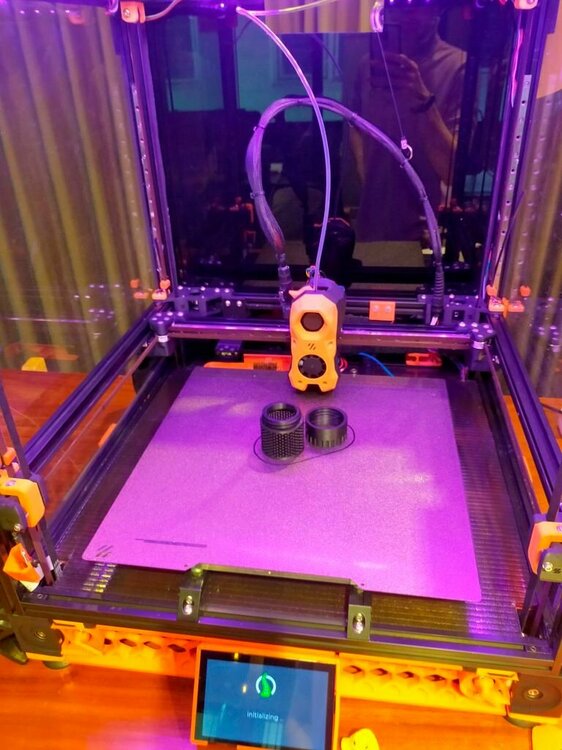
This 2 hours+ print.
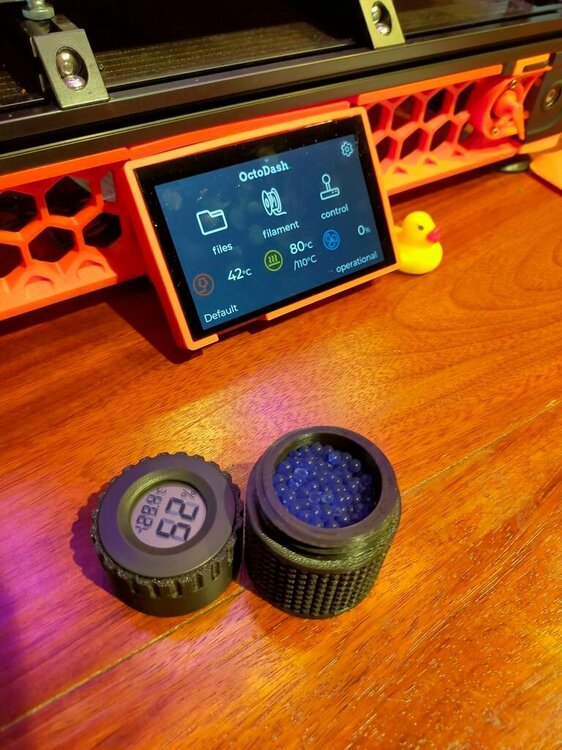
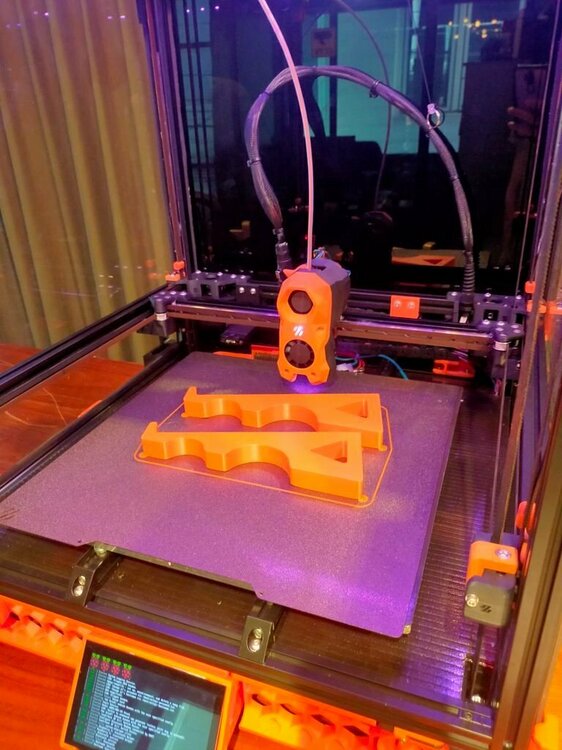
This 1.20 hr print.
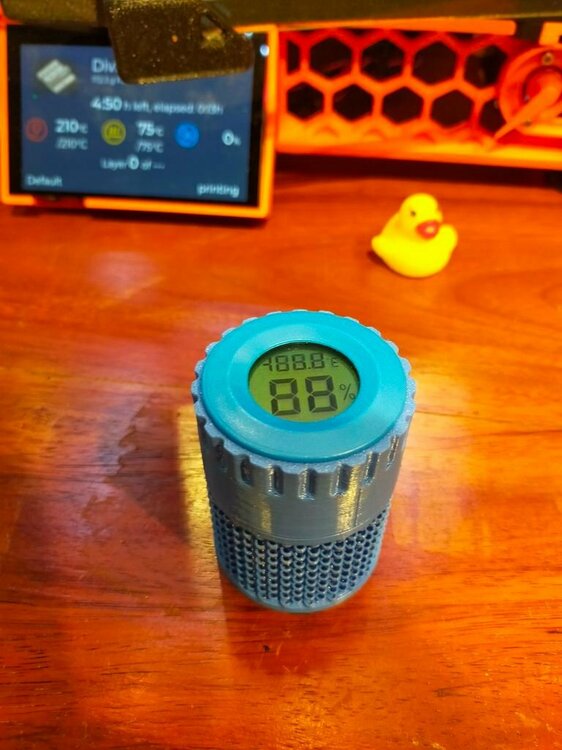
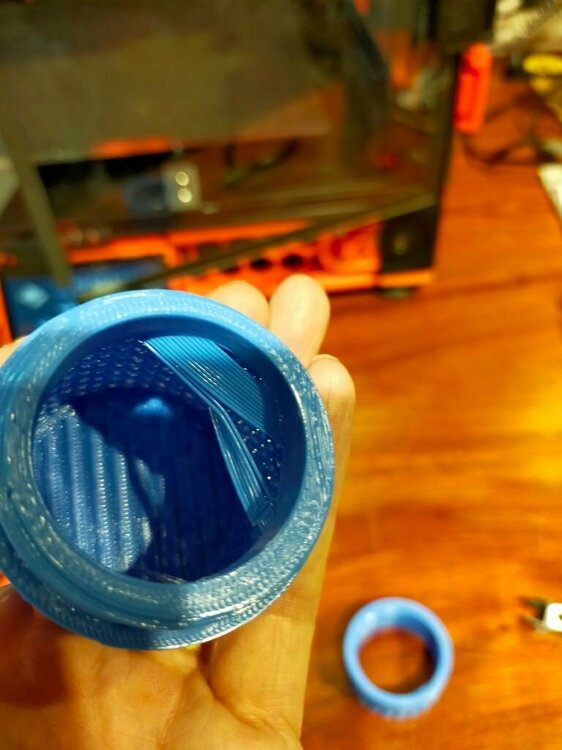
What could cause this? I'm using arc_welder plugin too.
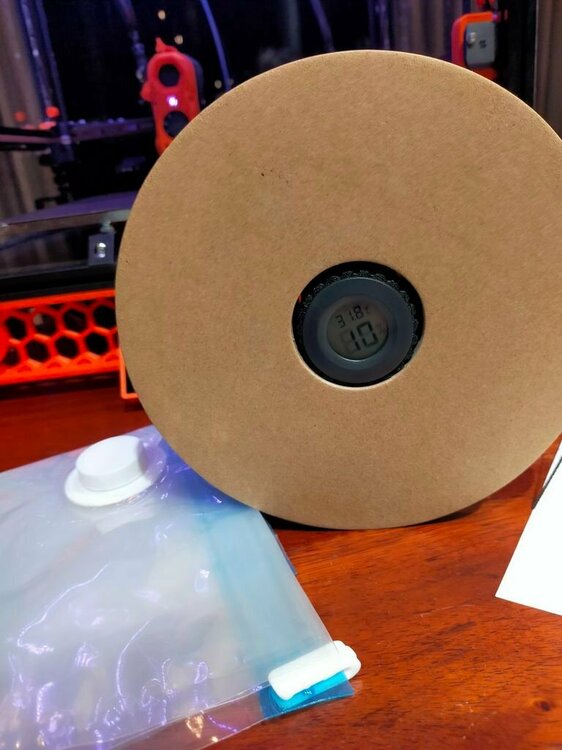
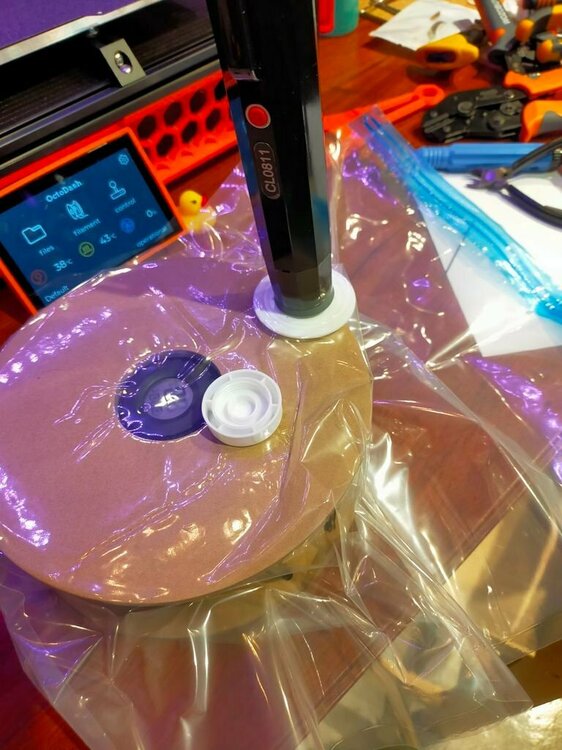
I found the manual pump that came with the bag much faster.
More removable latch. I realize I need 5.5mm not the 6mm one.

Yet another canbus cable mount. I was on a journey to find holly grail.

Silica gel container.

This 2 hours+ print.


This 1.20 hr print.

What could cause this? I'm using arc_welder plugin too.


I found the manual pump that came with the bag much faster.
Pradit
Well-known member
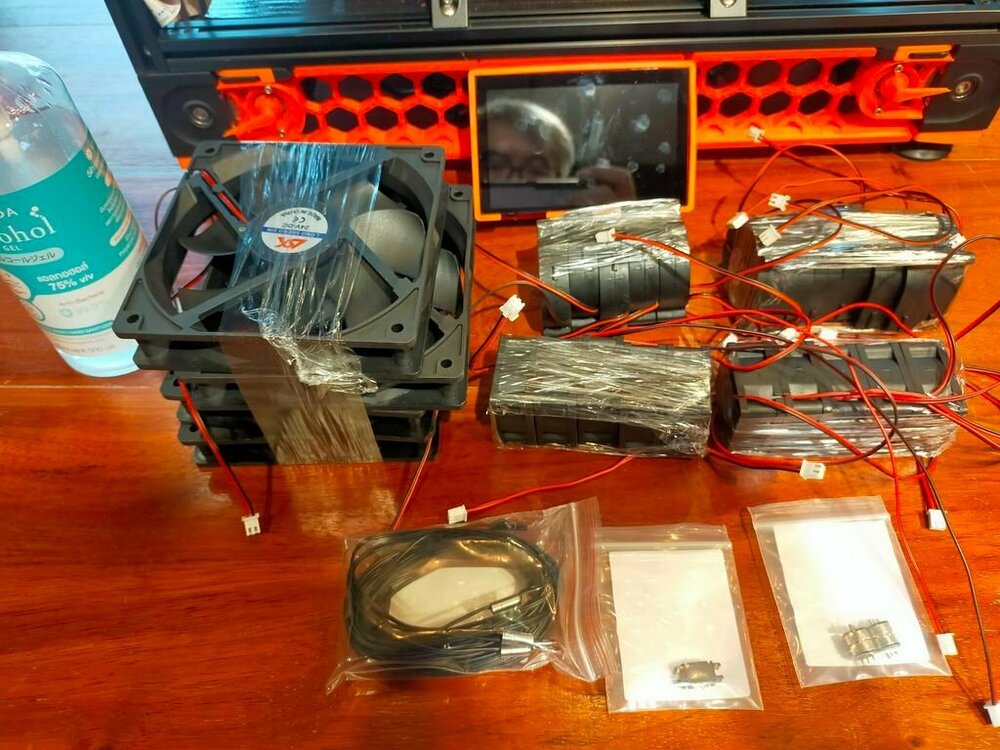
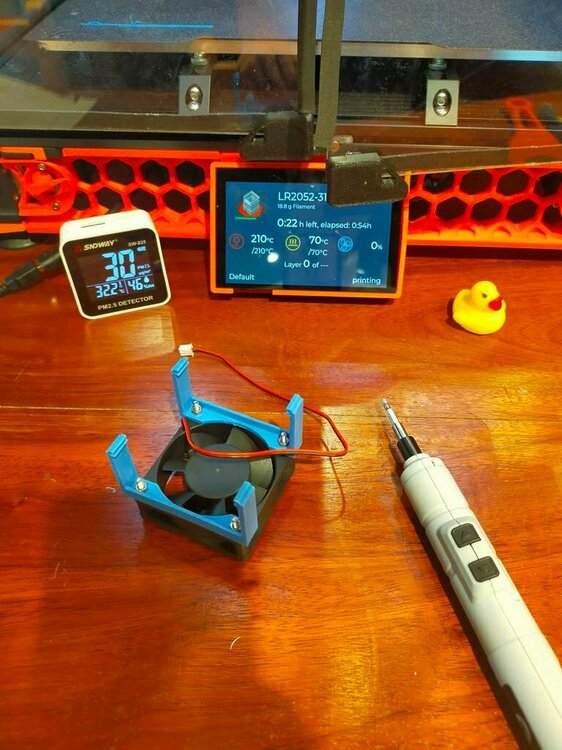
I noticed my RPI temp go over 56 to 60c.
It's time to put a fan on it. But I have no heat sink at this time.
Decided to print this mod for my RPI3B+.
But it was too wide meant to be for RPI4 I guess.
I just Ziptie it at the end. Now 45-48c.
https://www.printables.com/en/model/34980-moab-mother-of-all-fan-brackets
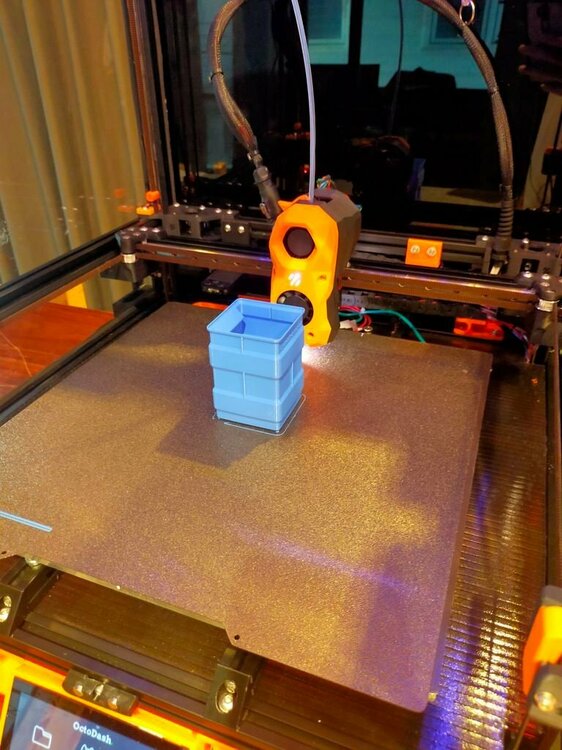
I'm still finding the sweet spot for my slicer quality with speed. Just try the vast mode for this bin.
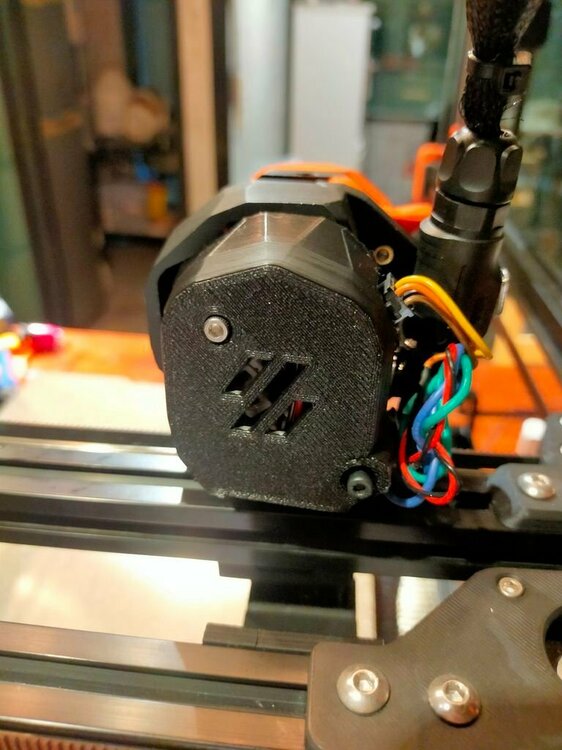
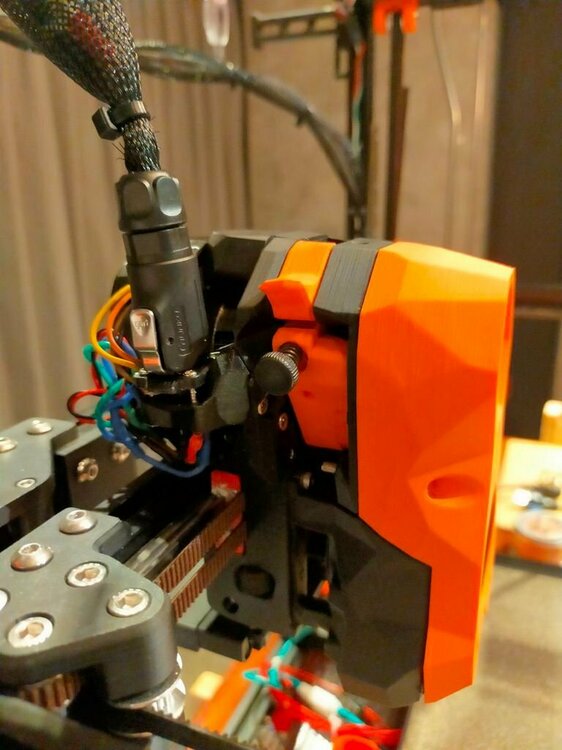
Yet another EBB mount my holy grail. The 1st one the hole is not right for CW2.
The 2nd one just did not fit my MP12 aviation connector I had to hot glue it.
This one I can screw it and see how it goes.
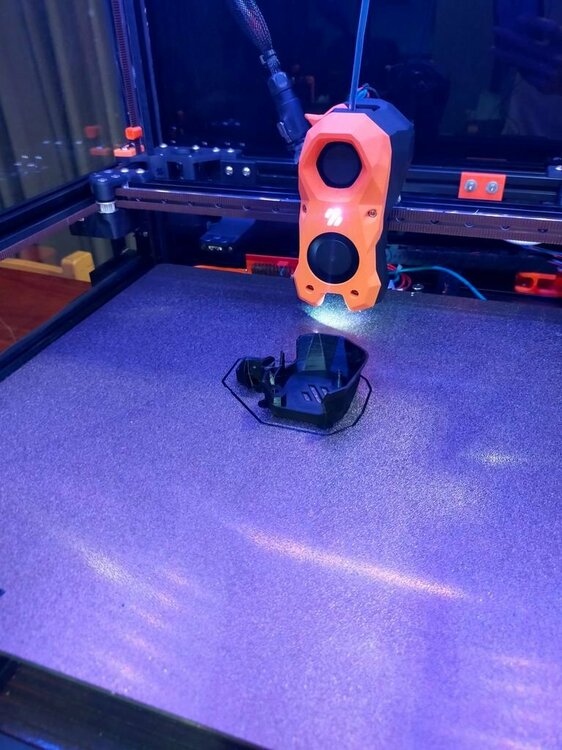
With the cover there is something to be warned.
Since I'm using sensorless homing.
This could have an effect on the Y when hit the back and hit the umbilical.
And again when home Z it could hit the bed...

The screw on this cover when tighten it affects the front screw.
It could loosen the hatch that is unable to snap properly with the filament.
https://github.com/jimmyvegas29/Voron-Mods/tree/main/EBB36-Cover_Umbilical-QD-Bracket
It's time to put a fan on it. But I have no heat sink at this time.
Decided to print this mod for my RPI3B+.
But it was too wide meant to be for RPI4 I guess.
I just Ziptie it at the end. Now 45-48c.
https://www.printables.com/en/model/34980-moab-mother-of-all-fan-brackets

I'm still finding the sweet spot for my slicer quality with speed. Just try the vast mode for this bin.

Yet another EBB mount my holy grail. The 1st one the hole is not right for CW2.
The 2nd one just did not fit my MP12 aviation connector I had to hot glue it.
This one I can screw it and see how it goes.

With the cover there is something to be warned.
Since I'm using sensorless homing.
This could have an effect on the Y when hit the back and hit the umbilical.
And again when home Z it could hit the bed...

The screw on this cover when tighten it affects the front screw.
It could loosen the hatch that is unable to snap properly with the filament.
https://github.com/jimmyvegas29/Voron-Mods/tree/main/EBB36-Cover_Umbilical-QD-Bracket


Pradit
Well-known member
OK Back to the lesson learned from the bad PLA and my noob knowledge in 3d printing.
# Clogging
This was the 1st clog for my printer since built. It's just DEFCON 3.
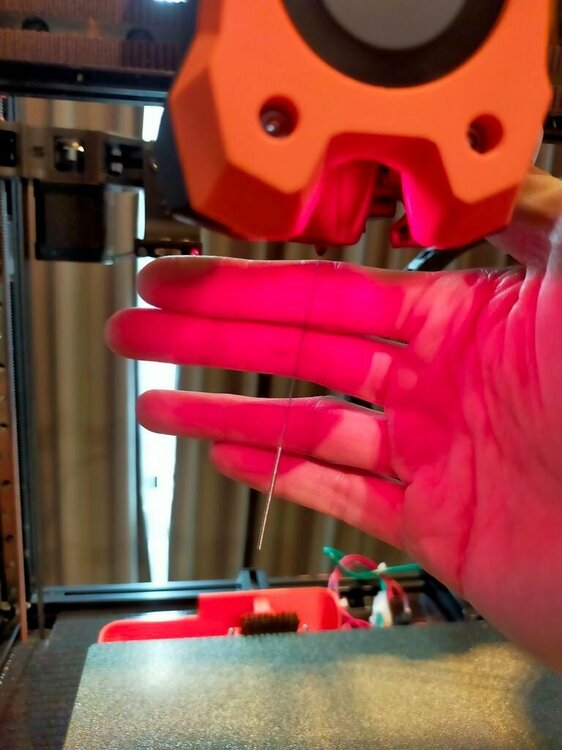
I poke till it out of my Rapido.
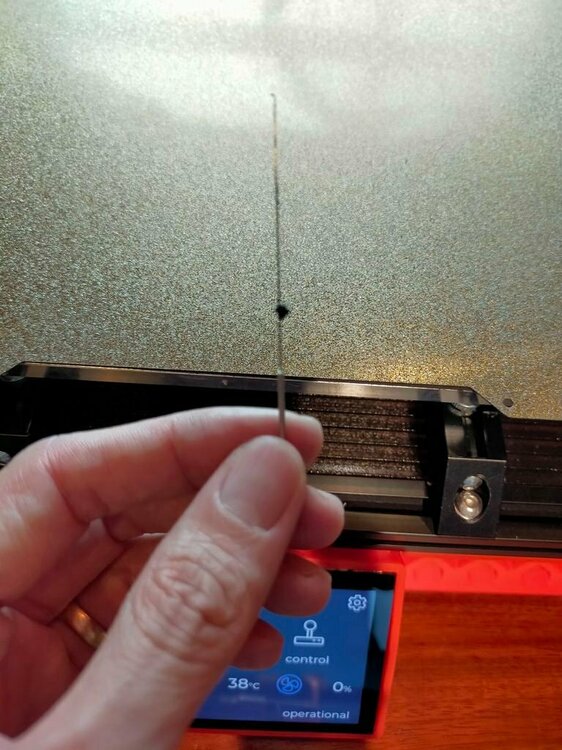
Still some stuck at the top I had to pull it out.
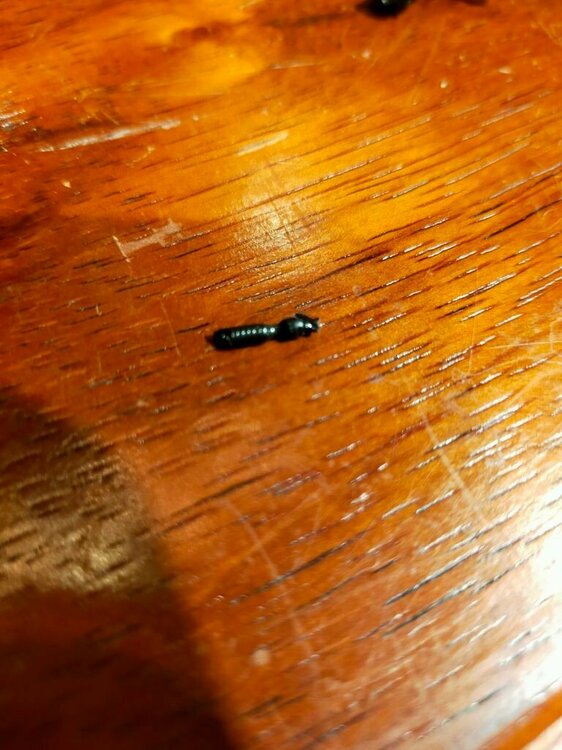
I didn't learn then.
It leads me to the DEFCON 1.
The mother of all clog!!! MTF!!!
I did everything to get it out like before but It still stuck.
I pull it too hard the filament broke.
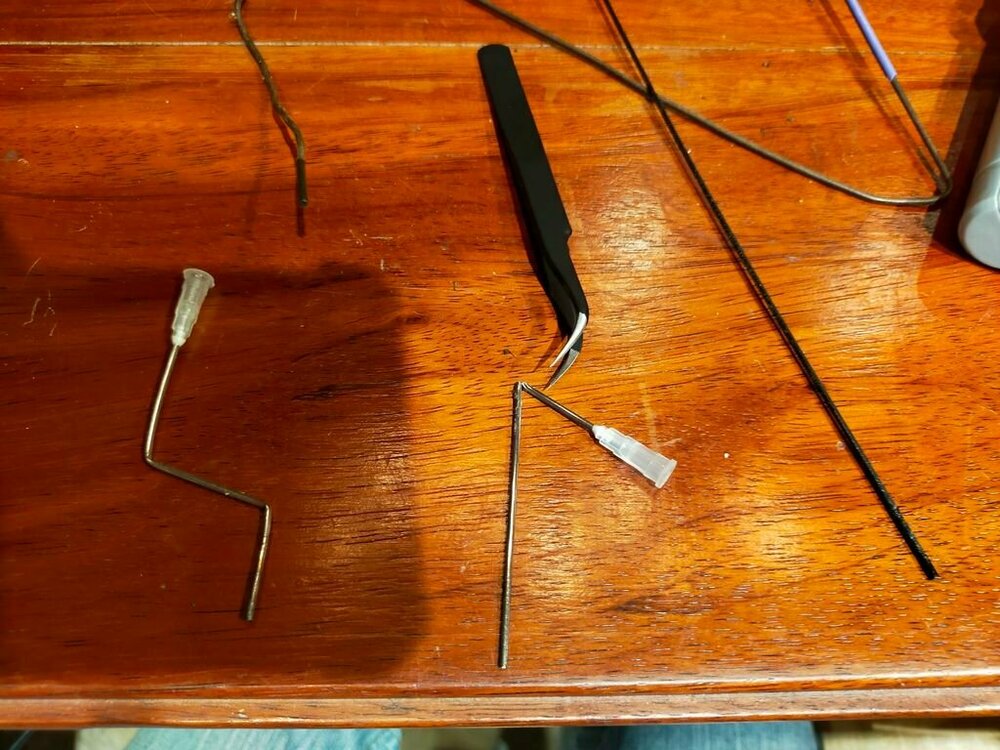
I did everything with a needle, bike cable, and cloth hanger rod.
Till I decided to take apart everything.
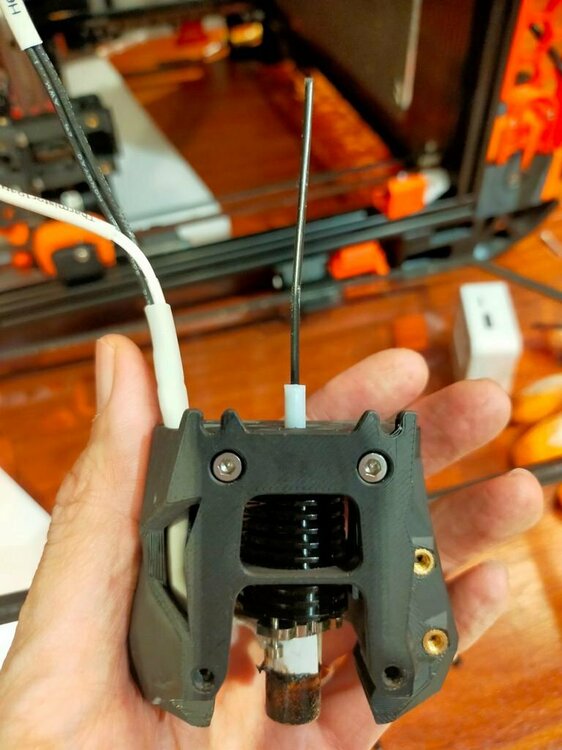
These are all my brute force...
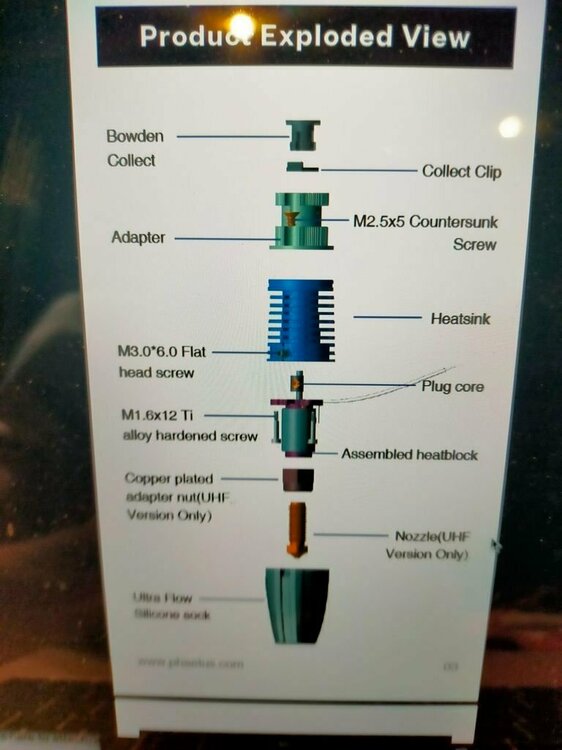
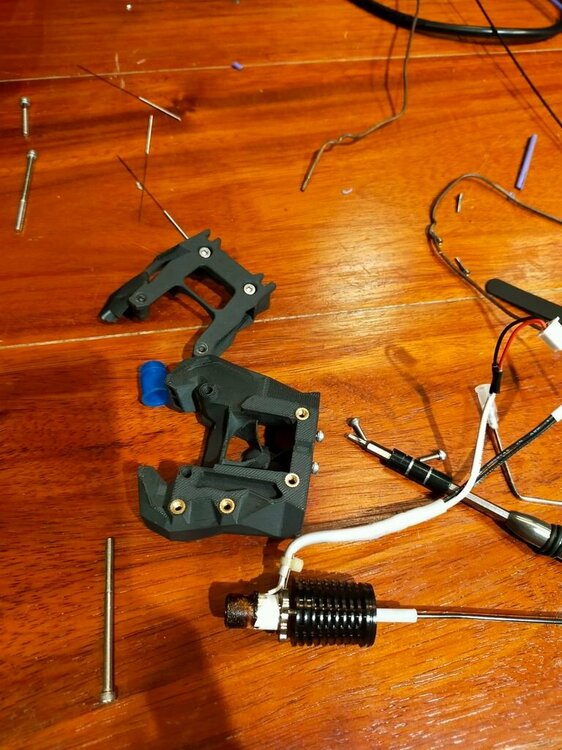
It stuck in between the heat tube and the heat break area.
I guess coz I retract too much when the print end.
As I asked in another thread it only happens when print end.
But this time I wanna change the spool with a new color.
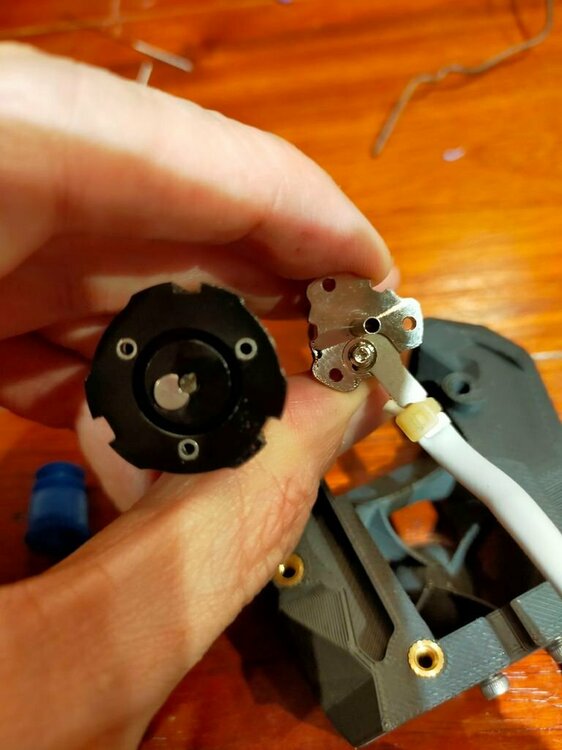
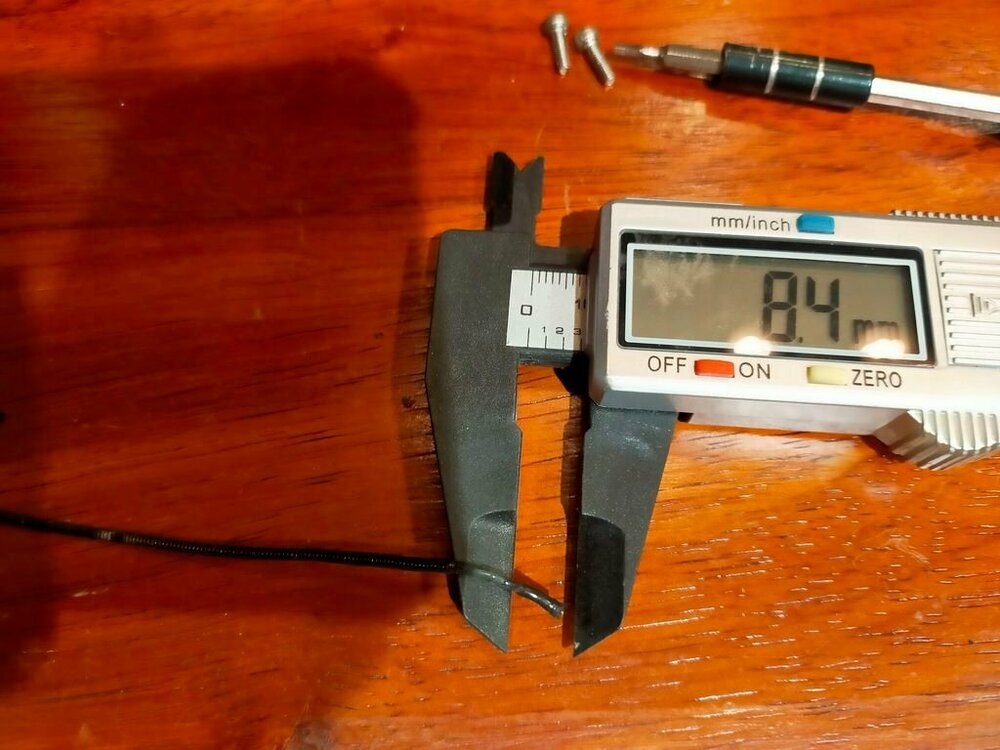
Then I thought I resolve this issue.
Put everything back and NO!! still clog.
It was too late at midnight so I sign off.
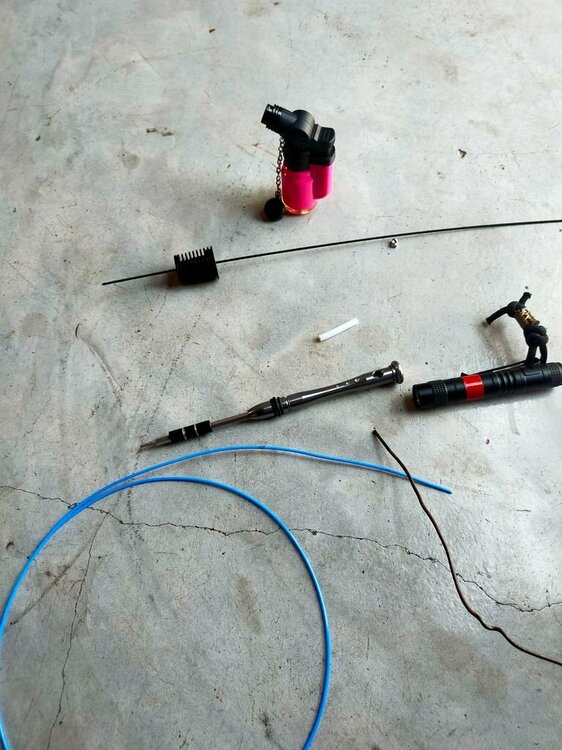
The next morning I took it apart again and now I just blow the torch inside and use
Bike cable and got it out.
NO still can't put the filament through it. It seems the cable was too small.
So another blow torches and use a cloth hanger rod. Yeah MTF is out.!!!
E-step test.
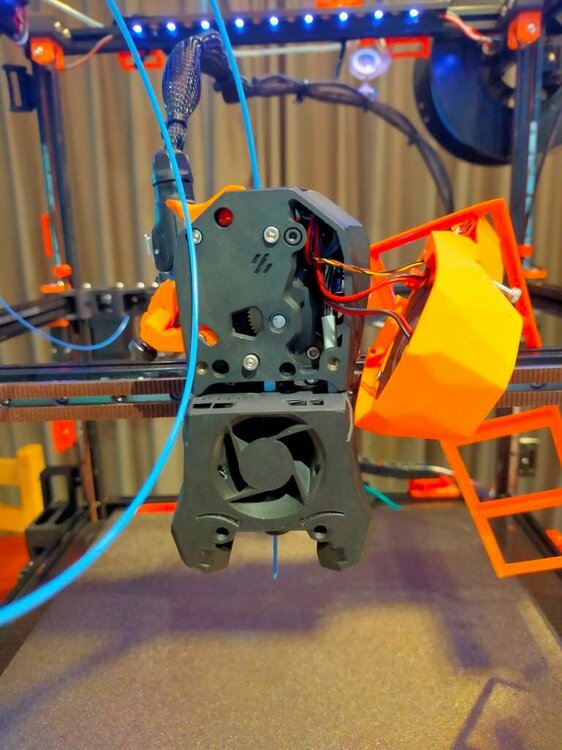
I think I have to learn a new macro for Unload and Load.
If anyone has a good one to share with direct drive would be great.
Thanks.
# Clogging
This was the 1st clog for my printer since built. It's just DEFCON 3.

I poke till it out of my Rapido.

Still some stuck at the top I had to pull it out.

I didn't learn then.
It leads me to the DEFCON 1.
The mother of all clog!!! MTF!!!
I did everything to get it out like before but It still stuck.
I pull it too hard the filament broke.
I did everything with a needle, bike cable, and cloth hanger rod.
Till I decided to take apart everything.

These are all my brute force...


It stuck in between the heat tube and the heat break area.
I guess coz I retract too much when the print end.
As I asked in another thread it only happens when print end.
But this time I wanna change the spool with a new color.


Then I thought I resolve this issue.
Put everything back and NO!! still clog.
It was too late at midnight so I sign off.
The next morning I took it apart again and now I just blow the torch inside and use
Bike cable and got it out.
NO still can't put the filament through it. It seems the cable was too small.
So another blow torches and use a cloth hanger rod. Yeah MTF is out.!!!

E-step test.

I think I have to learn a new macro for Unload and Load.
If anyone has a good one to share with direct drive would be great.
Thanks.
LoadMaster7
Well-known member
You mentioned using the "Arc Welder" plug in. I have learned you don't want it with Klipper.
The Black PLA stringing, could be moisture. I would suggest trying to dry it. If that doesn't work, it could be bad PLA. I've been there more than once.
Clogs, I have many 3D printers of various types. The common factor for most clogs, has to do with one or more of these factors: too much retraction/to fast, weak hotend cooling fan, cooling fan airflow, which lead to heat creep, allowing molten plastic up into the heat sink of the hotend.
This is what I use for a Fire extinguisher. It just sits on top of my printer and if it ever caught fire it would just open and hopefully put the fire out.

 ignisalert.com
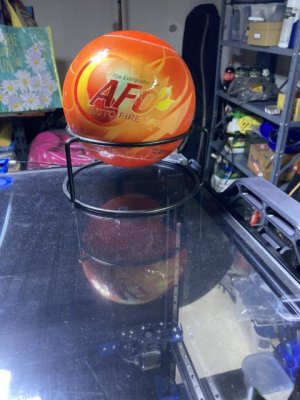

Fireball | IgnisAlert
AFO Fire Extinguisher Ball, self-Activation, AUTO FIRE Off Device LIGHT WEIGHT – Weighs less than 3 pounds (1.3 Kg), children and the elderly can use it conveniently. MAINTENANCE FREE - For a period of 5 years, no maintenance required, always on guard for you with its unique capability to...
 ignisalert.com


