billgeek
Member
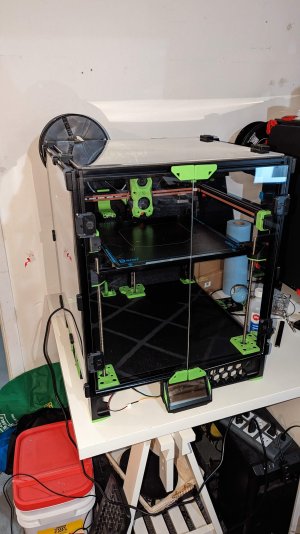
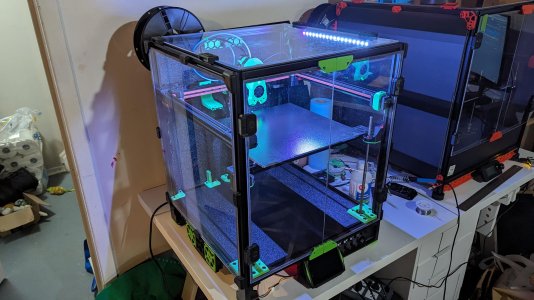
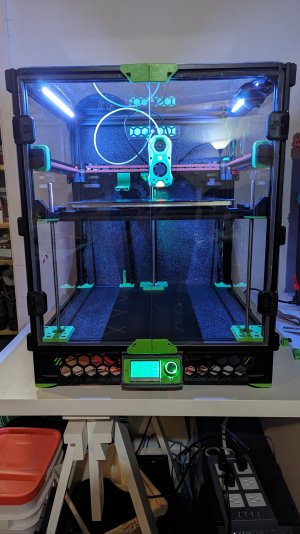
I've just started with a Trident 300mm build using PolyLite ABS Black for primary and eSUN ABS+ Peek Green accents.
Frame is a Black LDO kit, hotend would be the Phaetus Dragonfly hotend (anything is better than the generic knock-off V6's) and finally an Octopus 1.1 board.
"Mods" I'm going to install right from the start:
These two items alone in kit form saved me at least CAD100. I'm still waiting on the final 350mm linear rail for the Y axis (arriving today sometime) before I can continue with the build, but here's what I have so far!
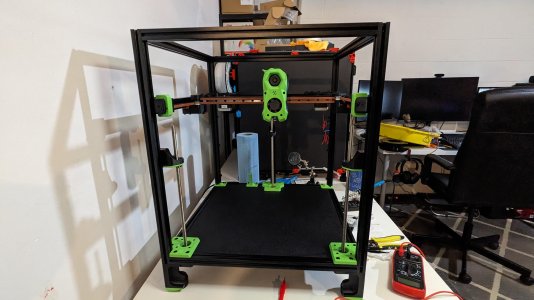
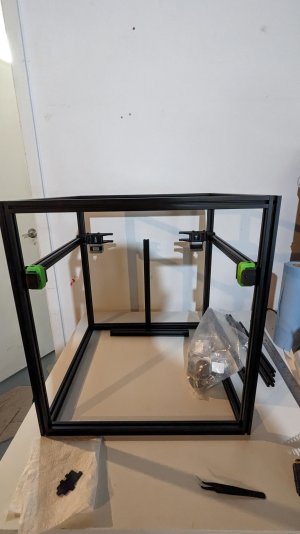
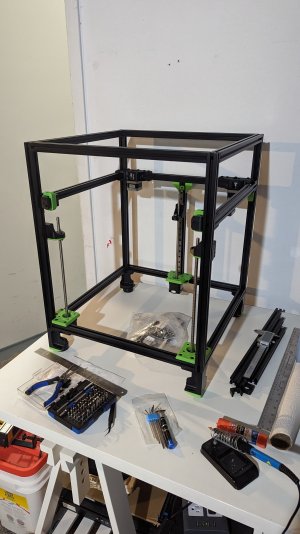
Frame built and idlers and AB drives installed
Finished up with the Z axis
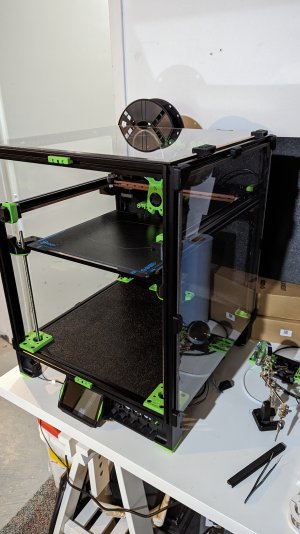
Installed the bottom panel and wire covers
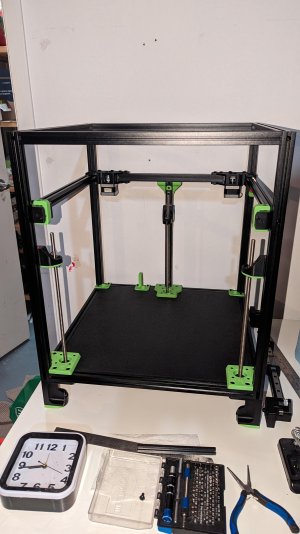
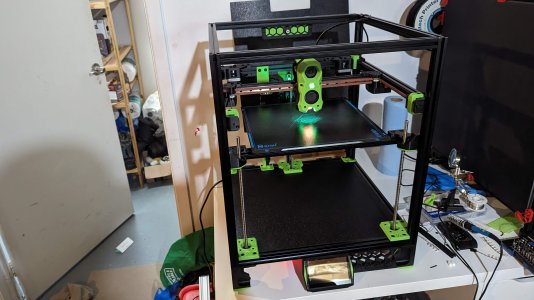
Bed resting in place for now... The ball and socket joints on the Z seem to work as expected
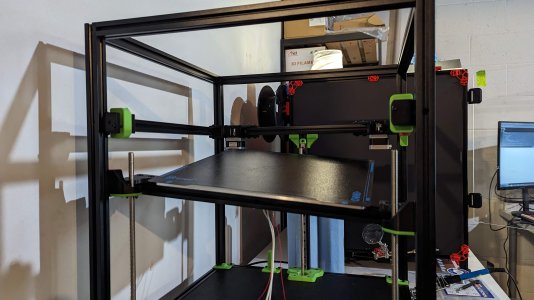
(spring steel plate will be replaced after I'm confident that the nozzle won't dig holes or trenches in the PEI sheet)
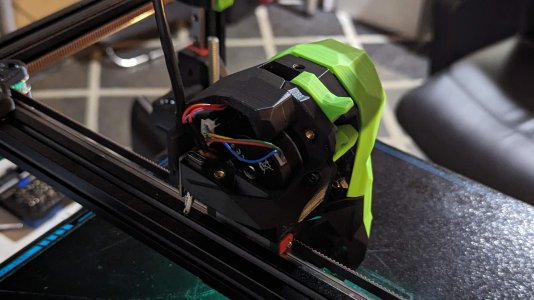
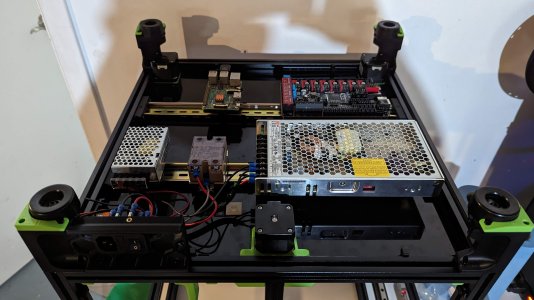
Some electronics and wiring already started (will be tidying up the wiring a bit later)
Frame is a Black LDO kit, hotend would be the Phaetus Dragonfly hotend (anything is better than the generic knock-off V6's) and finally an Octopus 1.1 board.
"Mods" I'm going to install right from the start:
- Stealthburner - not really a mod, but different from the Trident manual
- KlickyNG instead of the melty inductive probe
- BTT SB2209 toolhead board using a Waveshare Pi CAN HAT - I don't like drag chains and apparently the BTT Octopus CAN isn't super stable
- Removing the endstop pod and moving the Y to the A drive and the X to the carriage due to the above
- Nevermore v5 Duo - so also a closed up exhaust on the back panel
- M3 door hinges and handles that are attached to the door panels with screws - No more VHB tape!
- Replacing the GE5C bearings with a ball and socket style joint - I might just undo this and go back to stock if it doesn't work out, but these bearings are stupid expensive for some reason!
- 2 x "Disco on a stick" neopixel PCB's instead of the LED strip
- Replacing the panel holders with the latch panels mod - saves a TON of M3 screws and T-Nuts
These two items alone in kit form saved me at least CAD100. I'm still waiting on the final 350mm linear rail for the Y axis (arriving today sometime) before I can continue with the build, but here's what I have so far!
Frame built and idlers and AB drives installed

Finished up with the Z axis

Installed the bottom panel and wire covers

Bed resting in place for now... The ball and socket joints on the Z seem to work as expected
(spring steel plate will be replaced after I'm confident that the nozzle won't dig holes or trenches in the PEI sheet)

Some electronics and wiring already started (will be tidying up the wiring a bit later)


