What's new
VORON Design

Register a free account today to become a member! Once signed in, you'll be able to participate on this site by adding your own topics and posts, as well as connect with other members!

Self Sourced Voron Trident 300 Detailed Build Log India Edition

sanketss84

Well-known member
Hi All,

Building a Voron Trident or any Voron for that matter in India. Its not as easy as placing an order for a kit and you get a box full of components delivered at your door step with everything nicely labelled and you just have to assemble it. We do not have ready availability of kit in India as of Feb 2024 while I am writing this.

Yes we can import one but the money I would be paying as import duties can be equal to getting another voron printer for that same amount. So, self sourcing is the only option.

I have been extensively planning and gradually buying hardware for my Trident 300 build and I wanted to document each and every nuances, decisions and thought process I took for my build so that if any one else decided to build one he/she can have a reference.

With that I will start by sharing everything related to my build here.

This will be an extremely detailed log . . . .

Legend
  • 🟩 documented
  • 🟨 pending documentation, completed at my end
  • 🟥 pending
Index
  • 🟩 Why am I building a voron and how did I came up on this decision ? link
  • 🟩 Am I aware of other open source 3d printer projects ? link
  • 🟩 Which Voron ? link
  • 🟩 Why I felt strongly about Voron Trident ? link
  • 🟩 What size Trident am I building and Why ? link
  • 🟩 Planning Phase link
  • 🟩 The Blue Print, The Tool Head and Voron Mods link

  • 🟩 Part Selection : The Frame link
  • 🟩 Part Selection : Linear Rails link
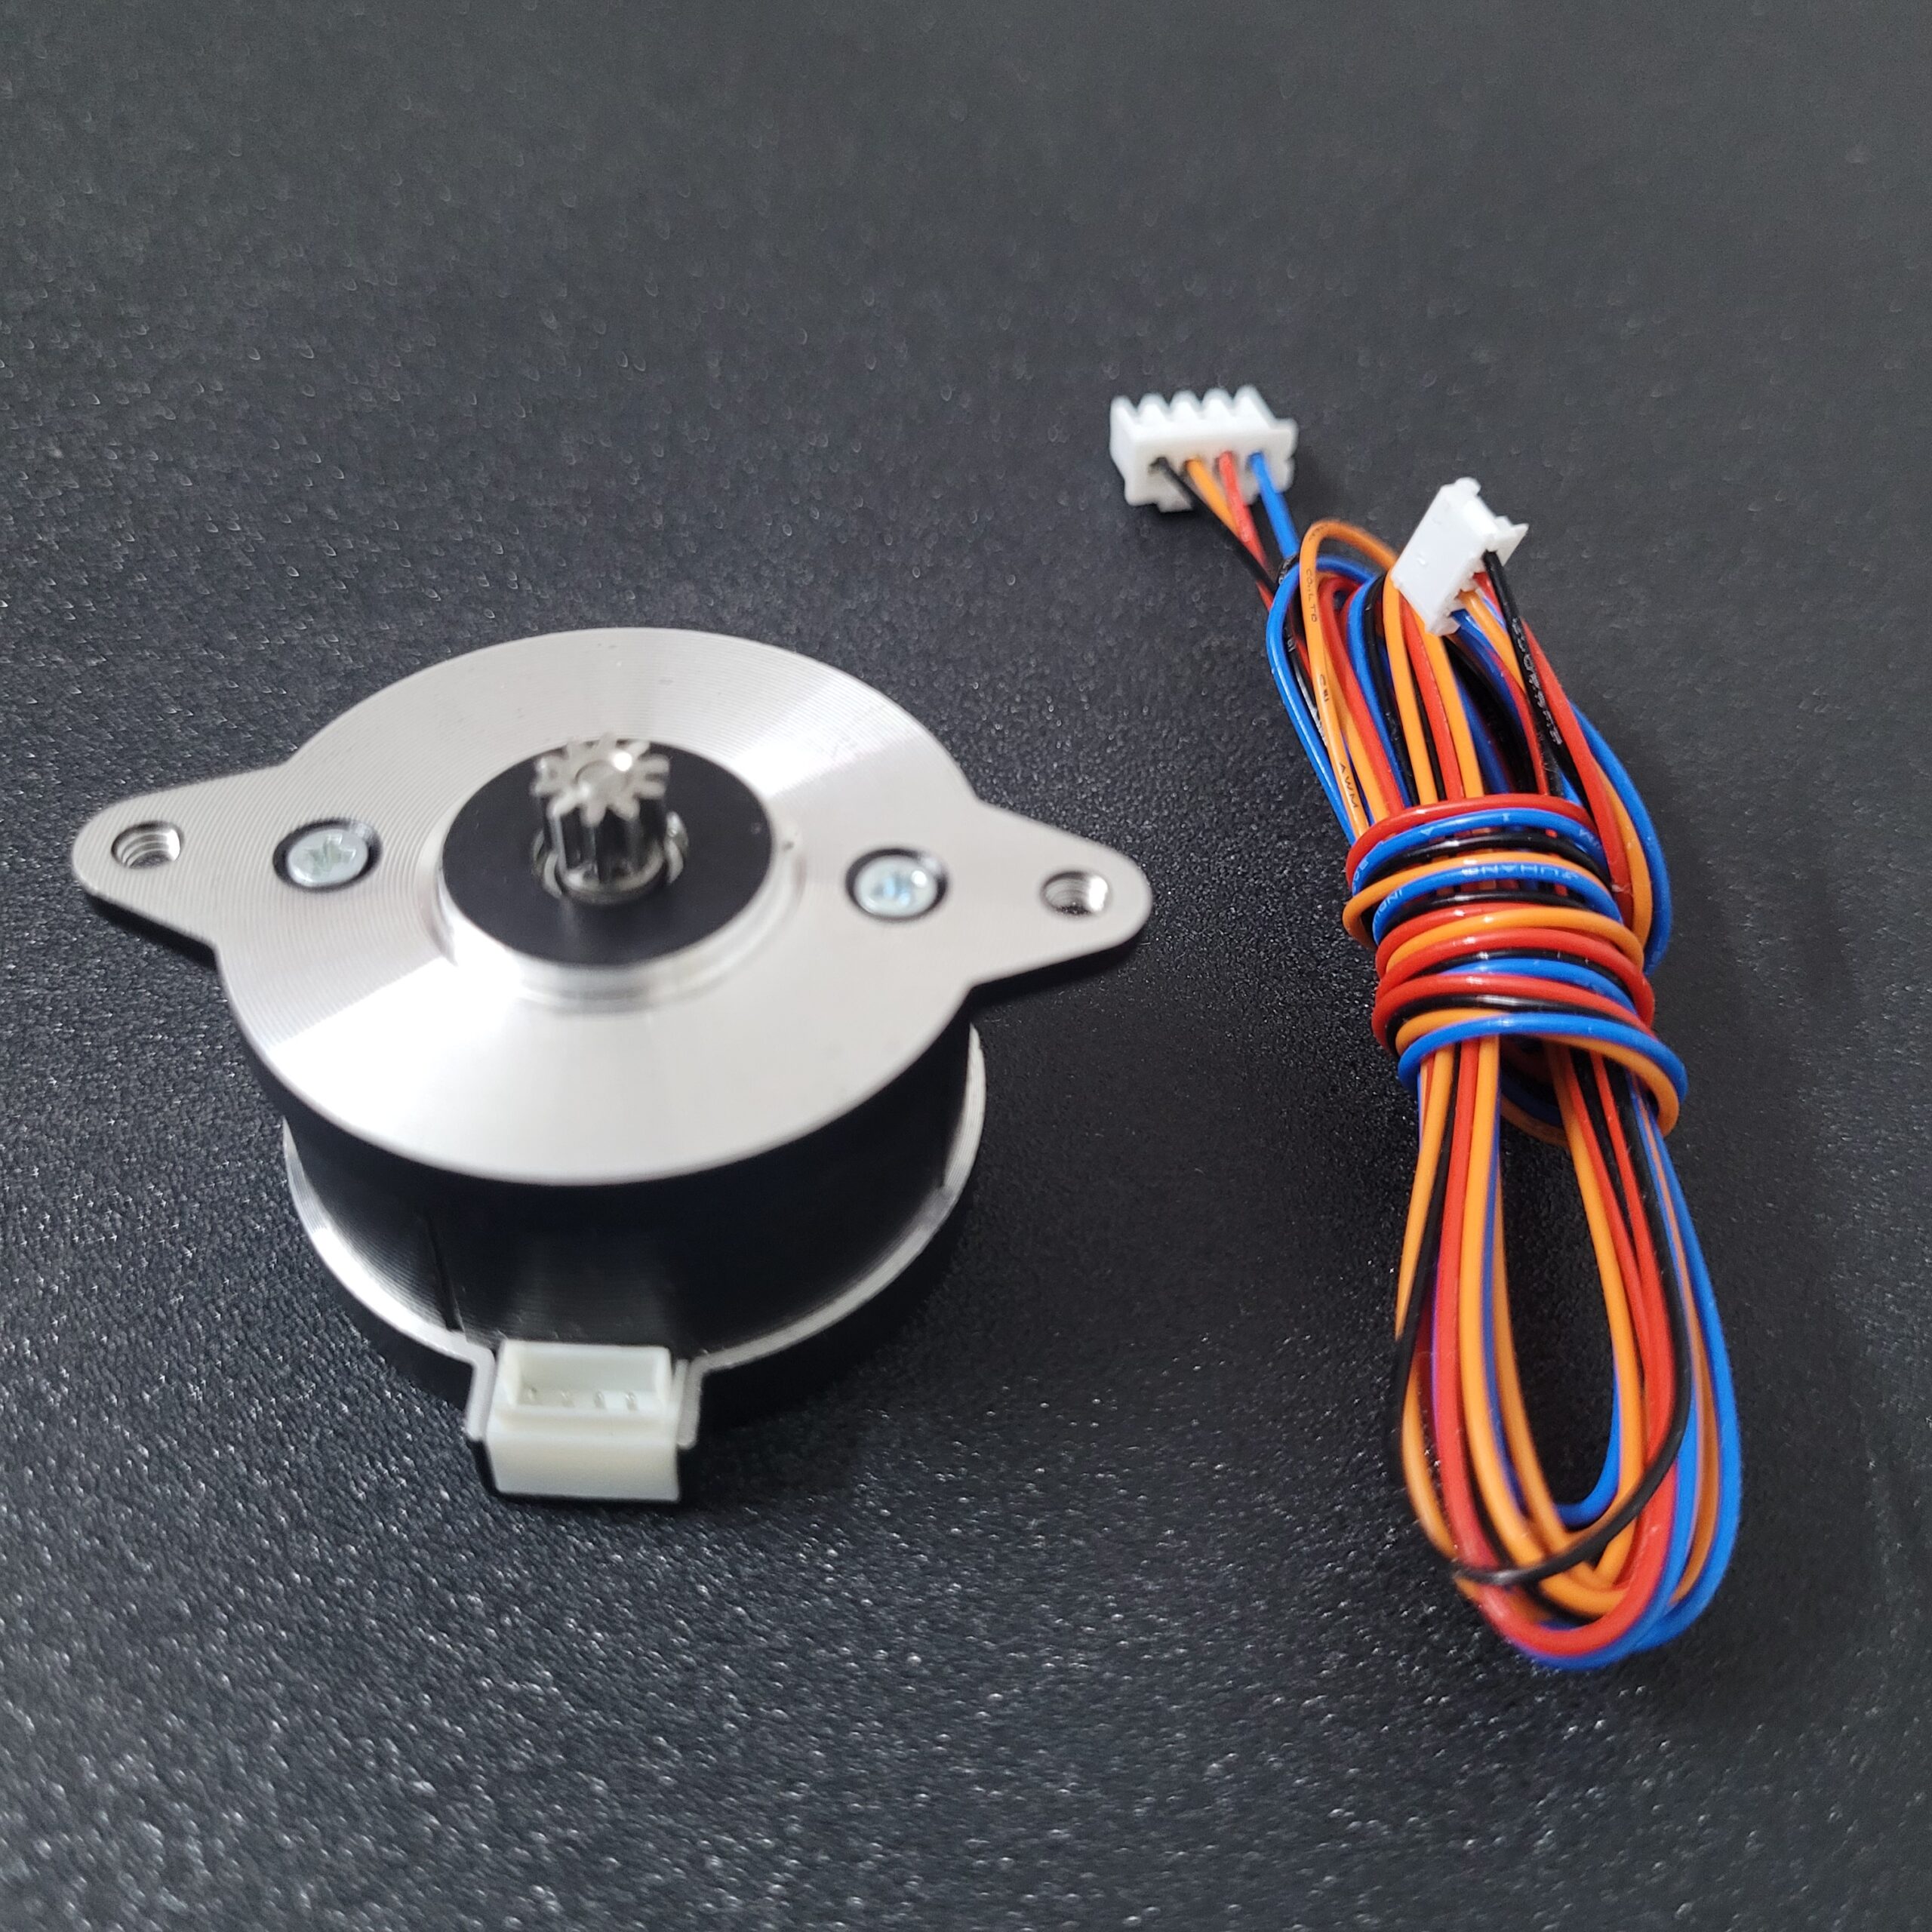
  • 🟩 Part Selection : Nema 17 Stepper Motors link
  • 🟩 Part Selection : Power Supply link
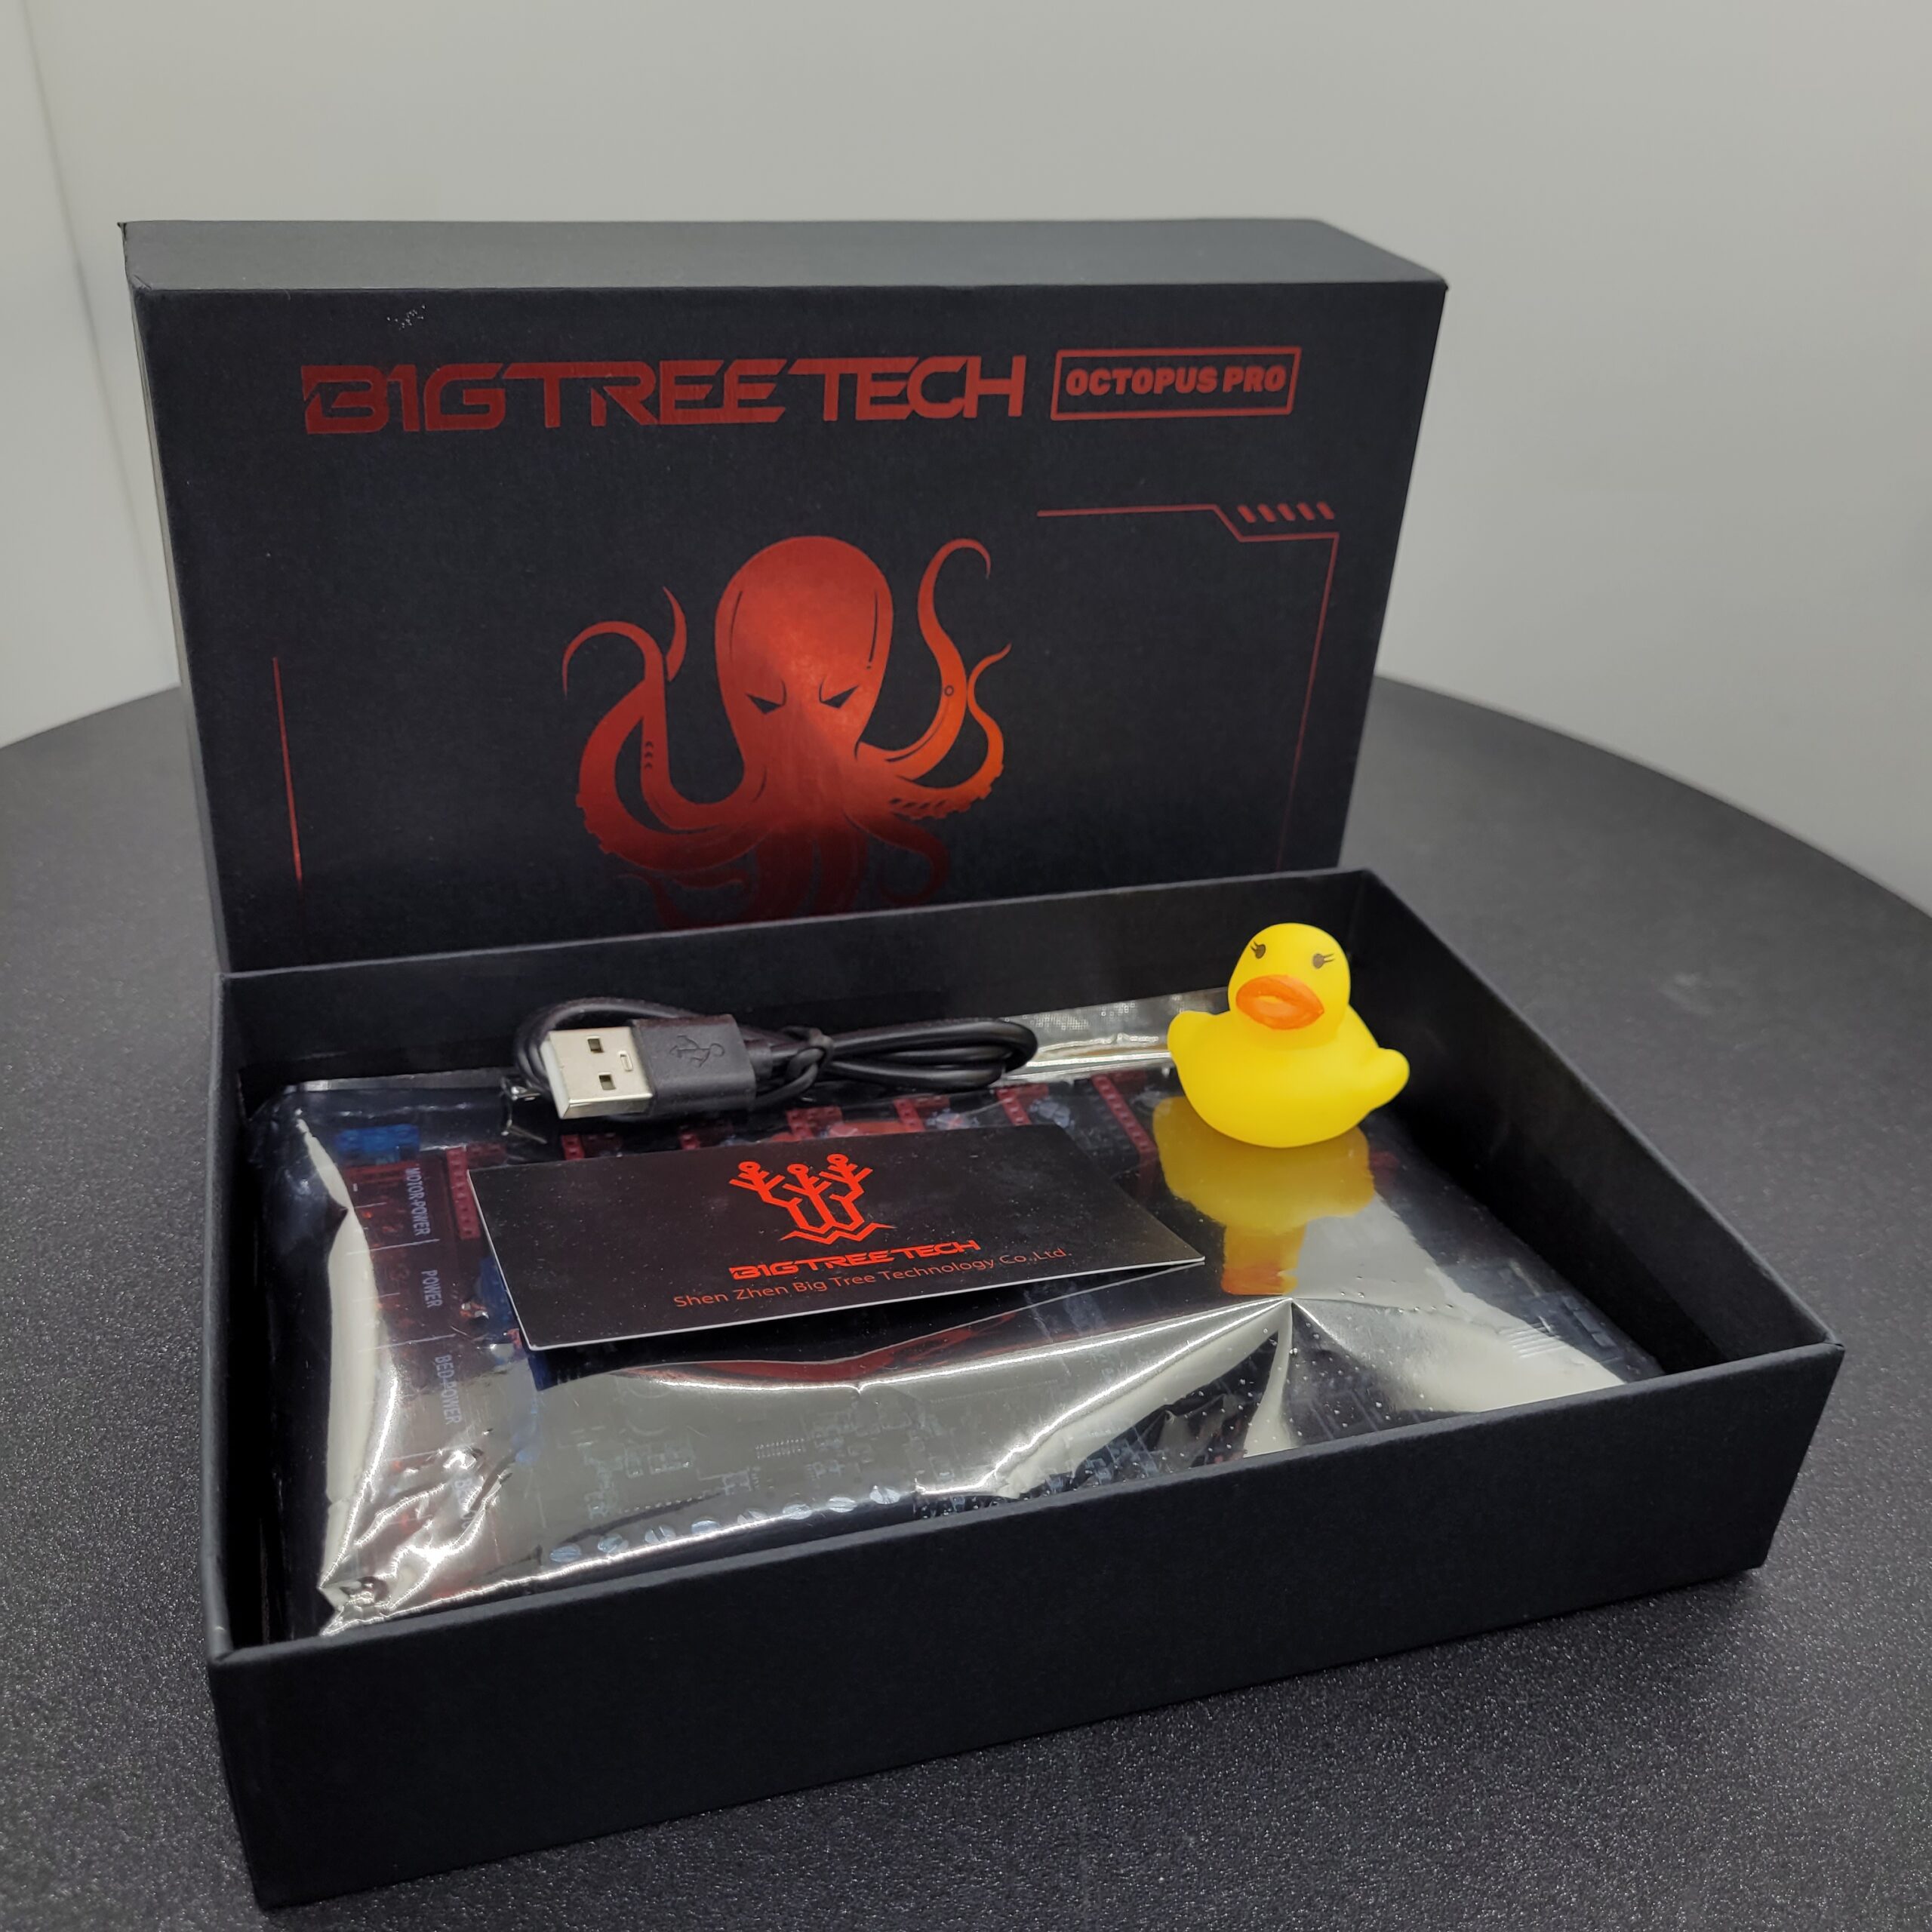
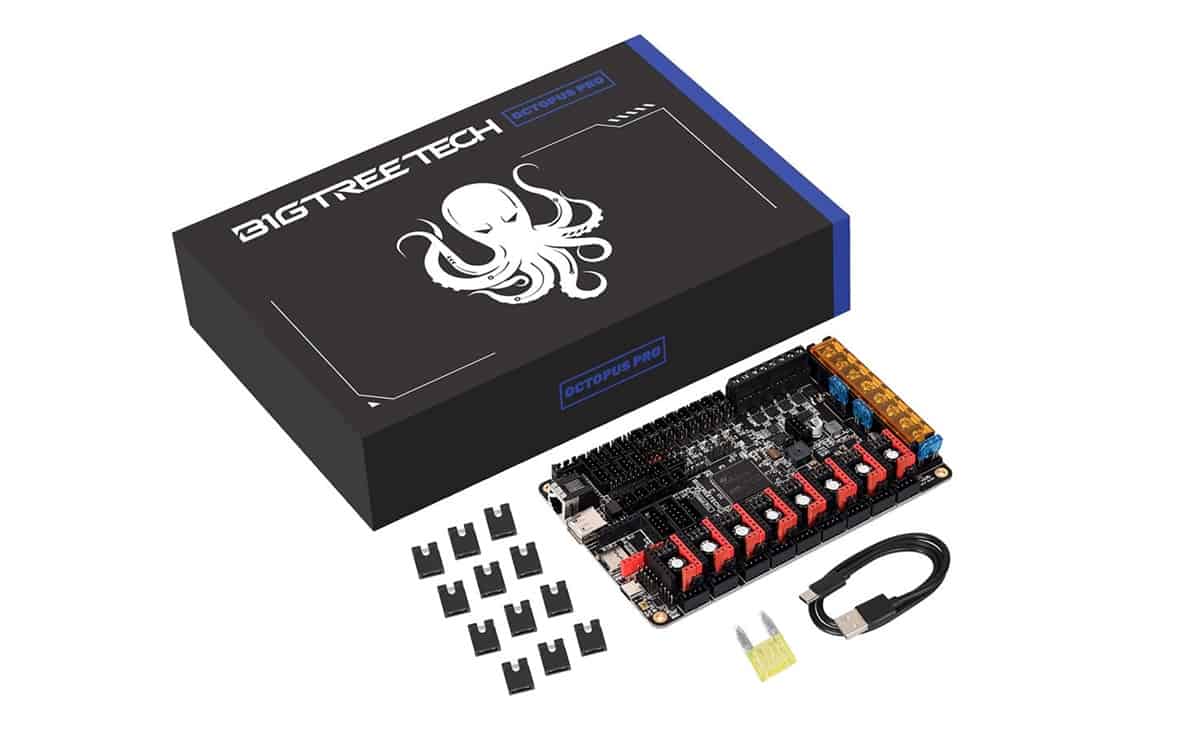
  • 🟩 Part Selection : Controller Board link
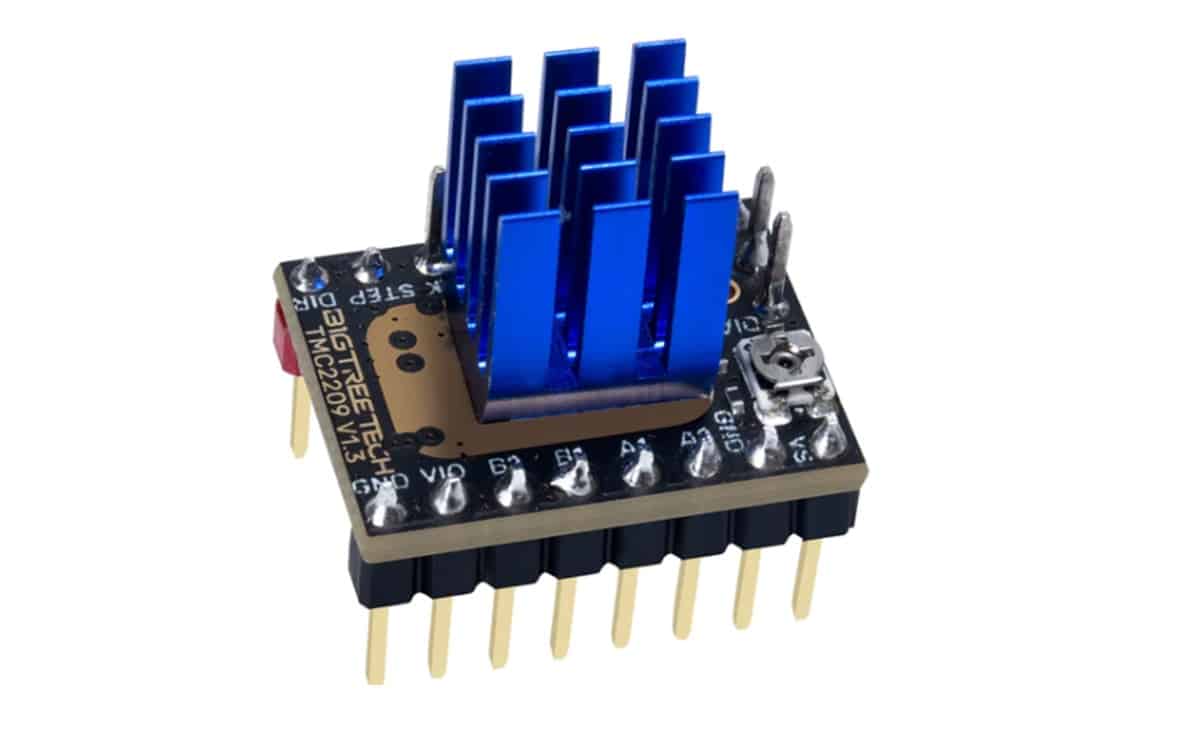
  • 🟩 Part Selection : Stepper Motor Drivers link
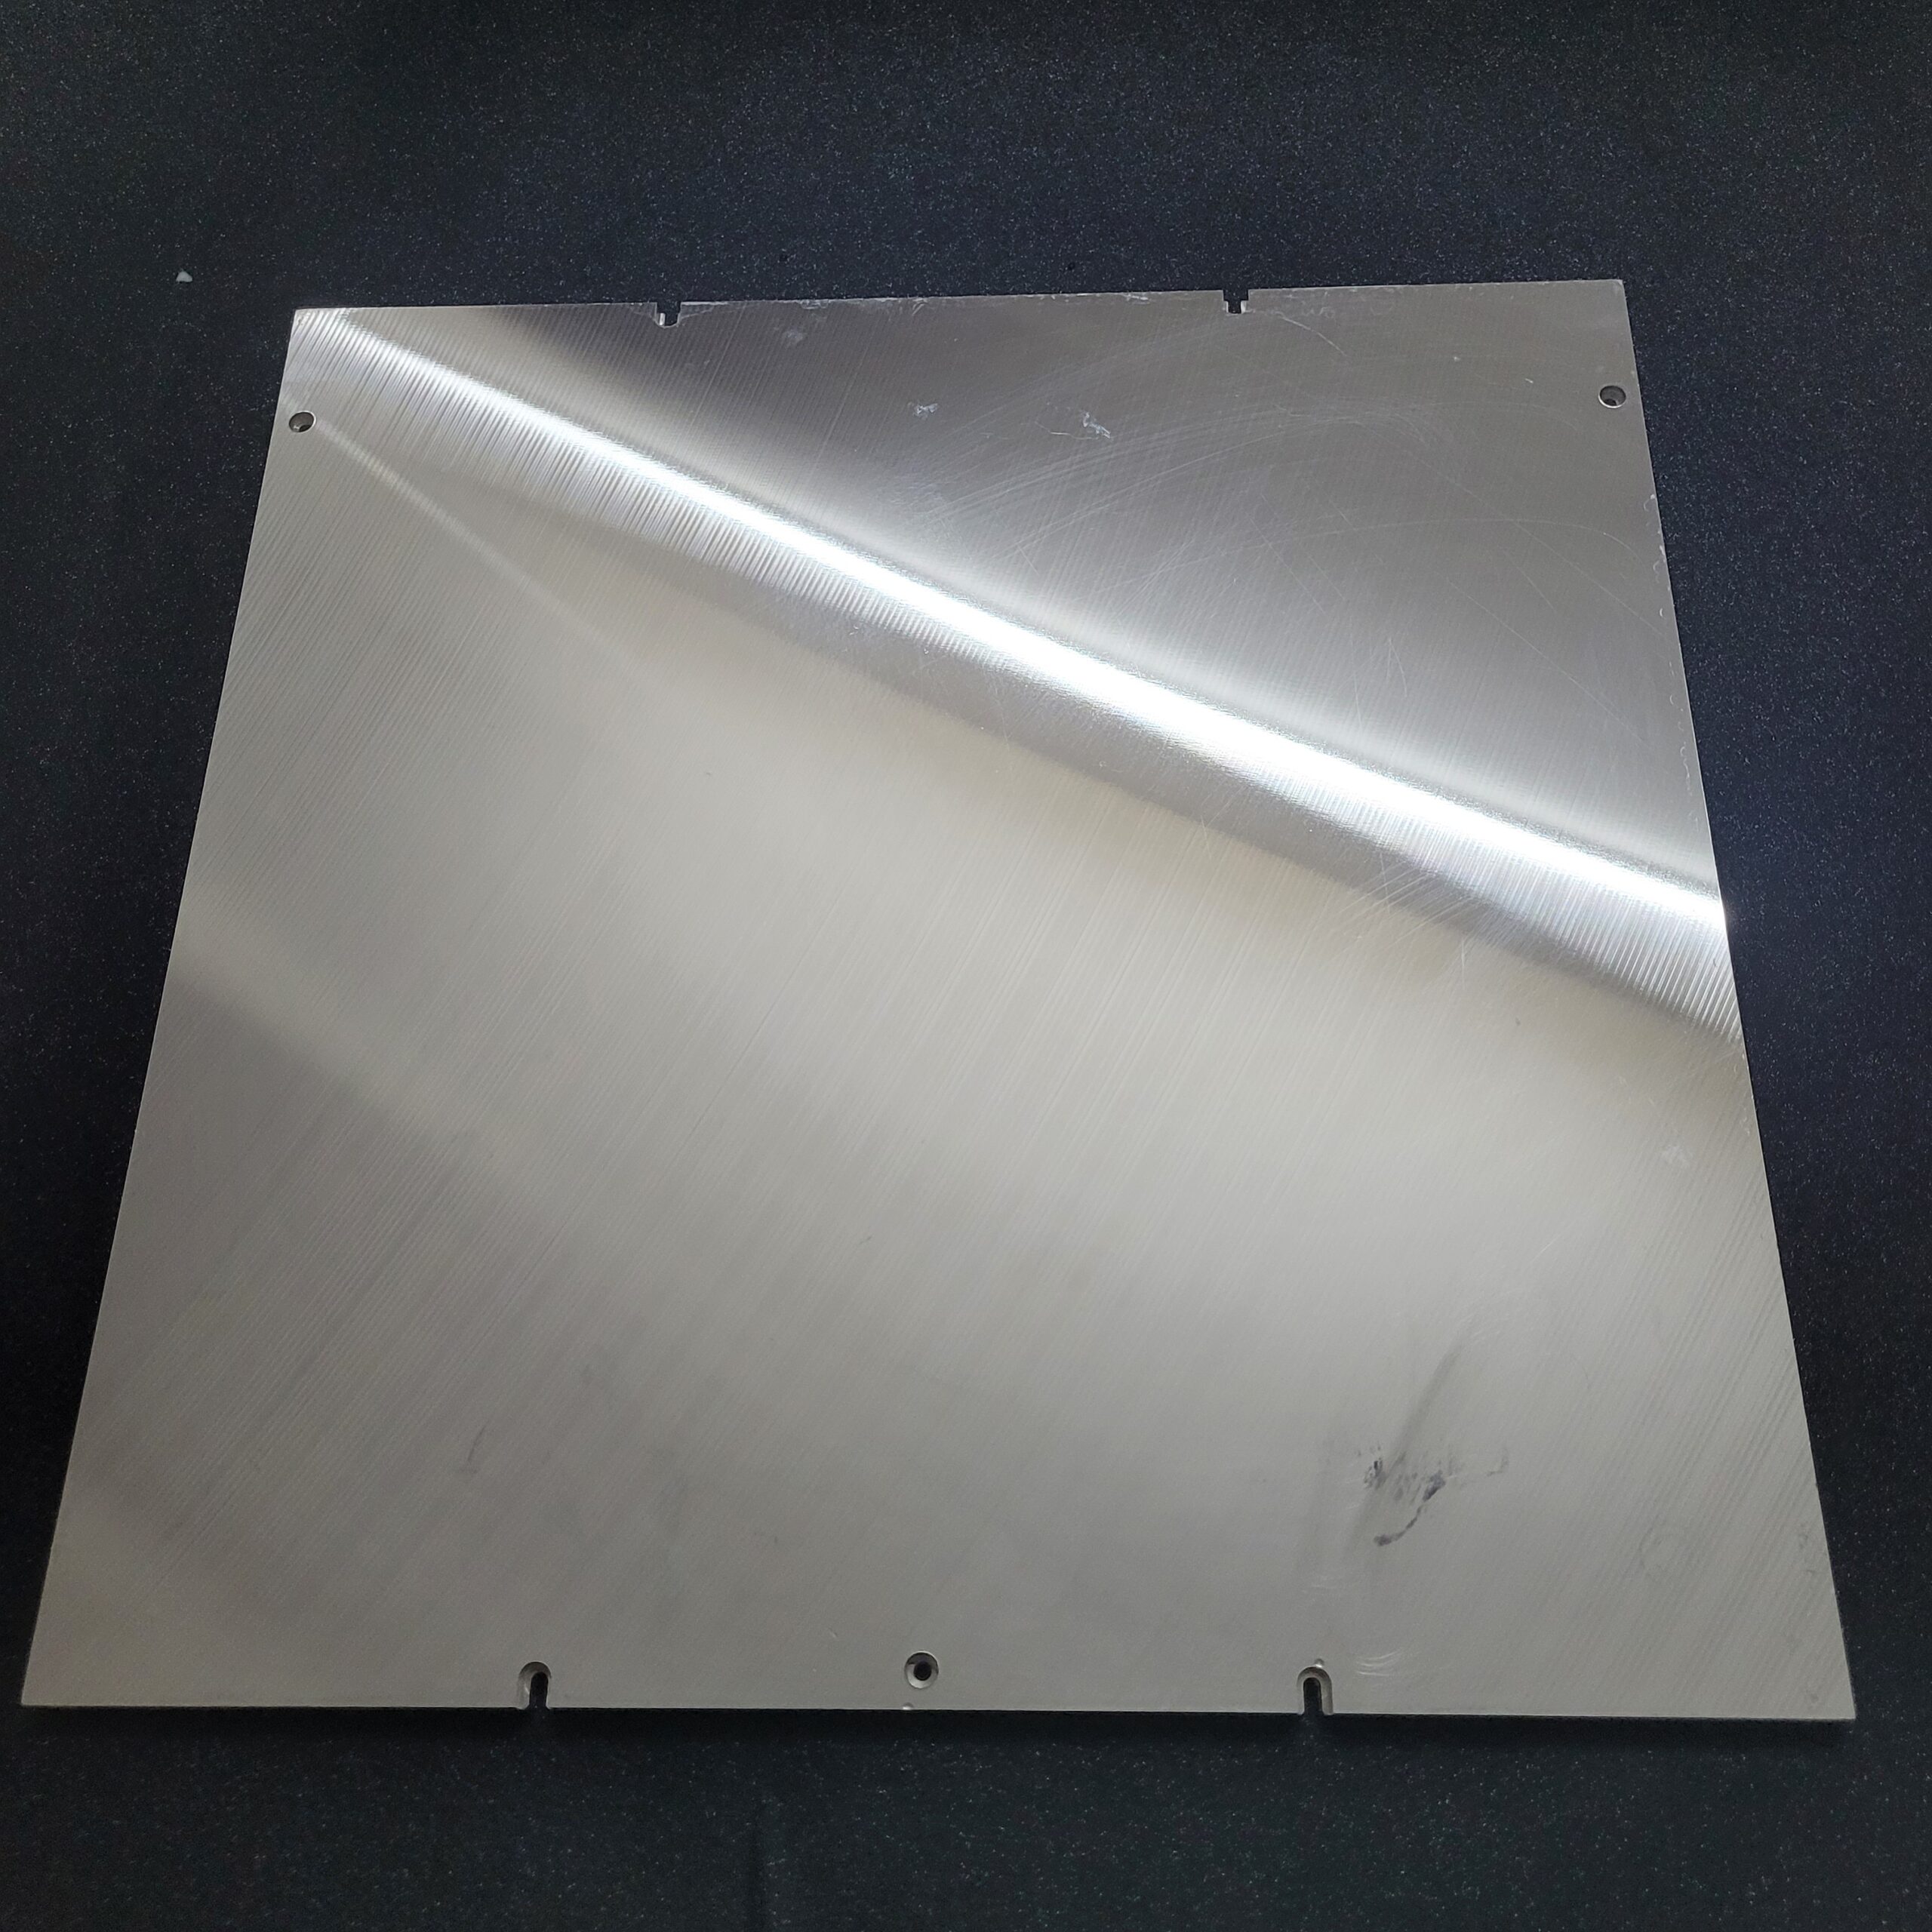
  • 🟩 Part Selection : Bed , Heater and Build Plate link
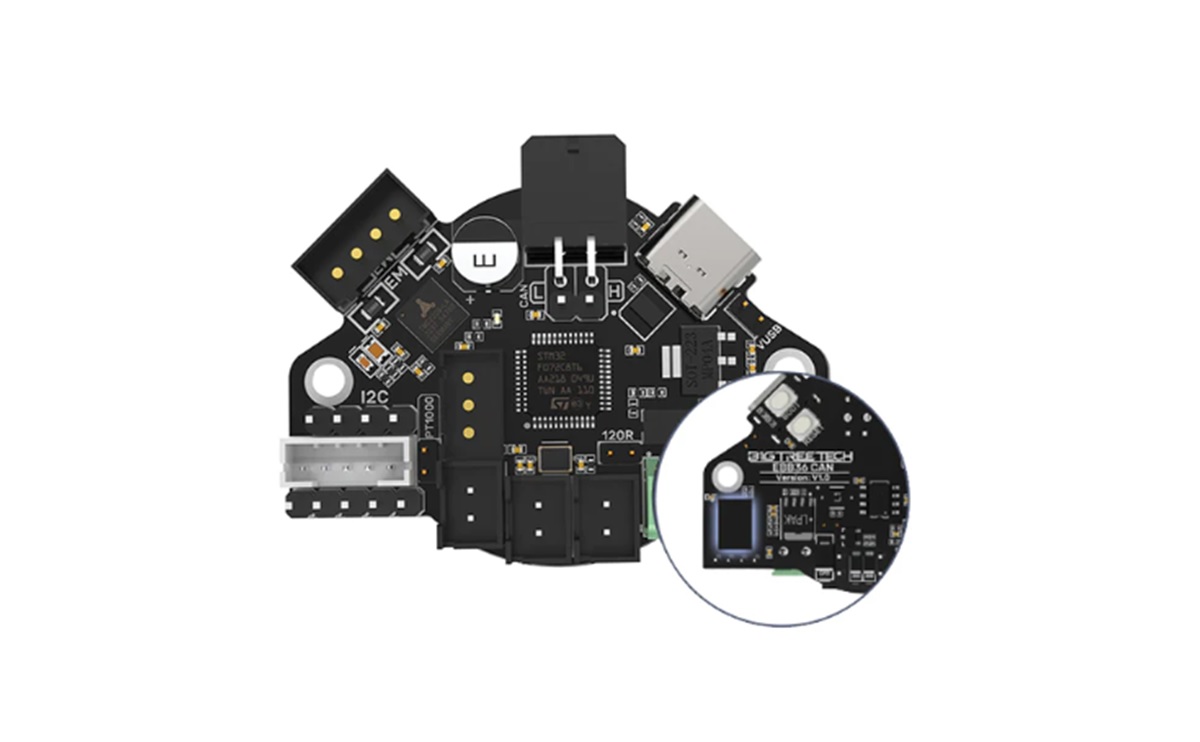
  • 🟩 Part Selection : Can Bus Adapter + Tool Head Can Bus PCB link
  • 🟩 Part Selection : Various Wires and Connectors link
  • 🟩 Part Selection : Build Tools link
  • 🟩 Part Selection : Lubricants link
  • 🟩 Part Selection : Tapes link
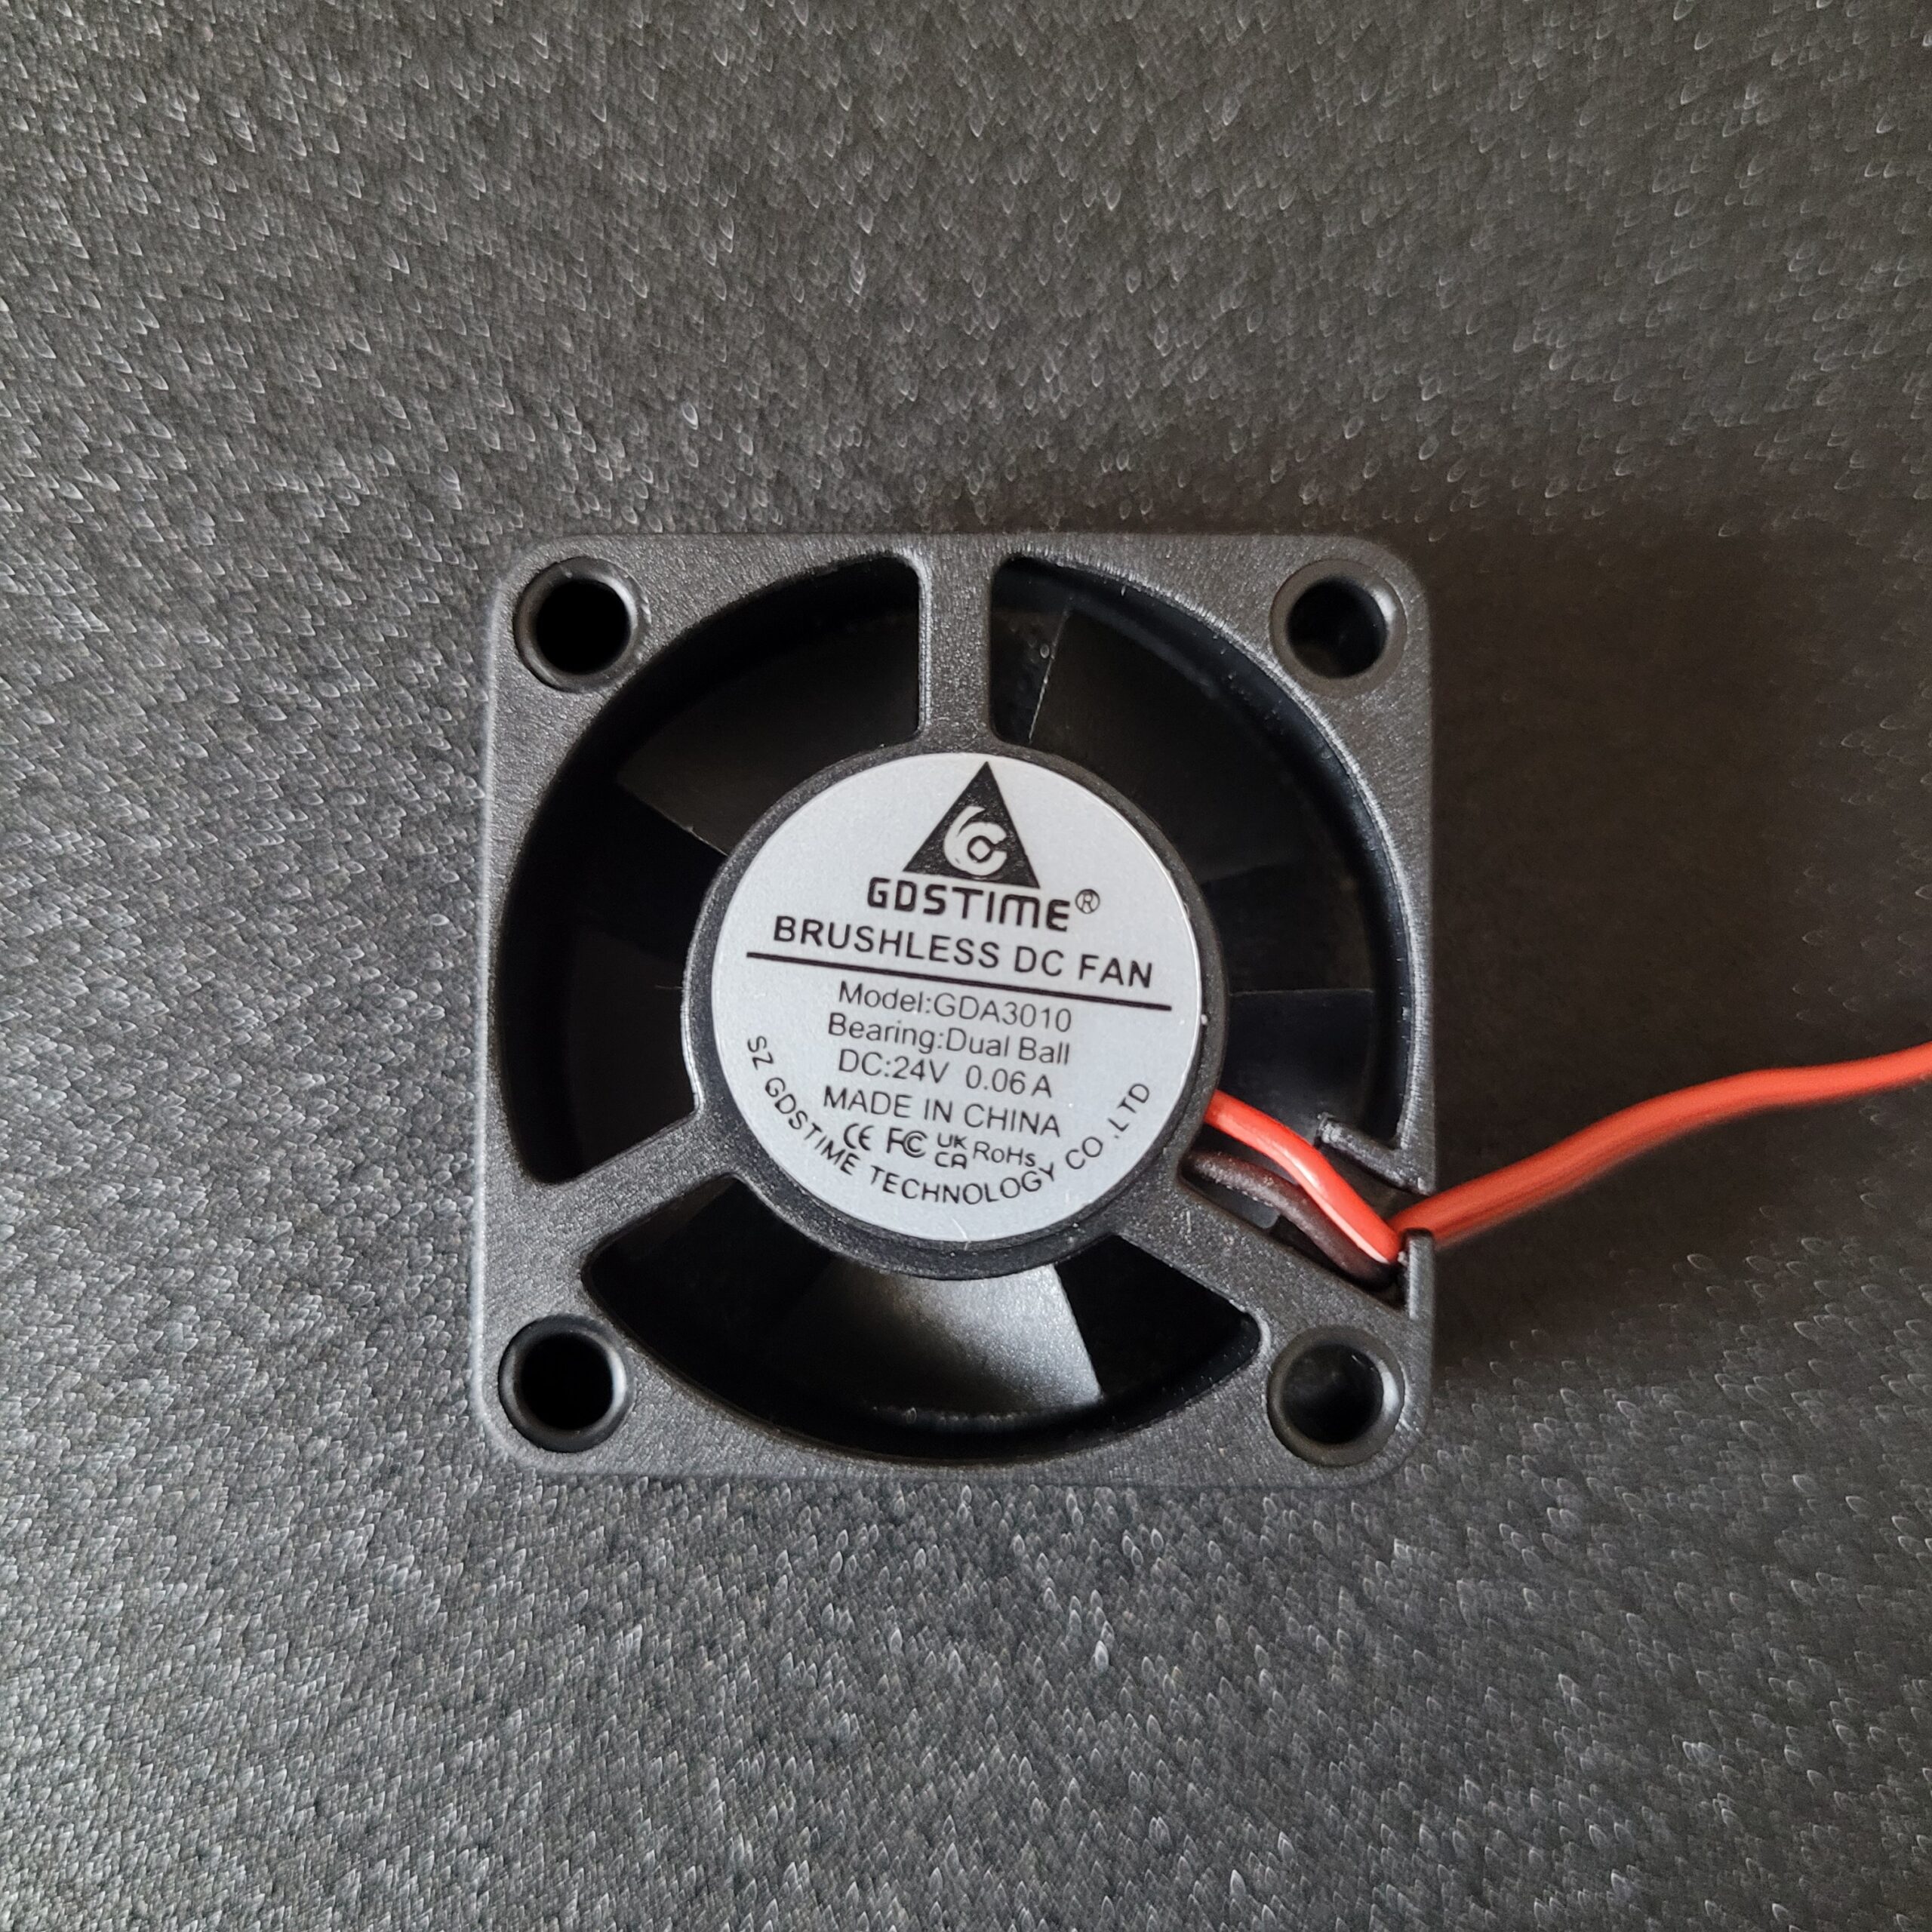
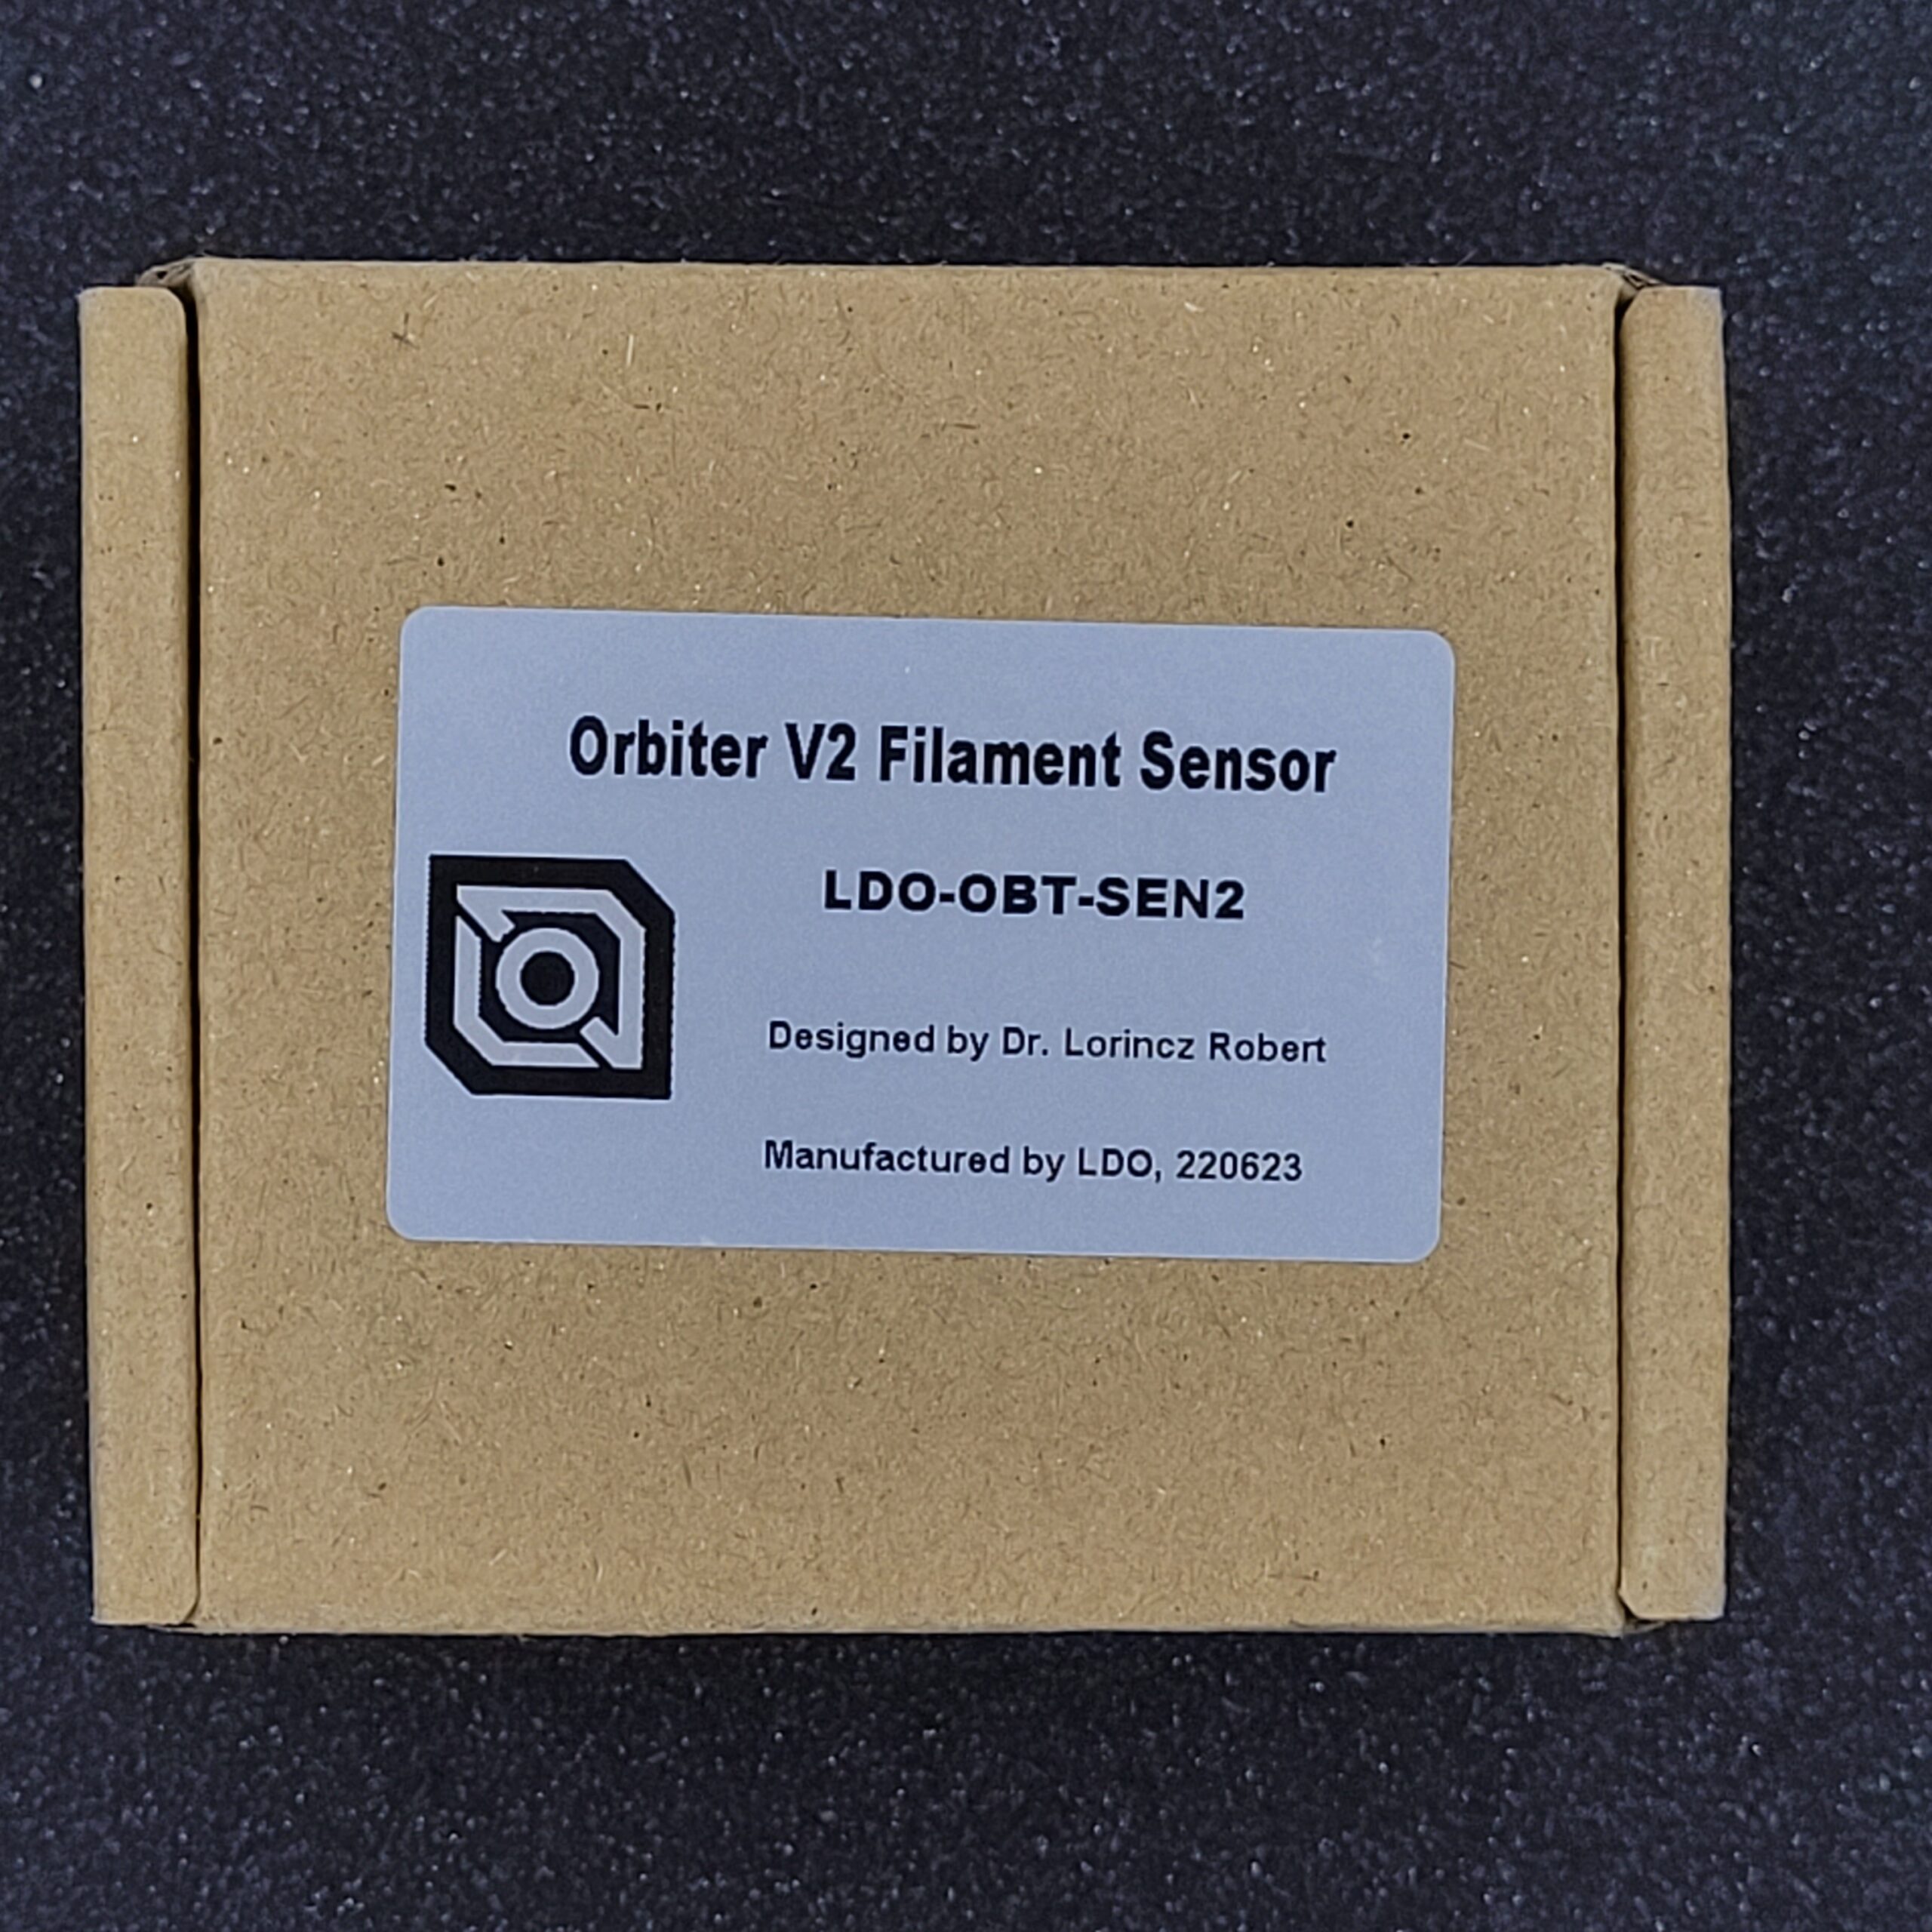
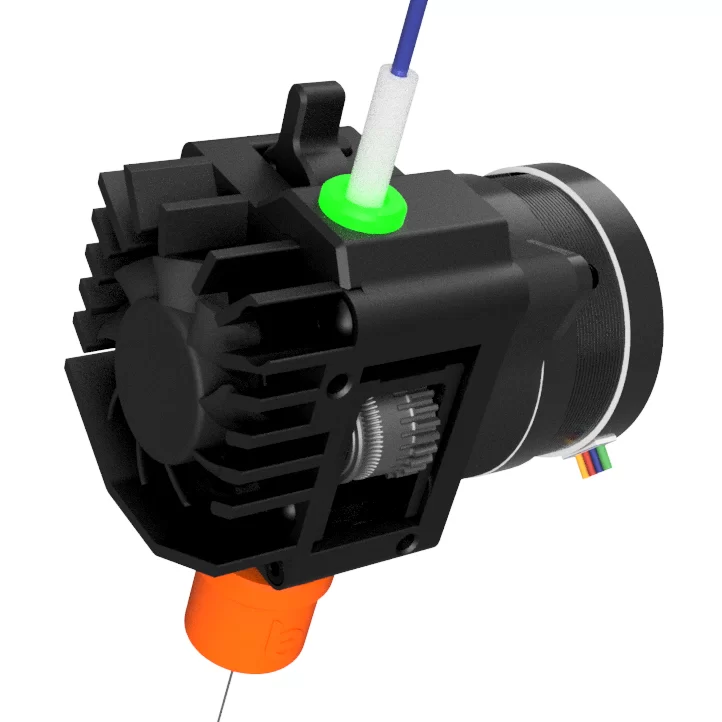
  • 🟩 Part Selection : Extruder, Hotend, Fans, Toohead PCB and Tool head design link

  • 🟩 Print voron trident build parts myself or PIF ? link
  • 🟩 Why did I decided to print parts myself and challenges faced ? link

  • 🟨 The Build : Frame
  • 🟨 The Build : AB Drive and Idlers
  • 🟨 The Build : Y Axis
  • 🟨 The Build : Z Axis
  • 🟨 The Build : X Axis
  • 🟥 The Build : Belts
  • 🟥 The Build : Toolhead
  • 🟥 The Build : Wiring Prep
  • 🟥 The Build : Electronics
  • 🟨The Build : Controller Prep
    • 🟨 pi setup with mainsail os
    • 🟨 compile klipper for controller board
    • can bus setup for toolhead
    • 🟨 printer.cfg
  • 🟥 The Build : Wiring
  • 🟥 The Build : Skirts
  • 🟥 The Build : Print Bed (doing this at the very end )
  • 🟥 Pre Power Up checks (nero3d)
  • 🟥 Ellis print tuning
  • 🟥 Setting up slicer for PLA
  • 🟥 Testing PLA for few days without panels installed
  • 🟥 Setting up slicer for ABS
  • 🟥 Testing ABS for few days with panels installed
 
Last edited:
Before I start documenting I guess its important that I answer this question first.

🟩 Why am I building a Voron and how did I came up on this decision ?
  • Its December 2023 and its almost a year I have been using a Ender 3 S1 Pro
  • understood how to tuning my s1 pro for perfect pla and abs prints
  • understood how to use a slicer (cura, prusa slicer)
  • understood some basics of how to create my own models in fusion 360, onshape and freecad
  • so armed with the basics of 3d printing I wanted to buy a new 3d printer which can print faster and I start exploring options
  • Creality options that I was considering Ender 3 V3 KE, Ender 3 V3 CoreXZ (came in Feb 2024 but there were mentions) , Creality K1
    • I decide to not go down this route as they are bedslingers and I wanted a corexy style printer
    • Creality K1 has one Z motor which syncs across three lead screws so its not a true three z motors , imagine syncing even one z-axis leadscrews should one get out of sync it would be a real pain
    • so I decided to skip all the current choices I had narrowed down from creality
    • however creality does have spares availability in India and we can fix these if something breaks
  • BambuLab options was A1 and P1S
    • we also have options to pick the ams version of P1S here in India
    • while the bambu lab printers are a neat choice and do so many things well its when something would break I would have a long wait time for spares and they would also cost a fortune to fix as they have a lot of proprietary design elements which means fixing this myself would not be the best option and some times. so over all in the long run maintenance would cost me a lot.
    • also not a fan of bambu lab cloud printing and always on camera and data sharing concerns which I have with them.
    • I had to axe this option as well.

🟩 Well that brings me finally to one and only one option , I need to build a Voron.
Here are reasons why I decided to finally move ahead with this choice
  • Voron Community is just fantastic (docs, forums, discord, youtube) there are plenty of ways to get help.
  • learn end to end about building a high quality self sourced 3d printer which was created by some of the best minds.
  • fix the printer myself.
  • mod the printer to my hearts content. Even mods are created by some of the best minds in the voron community.
  • there are shops in India which do carry spares for building a voron , so even if kits are not there its possible to source most of the stuff to build one in India.
 
Last edited:
🟩 Am I aware of other open source 3d printer projects ?
But I still wanted to start with building a voron I some how felt that was a good starting point.

🟩 Which Voron ?
  • While it was clear that it has to be a something larger than my current Ender 3 S1 Pro which has a build volume of 220x220x270
  • Voron Switchwire
    • this is a bed slinger and I decided to skip this
  • Voron 0
    • This has a smaller build volume compared to my Ender 3 and hence I am skipping this
    • Even though this is smaller its not a easy build as you are packing a lot of electronics in a compact space
    • full respect to all those who build a V0
  • Voron 2 or 2.4r2
    • This is the costliest voron bom wise
    • This is also a fairly complex build for some one new to building their first voron
    • the motion system is a bit advanced for a first time voron build
While the voron 2 was a strong consideration at first for me but then I was some how more inclined to what's left the Trident.

🟩 Why I felt so strongly about Voron Trident as my choice for first voron build ?
  • I kept hearing/reading that this is a simpler build than a Voron 2 , though each voron require you to upskill yourself and read a lot.
  • its a core xy
  • simpler motion system compared to v2
  • the bed rises up and down while the gantry stays fixed
    • abs prints need an enclosure
    • with the bed up top and heat rising up there is less volume where you need to trap heat and so this should benefit with abs printing
    • I still have not tested this but I think its logical
  • three point bed leveling
    • the way the bed auto adjusted with the help of three lead screws was the most fascinating aspect of this build and I will be honest this attracted me the most to this build.
    • I have shared a huge amount of time with Ender 3 to get me bed levelled and fiddling with the screws below the bed to get it levelled properly
    • this implementation of three point bed levelling will save me a ton of time is what I assume.
  • leaves room open for tridex (trident + idex independent dual extrusion) and wp-daksh
🟩 What size ?
  • 250 would be closer to Ender 3 I had
  • 350 would be too big and what if the larger bed warped then that would just spoil the mood
  • 300 felt like a good middle ground
someone also shared that when in doubt build a 300 ;) but yeah a 300 made the most sense to me personally. 300 x 300 x 250 mm will be build volume.
 
Last edited:
🟩 The Planning Phase
  • Building a Voron aint cheap so I had to first ensure that I have enough funds for sponsoring this build myself and this goes to anyone building this be it India or anywhere in the world.
  • Apart from money its also a time commitment to learning how to build this as its definitely not for beginner there are so many concepts involved that you can easily get overwhelmed but dont look at everything in one go and break this build into its logical parts and then slowly build this over time if you dont have the time or the money to build it in one go.
  • I then used Voron Configurator link to generate a build-of-material BOM list.
    • dumped that list in an excel and started searching for each and every component and its availability in India for my build
    • I wanted to be sure that I am easily able to source all the major components for the build
    • For those I could not find locally I would have to take the difficult step of importing it
    • But I was thankfully able to source everything locally overtime and with a lot of help from vendors in the Voron India Discord
    • I will be sharing complete details of which part I sourced from where and what options did I have for the same part
  • After going though the bom excel and being able to find almost all the critical parts for this build only then I decided to start evaluation and ordering the components for the build
🟩 The Blueprint
  • Color Scheme : Silver Frame + Black Primary Parts + Red Accent Parts
  • Trident 300 Frame (silver color) : From DConqurer3D
  • Trident 300 Linear Rails Kit : From DConqurer3D
  • Trident 300 Cast Aluminium Bed : From DConqurer3D
  • Energetic3D Spring Steel Sheet 305x305
  • Leadshine CM06C Nema 17 AB motors : From 3dprintronics
  • Nema 17 300mm leadscrew motors (z-axis motors) : From Novo3d
  • Controller Board : BTT Octopus Pro F446
  • Stepper Drivers: BTT TMC2209
  • Power Supply : Meanwell LRS-200-24 and Meanwell RS-25-5
  • Fans : GDSTIME 60x60x20 for chamber
🟩 The Tool head
I decided to go with Dragon Burner V8 (CAN) instead of Stealth Burner
  • 🔗 Dragon Burner v8 : Chirpy2605
  • Phaetus Dragon ST (standard) hotend (blue color) : From fellow member on Voron India Discord
  • LDO Orbiter v2 Extruder : From BIQU
  • GDSTIME 3010 : From DConqurer3D
  • GDSTIME 4010 Blower x 2 : From DConqurer3D
  • Trianglelab TL ATC Semitec 104GT-2 104NT-4-R025H42G Thermistor Cartridge : From DConqurer3D
  • Heater Cartridge 24V 65W : From DConqurer3D
  • Klicky

🟩 Voron Mods for my Trident

Mods Considered but parked for now
 
Last edited:
🟩Part Selection : The Frame
I chose to go with a silver kit from dconqurer3D for following reasons
- it was easily available here for my 300 build
- it came tapped , drilled and cut
- silver was cheaper
- its easy to make marking on silver frame with pencil
- measurmements for marking and extrusion notations like A B C .... which are using in voron manual
- I dont think it would be wasy to do this on black color

regarding dconqurer3D which I finalized on
- the first order of frame kit I received from them got damaged in transit and also had one extrusion missing but they without much questions agreed to help me with a fresh set.
- the second set I received with very well packaged and this time it was on point
- each extrusion was off by -1mm but thats acceptable.
- they were equal length for parallel pairs where it mattered and thats important
- https://dc3d.in/shop/frame/frame-kit-voron-trident/

options
- 3dprintronics had misumi one for 250 and 350 build but not for 300 so not much help to me and they were pricier
- https://www.3dprintronics.com/products/Voron-Trident-Parts-c129145762
- misumi india also offers extrusions but there are so many options to calibrate for each extrusion that I decided to skip this as well
- https://in.misumi-ec.com/vona2/result/?Keyword=2020&isReSearch=0#

should you buy raw extrusions
- a lot of people think that you can buy raw t-slot 2020 extrusions and then cut, drill and tap it.
- I think unless you have tools to do so or know someone who does it near to where you stay do now bother as its easy to go wrong.
- its so much time that you are going to spend to get this done that could be used for so many other things for your voron build.
- just get them pre cut tapped and drilled, its just a little extra but its so much time saved from your end.

🟩Part Selection : Linear Rails
after the frame was sorted the next important part of the build was finding a good set of linear rails as this is an important part of the build its the responsible for motion system so I kept hearing HIWIN rails are the best but when I found its pricing my jaws dropped on the floor.

I decided to skip HIWIN and created a list of checkpoints I wanted for mine.

So here is what I looked for in my pair of linear rails
- smooth motion.
- no binding of any sort.
- able to withstand corrosion in the long run.

options
- dconqurer3D https://dc3d.in/shop/voron-trident-parts/linear-rail-kit-for-voron-trident/
- 3dprintronics has HIWIN https://www.3dprintronics.com/products/search?keyword=rails
- robu.in has them but not according to voron build sizes neither they offer cutting service for it.

I picked theses from dconqurer3D again as it met all my criteria and also have a black coating for corrosion resistance.
when I finally received it , cleaned and lubed it they were just as advertised and I was really happy with this pick.
The shipping was secure and came with factory oil and it was in its package for at least a month till I opened it for usage.
 
🟩Part Selection : Nema 17 Stepper Motors
This has to be the trickiest of all purchases and I had my head scratching for at least a month as I did not understand anything about motors and what are the most important parameters to look for when picking the perfect AB and Z leadscrew motors for Trident.

I will do a dedicated article on how I went through picking my nema 17 motors but for now I will talk in short about how I got through in picking it.

The voron BOM mentions motors from stepperonline https://www.omc-stepperonline.com/ for the trident 300 build but importing them means paying a lot of money for shipping and duties which I wanted to avoid. So I spent time understanding the specs of nema 17 motors and what are the most important parameters and started hunting for motors of similar spec in India. dconqurer3D also had some LDO motors but they were not exactly what I was looking for so decided to pause on that and continue my search.

I finally found some motors which a few members on Voron India discord had used themselves and those were Leadshine CM06C which are closest in spec to the AB motors from stepperonline. I also found a Novo3D make integrated leadscrew 300 mm nema 17 motor which was also closest to spec to stepperonline.

Hunting for leadscrew motors I was so dishearten at first that I thought of going for the Voron Trident belted Z mod and pick up a non leadscrew motor but I was finally able to find the one at novo3d and that really made me happy.

- novo3d nema 17 300mm leadscrew motor (Z motors) https://novo3d.in/stepper-motor-with-leadscrew/
- 3dprintronics for Leadshine CM06C (AB motors) https://www.3dprintronics.com/products/Nema-17-Stepper-Motor-42CM06-Leadshine-p486559763

packaging for both these motors was great and I got them safely delivered.
I was worried about leadscrew might get bend during transit but it was well packaged in foam.

do check LDO offering from dconqurer3D as it might exactly be what you want , they also have some stepperonline motors now.


🟩Part Selection : Power Supply

this was a no brainer and according to voron BOM spec
- Meanwell PSU LRS-200-24
- Meanwell PSU RS-25-5

picked both from 3dprintronics, the packaging was great and got them delivered safely.

- https://www.3dprintronics.com/products/Original-Meanwell-PSU-LRS-200-24-p474237276
- https://www.3dprintronics.com/products/Original-Meanwell-PSU-RS-25-5-p279969409
 
Last edited:
🟩Part Selection : Controller Board

The controller board has so many options to pick from with so many from BigTreeTech and to begin with I was really wondering should I get the Manta M8P with CB01 or Octopus Max EZ or Octopus 1.1 or Octopus Pro.

I finally settled on Octopus Pro 1.0.1 STM32F446 as this was the most widely used board on V2 and Trident and that means you have a ton of support for it and people to speak with should your run into any problems.

I also did some reading of my own and these were a few reasons why I went for it
- it can support upto 60V of motor power which means for future high power motors the upgrade path is available
- widely used means better support
- can hook max 8 steppers, each can have their own voltage level i.e. board voltage or motor voltage
- can support TMC5160 stepper drivers apart from the standard TM2209
- 6 controllable fans and each fan can have 24 or 12 or 5 V individually set.

It has everything that I needed for my trident build in short.

picked mine from dconqurer3D as the pricing was lowest when I purchased from them

novo3D also has them

you can also buy them directly from biqu

Regarding EZ Stepper Drivers vs Standard Design
- I went with board supporting standard stepper drivers as they are widely available
- What if design spec changes in the future for EZ stepper or BTT decided to discontinue it then I would be left with unsupported board
Hence even if the EZ stepper driver support even being so convenient and such a neat clean design I decided to skip it.

Options worth checking
- LDO Leviathan
- BTT Kraken

maybe will check for future builds when I learn more about how to get everything working. I wanted to buy something which was tried and tested for my first build.

🟩Part Selection : Stepper Motor Drivers
This was a easy decision to make BigTreeTech TMC 2209 to go with the BTT Octopus Pro board.
getting components from similar company is always a good decision as they are mostly going to be be compatible with each other.

Picked mine from novo3D

TMC2209 stepper drivers are a great start and if you wish to upgrade to high voltage steppers BigTreeTech also has TMC2240 and TMC5160T Pro stepper drivers which would work with Octopus Pro but to push these two you would need a secondary power supply to push 36V for 2240 and 48V for 5160 and also better motors to make fully use of this. I would also use these drivers just for AB motors as the movement on three z-axis of the trident is not super fast.
 
Last edited:
🟩Part Selection : Bed , Heater and Build Plate

I could not find any better vendor than dconqurer3D for the Aluminum bed in India which also cut according to Voron Trident 300 build spec and had the right holes drilled as needed.

note the listing does mention V2 but it also works for trident , I did clarify this with him before placing the order and he also knew that I am building a Trident to he ensured the holes be drilled according.

For the heater I picked one again from dconqurer3D as it was edge to edge.


For build plate I wanted one side smooth and another side textured PEI and a magnetic sheet that should be even and be of same size as bed. I found this again in the form of Energetic3D and after speaking to many people on voron discord found that this should be a good option.
https://dc3d.in/shop/voron-v2-4-parts/energetic3d-spring-steel-sheet-305x305mm/

there were some cheaper options in the form of double sided textured PEI sheet and other materials of sheets but I wanted combination of smooth and textured as I have printed ABS and PLA on my Ender 3 S1 Pro which has a similar sheet and I am really comfortable printing with it. so I wanted a similar sheet material for my Voron build.

Since all these three things were ordered in one order via dc3d the packaging was really neat ensuring that the bed should not have any kind of damage during shipping. It arrived in great condition and I was really happy that the bed was flat as I lay it on a glass top and verified it as soon as it arrived.
 
🟩 Part Selection : Can Bus Adapter + Tool Head Can Bus PCB

settled for BTT U2C Adapter 2.1 and BTT EBB 36 CAN V1.2(G0B1) board with(MAX31865) as i am building a dragon burner.
picked this from BIQU directly

BIGTREETECH EBB 36/42 Can Bus U2C V2.1 for Connecting Klipper Expansio – Biqu Equipment

its also available locally on novo3d
Bigtreetech EBB36 Canbus V1.2 | U2C V2.1 Device

the reason for going CAN is lesser number of wires running from tool head to the pi and also get to learn something new. I also learned that CAN is used in automobile industry quite widely for a long time so having an opportunity to learn this was not something I wanted to pass on.

🟩 Part Selection : Various Wires and Connectors

- PTFE Wires 20 and 24 AWG for steppers , end stop and tool head
- 16 AWG silicon high flex wires for mains
- wagos 221 412 and 221 415 for mains current splitting

connectors for wires
- JST XH 2 3 4 pin (kit from novo3d)
- ring, fork terminals 1.5 sqmm (kit from novo3d)

- PTFE Wire 20AWG - DConqueror3D
- PTFE Wire 24AWG - DConqueror3D
- Robu 12 To 16 AWG Silicone Wire

novo3d has these ready to buy stepper wires of 0.5m and 1m should you dont want to crimp your own.
connector wire single jst nema 17 wire connectors for drives
- they are 6 pin to 4 pin jst . 4 pin dupont
- the wire mentioned 80C , so i am assuming they can withstand that much temps
- while I prefer to use ptfe wires myself , i could see myself using these for three z-axis motors as they are anyways in the chamber.

Novo3D Kits
- JST connector xh male and female improved high quality housing
- Wire connector crimp connector ring/pin/fork/snap/endseal
- Dupont connector kit for better quality housing with firm connection

while novo3d has dupont connectors but for my needs jst xh seemed to suffice.

wagos from zbotic
- WAGO 221-412 Connection Terminal - Zbotic
- WAGO 221-413 Connection Terminal - Zbotic
- WAGO 221-415 Connection Terminal - Zbotic


🟩 Part Selection : Build Tools

Allen Key Set with Ball End
AGARO 26pcs Hex Allen Key Wrench Set - Inch/MM With Ball End, Black : Amazon.in: Home Improvement

- the reason to pick it with ball end is so that you can rotate screws from tight angles as sometimes you might not be able to screw them straight and you might need to screw them at an angle
- excellent set which has strength of Cr-V Steel
- black oxide finish for safety against corrosion
- sand blasted for a smooth surface

GROZ Engineer’s Precision Square| Ideal for setting up & checking jobs with extreme accuracy| Hardened spring steel blade| Blade Length: 75 mm| Stock Length: 60 mm| Squareness: 16 microns| SS/A/3 : Amazon.in: Home Improvement
- this is quite essential for building a frame and has been invalueable to me for checking eveyrthing squared enough
- not too large not too small this helped me get the job done.

Loctite Threadlocker Blue
Loctite Threadlocker Blue 242 locks and seals threaded fasteners and prevent loosening from vibration, ideal for 6-19mm fasteners, great for small motors, mowers, equipment, nuts, bolts, screws, 6 ml : Amazon.in: Industrial & Scientific
- used this for frame, holding screws and pulleys on nema 17 motors
- cheaper than the glue stick version by a huge margin.
- tested this on once screw for few days.
- on how tight this holds it and how hard would this be to remove incase things were need to be tweaked
- it does hold things really well and can be removed by hand but you need to apply a good amount to pressure to remove it.
- this was exactly what i was looking for so overall a neat pick.


For 16 AWG Silicone High Flex Wire or normal wire of wide range of thickness
Stanley - Stanley Automatic Wire Stripper - FMHT0-96230
- this is a neat wire stripper which does the job well for non ptfe wires
- also has a wire crimping tool which was helpful


For PTFE Wires as they cannot be stripped using the Stanley tool mentioned above
- Toolstar - 5 in 1 Wire Stripper and Cutter 20-30Awg(TS -5023)
- Toolstar - 5 in 1 Wire Stripper and Cutter 10-20 Awg(TS -5021)

For Crimping mains wires to the respective ring or other style connectors
KNIPEX Crimping Pliers - 97 21 215
- even if Stanley wire stripper had the wire crimping system i needed a dedicated and robust wire crimping tool for 16 18 awg wires and this seems like a great tool

Knipex Crimping Pliers 97-22-240 with multi-component grips black lacquered 240 mm
Knipex Crimping Pliers 97-21-215 with multi-component grips black lacquered 230 mm
Knipex Crimping Pliers 97-21-215-B with multi-component grips black lacquered 230 mm


For crimping Ferrule style connectors
KARHEM Ferrule Crimping Tool, Crimpers Pliers HSC8 6-4A (0.25-10m㎡ AWG23-7), Self-adjustable Ratchet Wire Crimpers (Silver) : Amazon.in

🟩 Part Selection : Lubricants

I have so far used only two lubricants

For Linear Rails
Fa Duca Lub Premium White Lithium Grease 200 g : Amazon.in

For Lead screw
Super Lube 92003 Silicone Lubricating Grease with PTFE, 3 oz Tube, Translucent White : Amazon.in

Gloves while applying grease to linear rails
ALITMUN Black Nitrile Gloves, Disposable Powder Free Examination Hand gloves, Medium Size, Multi Purpose with Superior Durability, Surgical & General Gloves (Medium, Pack of 30 (Black)) : Amazon.in
- these are some of the high quality gloves that I have used so far
- they held really well as i applied white lithium grease on the linear rails
- no tear of any kind

Kitchen Wipes
Presto! Kitchen Wipes - 60 Wipes (Pack of 4) : Amazon.in

Please note you will also need
- an injection to fill the White Lithium Grease mentioned above to inject them into linear rails for greasing it.
- a pack of kitchen towels to wipe off excess grease


CERO ® IPA Iso Propyl Alcohol 99.9% Pure [(CH3)2-CH-OH] CAS: 67-63-0 (250ml) : Amazon.in: Industrial & Scientific
- IPA is a must when greasing linear rails and they come from factory with some protective oil to prevent any kind of rusting.
- this helped me clean the linear rails and this can be used for so many purposes apart from that so something to have in your kit.
- used this make, but you can get any brand which you feel works for you.


🟩 Part Selection : Tapes

Double Sided Tape to hold two objects together
3M High Strength Double Side Bonding Tape for Plastic, Metal, Interior & Exterior Use, Multiple Surface Acrylic Adhesive, High-Temperature Resistant, Durable & Easy to Use, (12mmX5m, 1 Roll + Primer) : Amazon.in

Single Sided : picked these for panels
G-CHARGE Single Side High Density Self Adhesive Foam Seal Tape, Weather Stripping Doors and Window Insulation Sound proofing, Material Foam, Black Color, Pack of 1, (6mm x 3mm x 10 Meter) : Amazon.in
 
Last edited:
Holy documentation! Wow, you have really done your homework.
The one thing I would have you reconsider is the CANbus. It is good but can come with lots of problems. I would recommend you also review the LDO Nitehawk.
I have used lots of CAN bus toolheads and the Nitehawk that uses USB instead of CAN bus is super nice and very easy to setup.

Also I really like the TMC 2240's instead of 2209's if you can get your hands on them I think they will replace the 2209's going forward. 5160's are also amazing if you want to run them in SPI.

Thank you so much for your kind words. 😃

The motivation for CAN comes from reducing the wires to the tool head and an excellent opportunity to learn something which is widely used in a car for its internal communication.
The lesser the number of wires, is one less reason to monitor wire wear and tear in tool head and reduction in your build cost as well.

Will surely take a look at LDO Nitehawk and the 2240 and 5160 stepper drivers as well.
Would need a secondary power supply to power 36V on 2240 and 48V on 5160 as well as better motors to take advantage of this.
Will mostly use these for driving the AB motors in the performance upgrade in next iteration of this machine even add 2 more for a AWD gantry.

Whilst my current focus is to get the planned first iteration of the Trident up and running. I am documenting what upgrades I need to do further.

Regarding UART vs SPI , whilst I am using UART for 2209 does SPI have any advantage over UART in terms of communication ? This is a question I have never pondered much into
 
Last edited:
Thank you so much for your kind words. 😃

The motivation for CAN comes from reducing the wires to the tool head and an excellent opportunity to learn something which is widely used in a car for its internal communication.
The lesser the number of wires, is one less reason to monitor wire wear and tear in tool head and reduction in your build cost as well.

Will surely take a look at LDO Nitehawk and the 2240 and 5160 stepper drivers as well.
Would need a secondary power supply to power 36V on 2240 and 48V on 5160 as well as better motors to take advantage of this.
Will mostly use these for driving the AB motors in the performance upgrade in next iteration of this machine even add 2 more for a AWD gantry.

Whilst my current focus is to get the planned first iteration of the Trident up and running. I am documenting what upgrades I need to do further.

Regarding UART vs SPI , whilst I am using UART for 2209 does SPI have any advantage over UART in terms of communication ? This is a question I have never pondered much into
SPI is faster then UART but I cannot say if it makes any difference in our machines. I see vast printing improvements from the TMC5160 and minor improvements with TMC2240 over 2209's.
Also I run them all on 24v currently. The drivers can handle more current but it not needed for my motors.

CAN is fun and my BMW uses a CAN network that I get into from time to time for coding and tuning it.
USB is faster then CAN though unless you are using Fiber Optic CAN.
Can you please share your klipper printer.cfg just for 2240 and 5160 for AB motors here if possible. I am assuming you are using btt tmc drivers and octopus pro board.

So the change would have to make

for 2240 the communication will be via uart and a klipper printer cfg change.

For 5160 the communication will be spi and it's related printer cfg change and everything should now work back as normal. Right ?

Can we also do temperature monitoring with tmc2240 like display that on mainsail dashboard? Can this also be done for tmc5160t pro ?
 
Last edited:
I don't have my machine up right now since I am converting to AWD (4 A/B motors) but I can link you to my backup files. https://github.com/NoGuru2/VoronV2.4/tree/main/printer_data/config

So to change from 2209 to 2240's I think it's just stating that in the config, yeah I grabbed a screen shot of the 2240 config and yes I used UART for them and they show temp in the GUI which is super cool. Only 2240's have a built in thermistor. Make sure you are setting the right sense_resistor in the settings, that can change from driver to driver.

I didn't set it for the 5160's here because I am using Autotune. https://github.com/andrewmcgr/klipper_tmc_autotune

1709929370813.png
 
I don't have my machine up right now since I am converting to AWD (4 A/B motors) but I can link you to my backup files. https://github.com/NoGuru2/VoronV2.4/tree/main/printer_data/config

So to change from 2209 to 2240's I think it's just stating that in the config, yeah I grabbed a screen shot of the 2240 config and yes I used UART for them and they show temp in the GUI which is super cool. Only 2240's have a built in thermistor. Make sure you are setting the right sense_resistor in the settings, that can change from driver to driver.

I didn't set it for the 5160's here because I am using Autotune. https://github.com/andrewmcgr/klipper_tmc_autotune

View attachment 4355
So just the tmc2209 to tmc2240 line change in printer.cfg should work for 2240 then and this automatically displayed the temperature monitoring in dashboard or is there an entry for that as well in printer.cfg ?

I assume the rest of configuration stays same as 2209.
 
So just the tmc2209 to tmc2240 line change in printer.cfg should work for 2240 then and this automatically displayed the temperature monitoring in dashboard or is there an entry for that as well in printer.cfg ?

I assume the rest of configuration stays same as 2209.
Yes, config is the same except the name and the temp is automatically displayed. This is nice if you want to crank up the power for more speeds. I think I was pushing them around 1.5 current and with active cooling fan on the drivers they were maxing temps around 130c.
 
Yes, config is the same except the name and the temp is automatically displayed. This is nice if you want to crank up the power for more speeds. I think I was pushing them around 1.5 current and with active cooling fan on the drivers they were maxing temps around 130c.
What's acceptable temperature for stepper driver. Also when you push 1.5 current (assuming this is run_current value) does the stepper itself get hot when it does high speeds ?
 
What's acceptable temperature for stepper driver. Also when you push 1.5 current (assuming this is run_current value) does the stepper itself get hot when it does high speeds ?
It's going to very from driver to driver but from what I recall, I think the 2240's can go as high as 150c before then do an auto shut down.
I think if you are staying around 100c you should be safe for most drivers but have a blower fan pushing air across them.
I have fun just seeing how fast I can go. I actually print at moderate speeds just for quality.
Thanks for all the inputs. This has been super helpful. I will add a active cooling mount to octopus pro as I do my build.
 
.
🟩 Part Selection : Toolhead

Dragon Burner V8 by chirpy2605

🟩 Hotend : Phaetus Dragon ST Hotend

Why I choose this ?
better summarized in a video by nero3d
liked the reasoning behind the dragon hotend design especially how the top half holds the bottom hotend and prevents it from bending should the nozzle crash into the bed accidentally.

Why I went with ST instead of High Flow ?
I am first trying to get a stable machine up and running and focus less on the performance aspects like high flow etc.

🟩 Fans : GDSTime 3010 axial and GDSTIME 4010 blower

these are 24v and dual ball bearing fans that are mostly used on the dragon burner and they work really nice with it. they also fit perfectly in the dragon burner cowl.


🟩 Extruder : LDO Orbiter v2
It was a tough battle between Sherpa Mini, Galileo 2 SA and Orbiter v2
but I went with LDO Orbiter v2 as this came factory assembled and had injection molded parts holding the whole assembly together and can push plastic really well also the planetary gears. Why not the other extruders well I would like to try both but I wanted to save some time further sourcing the gears and motors and then assembling the whole thing.

dc3d has two variations of orbiter 2
- with moons stepper https://dc3d.in/shop/voron-v2-4-parts/orbiter-extruder-v2-0/
- with ldo stepper https://dc3d.in/shop/voron-v2-4-parts/ldo-orbiter-extruder-v2-0/

should you need a filament sensor for orbiter 2

they also seem to have orbiter v3 but I have not read much on this

replacement nema 14 round stepper

you can also purchase directly from biqu
- ldo orbiter 2
- the nema 14 stepper

🟩 Toolhead PCB : BTT EBB36 Can board
🟩 CAN Adapter : BTT U2C Adapter

Since I wanted to reduce my tool head wiring CAN was the obvious choice and I narrowed it down to EBB 36 1.2 CAN board and the BTT U2C 2.1 adapter


you can purchase this directly from biqu

locally novo3d has both the boards
 
Top