mstaniszczak
Active member
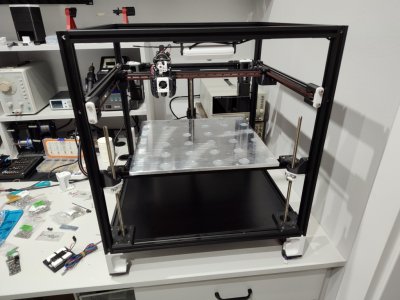
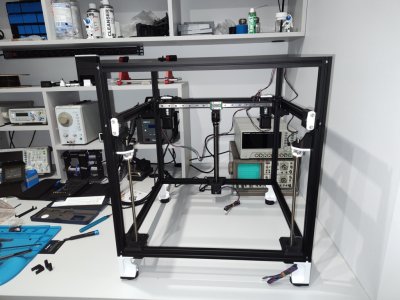
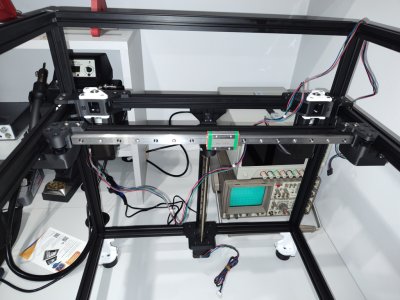
Hello! So I decided to build a 3D printer by myself. Why? Just, because I want to build one myself Can't be a better reason I already have Creality K1, which I use to print parts for Voron. I was considering an option between 2.4 and Trident, and diced to build Trident, as it's easier to build and tune.
I don't build from a kit, I look for and select parts myself, and thanks to this I build immediately with the mods that interest me at a given moment.
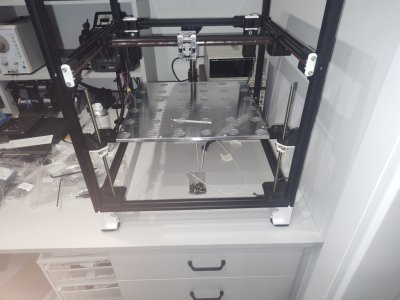
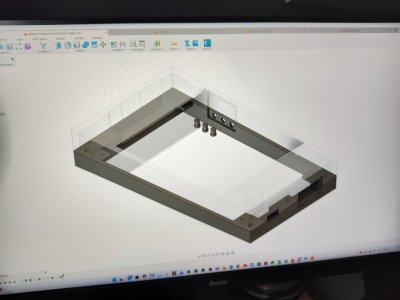
So how it will looks like?
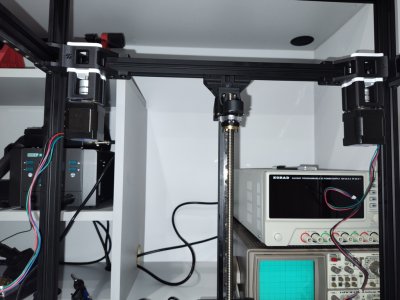
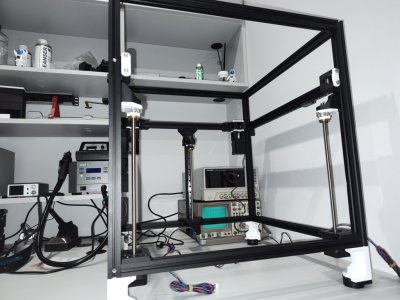
And mods from begin:
Addons:
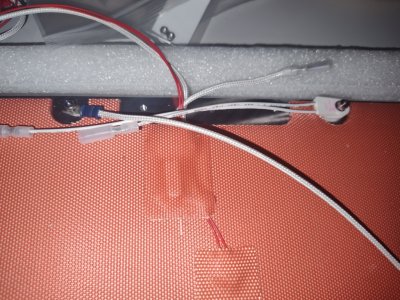
The work is progressing slowly due to the time and pace of arrival of the ordered parts")
Can't be a better reason I already have Creality K1, which I use to print parts for Voron. I was considering an option between 2.4 and Trident, and diced to build Trident, as it's easier to build and tune.I don't build from a kit, I look for and select parts myself, and thanks to this I build immediately with the mods that interest me at a given moment.
So how it will looks like?
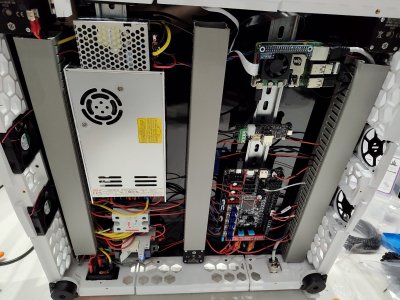
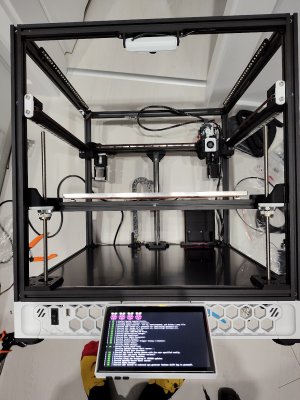
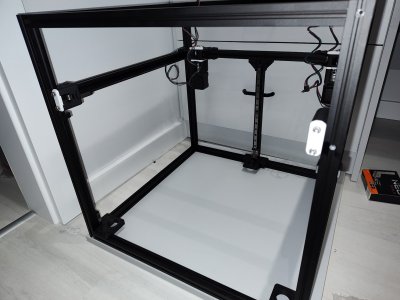
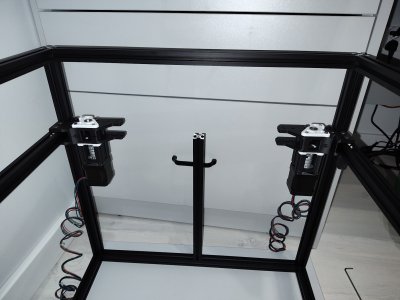
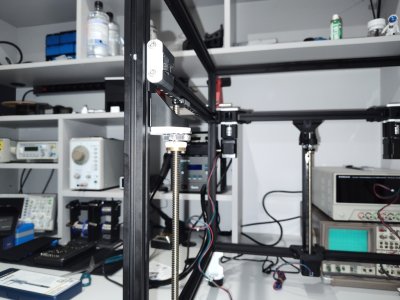
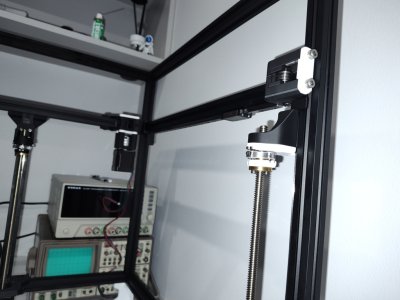
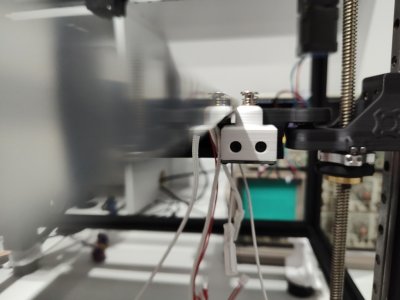
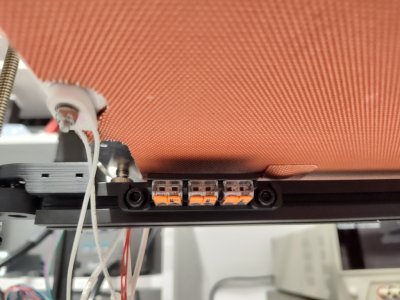
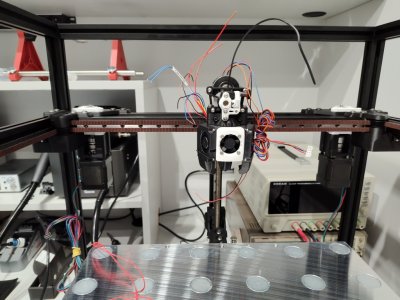
- Altrax frame
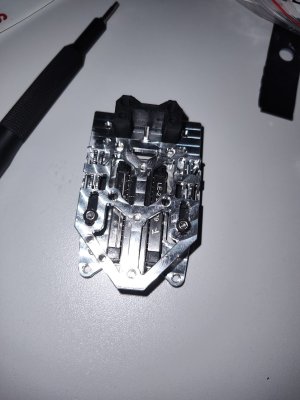
- BTT Octopus Pro V1.1 + TMC2209
- CAN on BTT EBB 36 + U2C
- Raspberry pi 4 4GB, besouse I have one usused
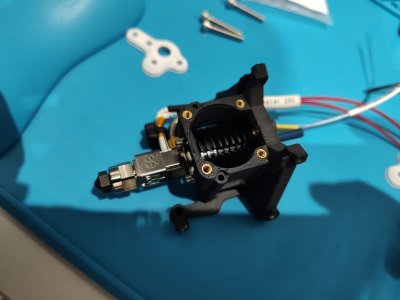
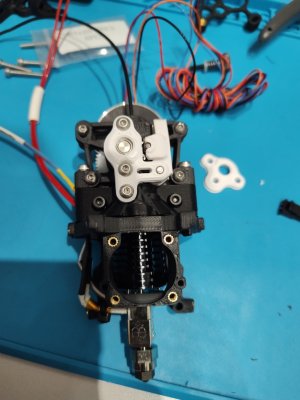
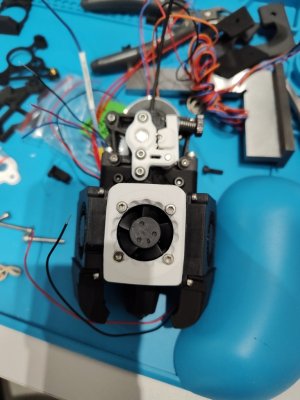
- hotend - Rapido 2 UHF
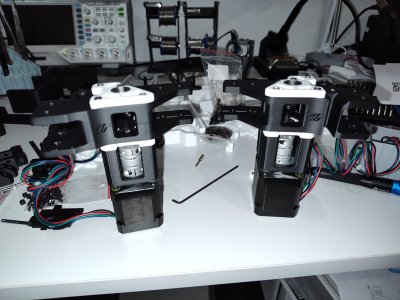
- steppers - Z from LDO, X and Y from stepperonline
- filament sensor - BTT SFS V1.0
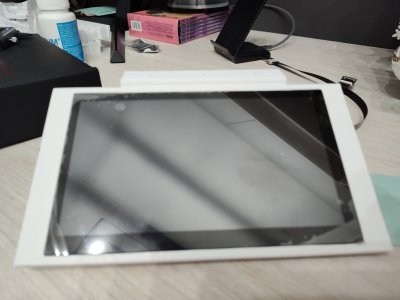
- screen - BTT HDMI7
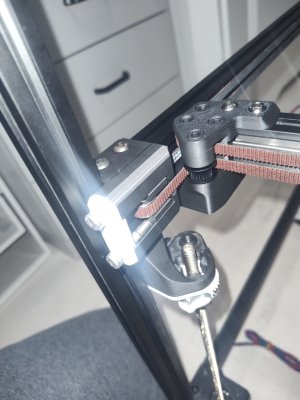
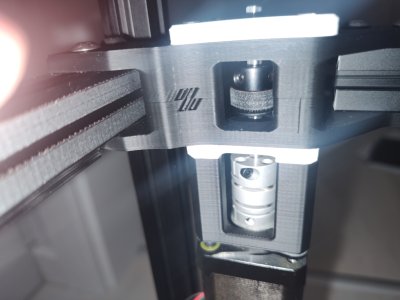
And mods from begin:
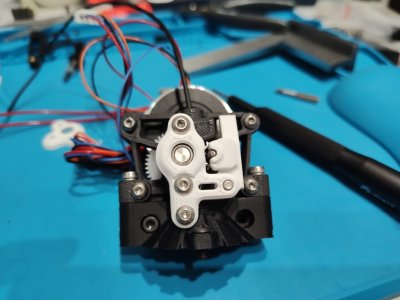
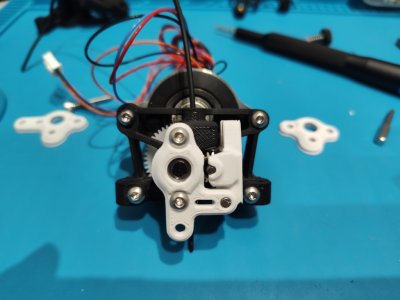
- BFI Idlers
- XOL
- Sherpa Mini or Micro (I have assembled Mini, but probably will change it to Micro with fixed idlers)
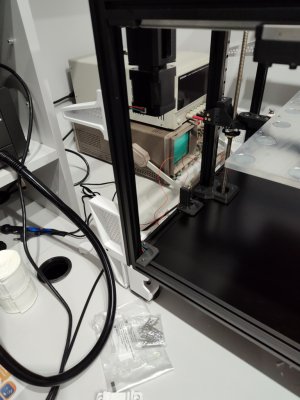
- Inverted Electronics
- WobbleX,
- stepper decopuler-= https://github.com/WINTFOX00/TRIDENT-STEPPER-DECOUPLER
- Voron CNC Tap by Vitalii
Addons:
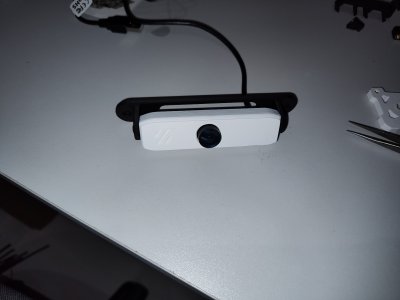
- camera based on AUKEY - https://www.printables.com/pl/model/404254-2020-alu-extrusion-webcam-mount-for-aukey-1080p-we
- lights - https://github.com/VoronDesign/Voron-Hardware/tree/master/Daylight
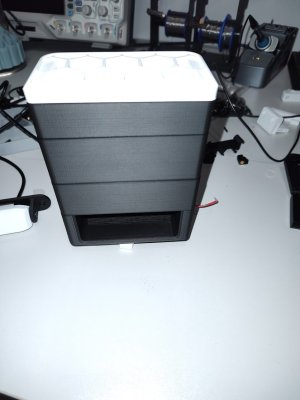
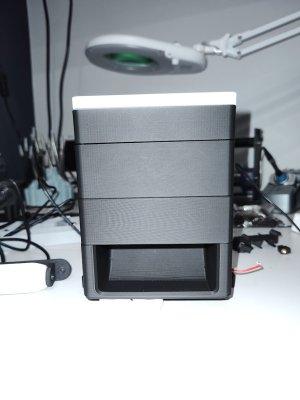
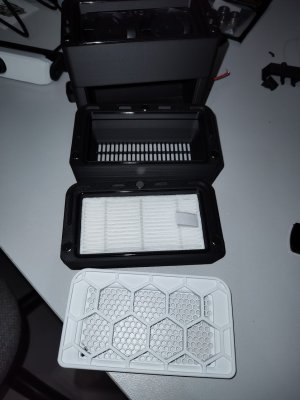
- Bento Box - https://www.printables.com/pl/model/601990-bento-box-filter-with-hepa-carbon-4010-or-4020-fan
The work is progressing slowly due to the time and pace of arrival of the ordered parts
Attachments
-
 IMG_20231124_232700677.jpg316.9 KB · Views: 100
 -
 IMG_20231204_210733986.jpg245.4 KB · Views: 90
 -
 IMG_20231201_222245431.jpg124.3 KB · Views: 75
 -
 IMG_20231201_222239668.jpg143.7 KB · Views: 69
 -
 IMG_20231201_222223474.jpg180.1 KB · Views: 67
 -
 IMG_20231201_220154544.jpg186.4 KB · Views: 69
 -
 IMG_20231127_003303758.jpg199.7 KB · Views: 69
 -
 IMG_20231125_002814731.jpg260.2 KB · Views: 70
Last edited:


")
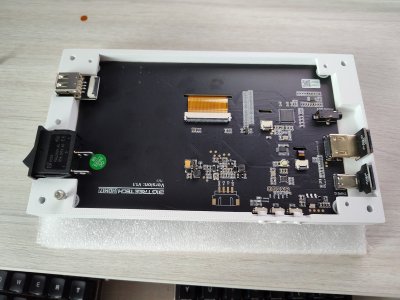
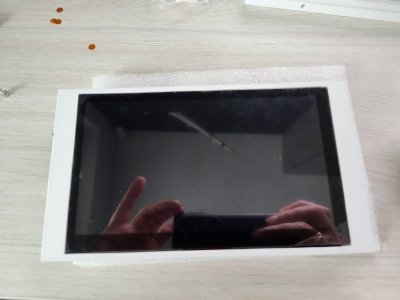
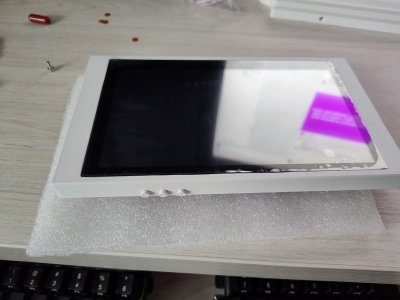
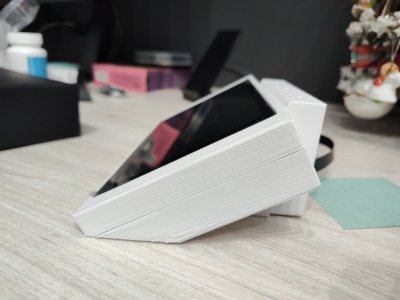
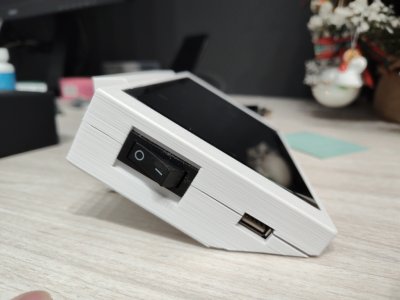
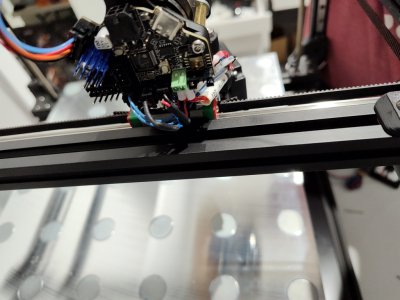
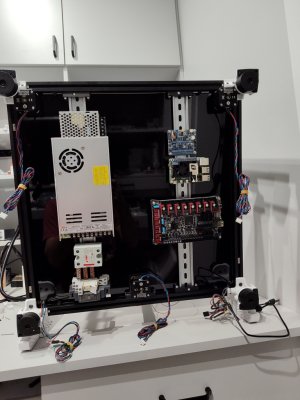
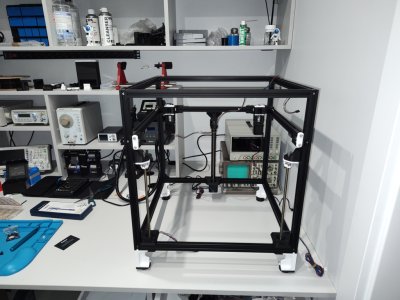
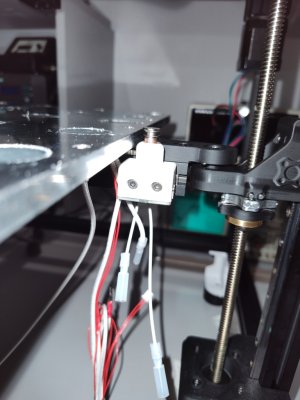
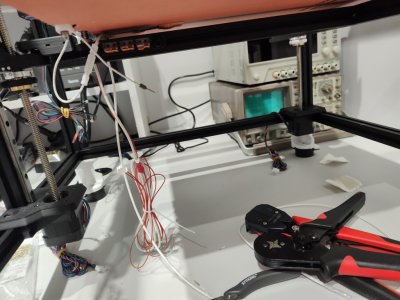
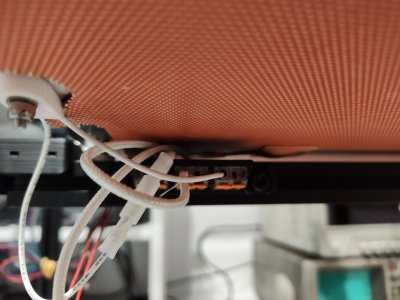
 but the construction is progressing. I gave up on the inverted electronic bay. Rock'n'roll is more comfortable. I'm also not satisfied with the hdmi 7 housing. I have to design it differently (the print quality is poor because it was printed quickly for testing with PLA)